Sapphire Ginkgo Ring Tutorial
 Joanne Tinley

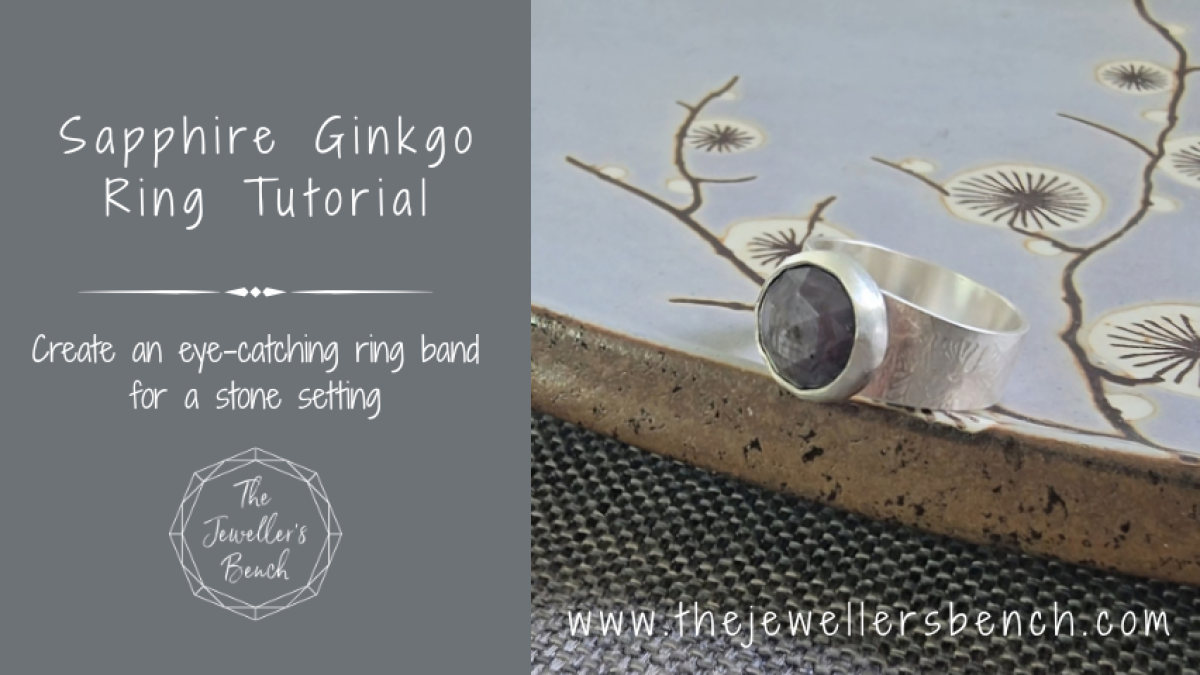
Learn how to create a wider ring band decorated with a delicate pattern of ginkgo leaves.
Ring bands don't have to be complete and uniform circles of silver! Follow this tutorial to find out how to make a wider fancier shaped ring band decorated with a delicate ginkgo leaf texture.
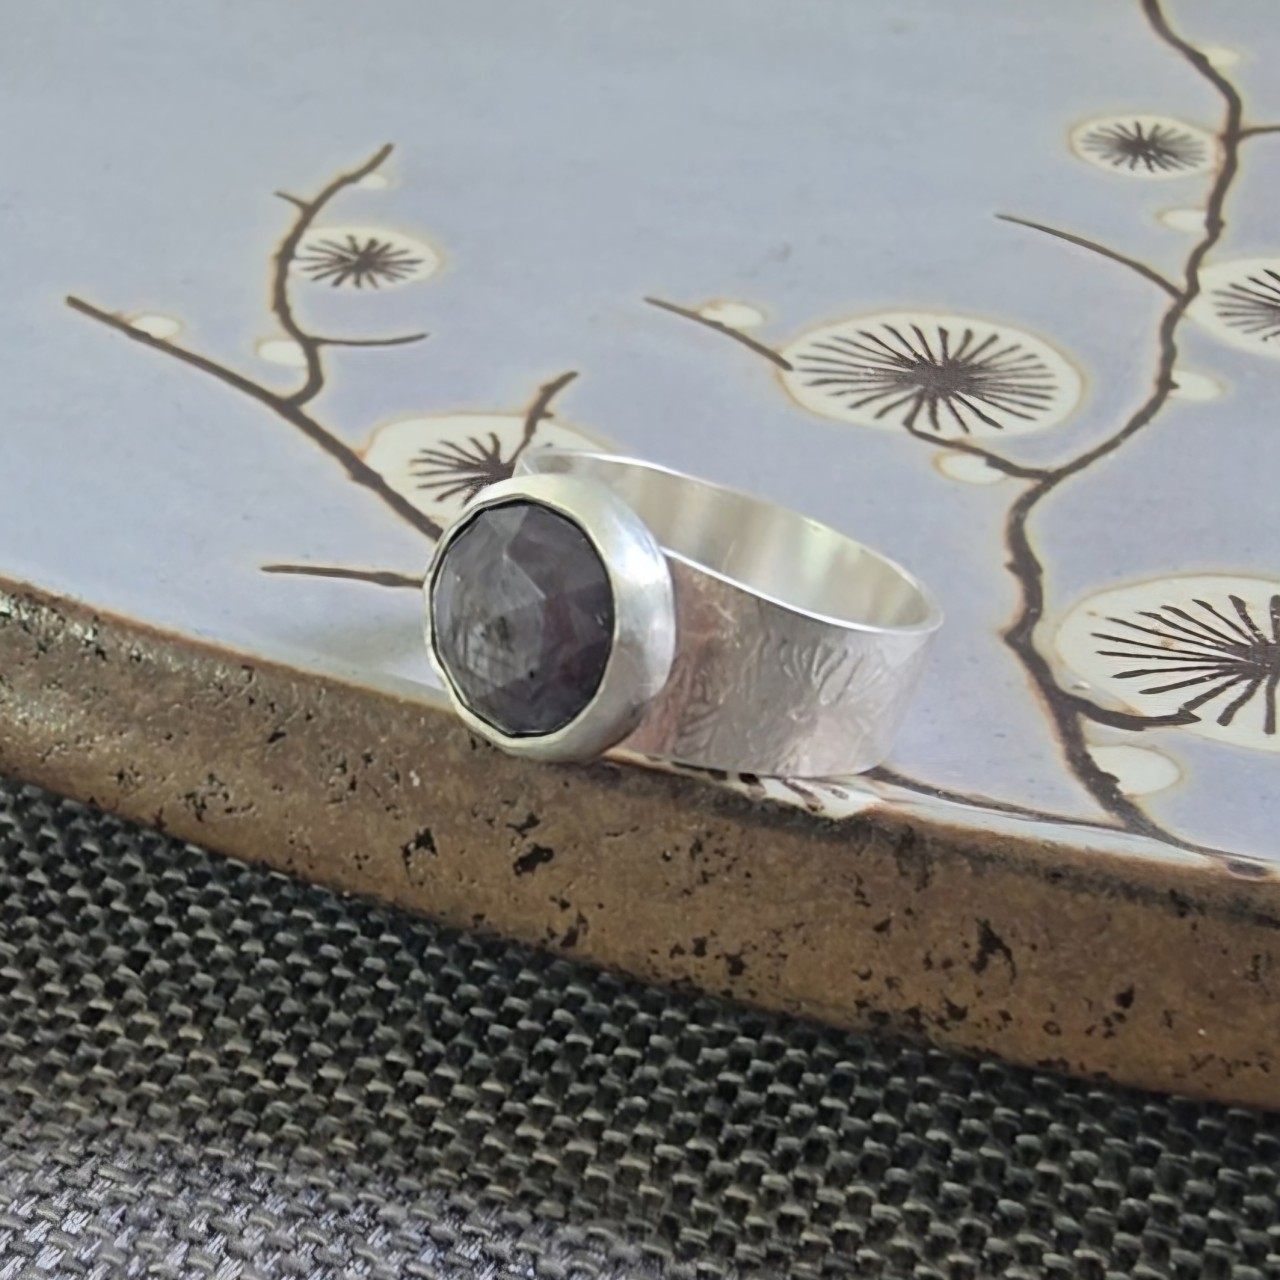
You will need:
- Ring Bands 1 stencil - available from The Jeweller's Bench Shop
- Ginkgo Ring Bands texture sheet - available from The Jeweller's Bench Shop
- 10mm round cabochon - I used a 1omm rose-cut sapphire
- silver - 0.8mm sheet long enough for your ring size (see below), bezel strip, small piece of 0.5mm sheet for the backing plate
- Soldering kit - this blog post shows you all you need
- saw, files, emery paper, ring mandrel, nylon hammer, pendant drill and polishing tools, sharpie, bezel pusher and burnisher.
- rolling mill (or give the ring band a hammered texture instead)
A note on sizing:
Although we're not making a complete ring band from the length of 0.8mm silver, we can still use the standard ring band calculation to help work out how long the ring band needs to be.
I made a size O in the project. The inside circumference of a size O is 55.1mm. I used 0.8mm sheet. The standard ring band calculation is inside circumference plus twice the metal thickness.
To make a complete size O ring band from 0.8mm thick silver, we would need 55.1mm + (2 x 0.8mm) = 55.1mm + 1.6mm = 56.7mm
If we leave a gap of 6mm in the ring, the ends of the ring will still sit nicely on the back of the stone. So, 56.7mm - 6mm = 51.7mm
I needed my ring band to be 52mm (I can't cut to smaller than whole millimetres!)
Let start to make this gorgeous ring!
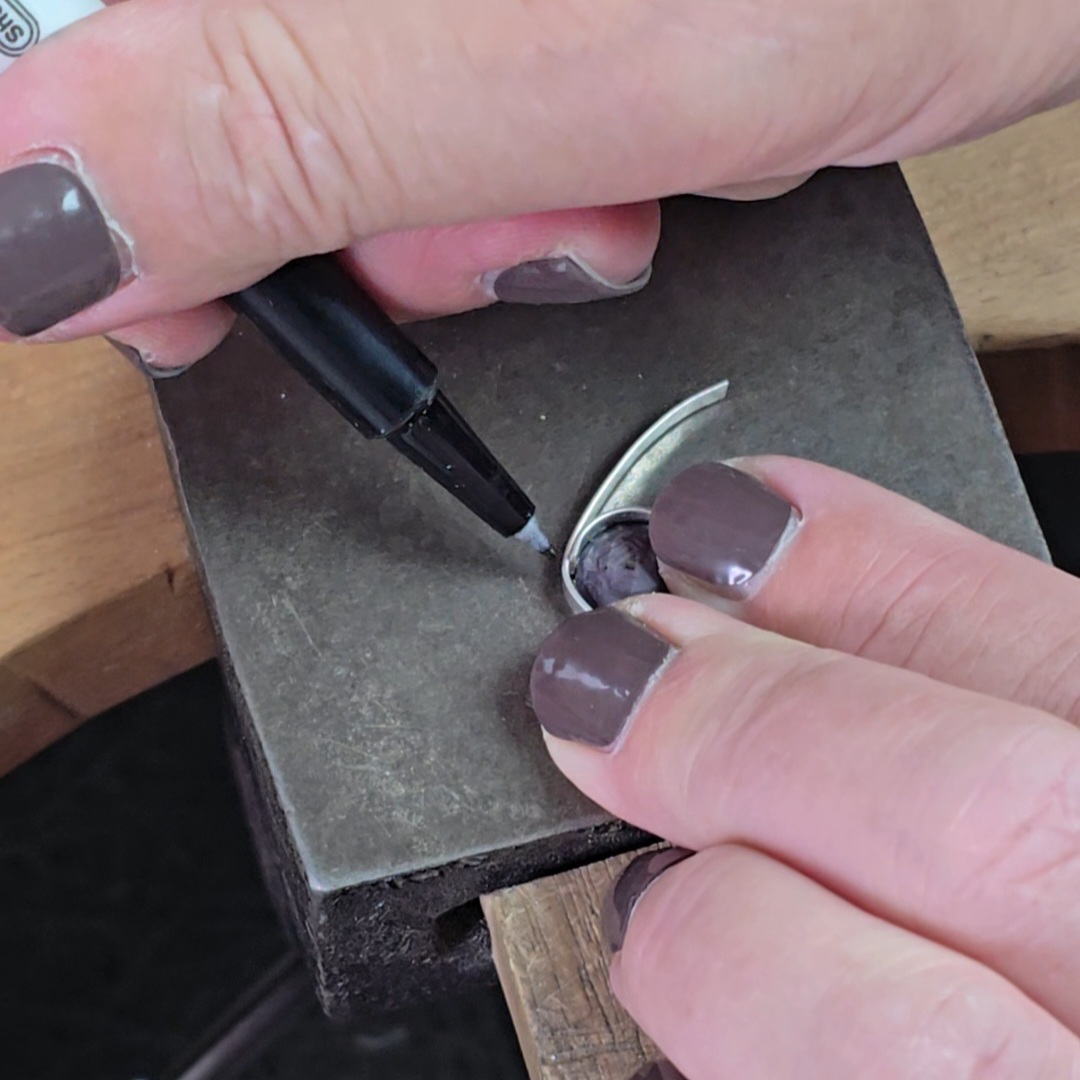 | 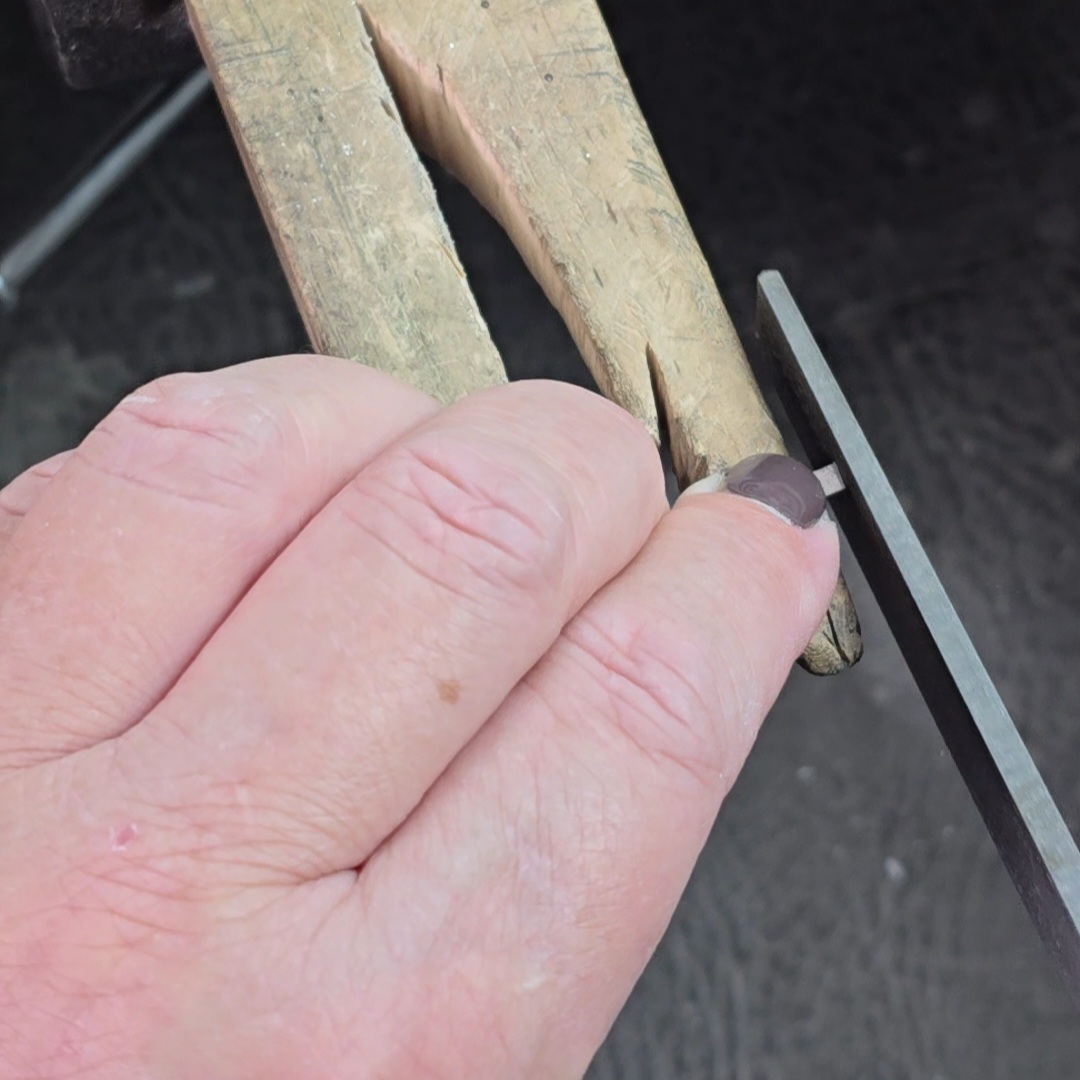 | 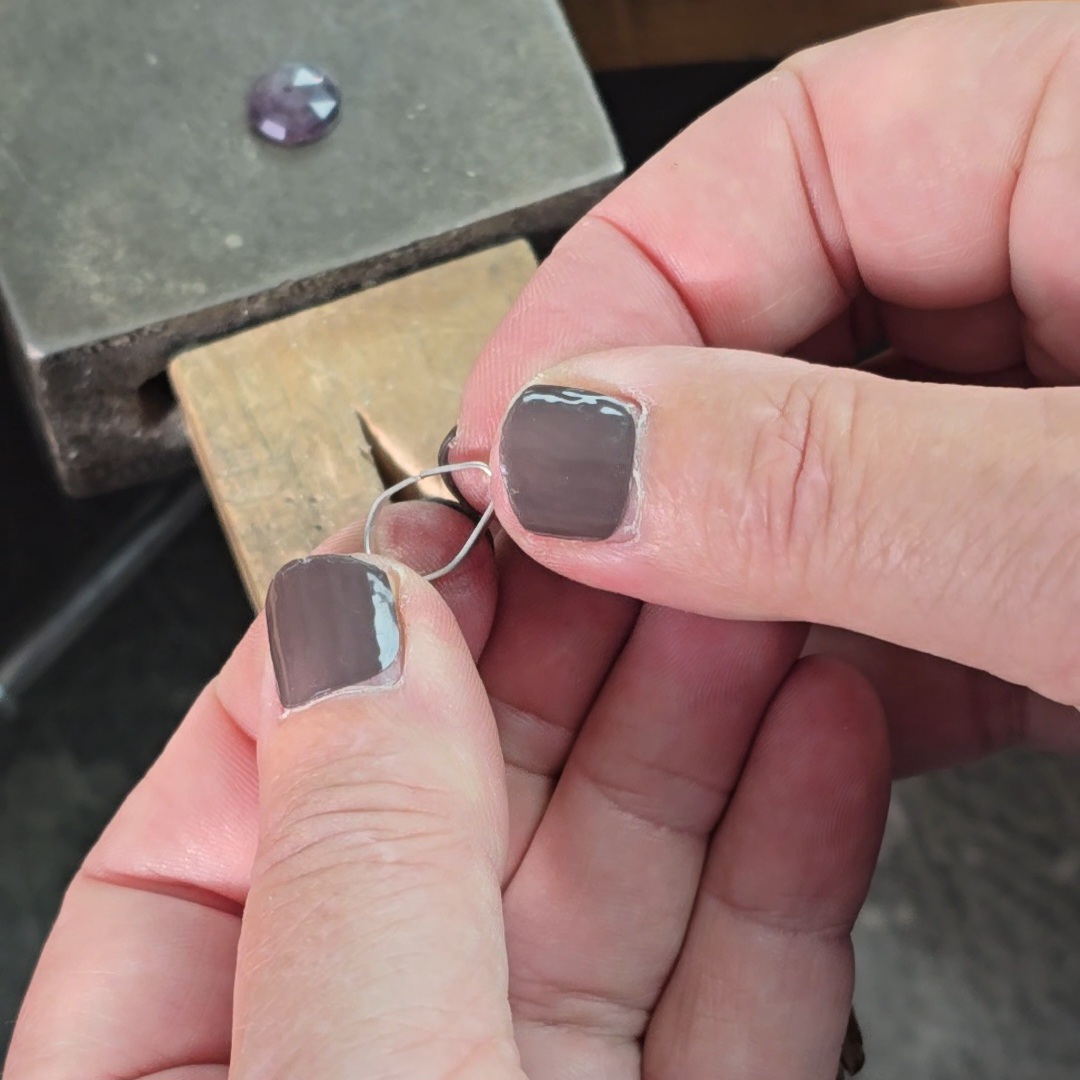 |
1. Wrap the bezel strip tightly around the stone and mark the point at which the strip starts to cross over itself. Use sharp cutters to cut neatly across the strip at this point. | 2. FIle both ends of the bezel strips square... | 3. ... and then bend the strip round so that the two ends meet neatly head on without any gaps.
|
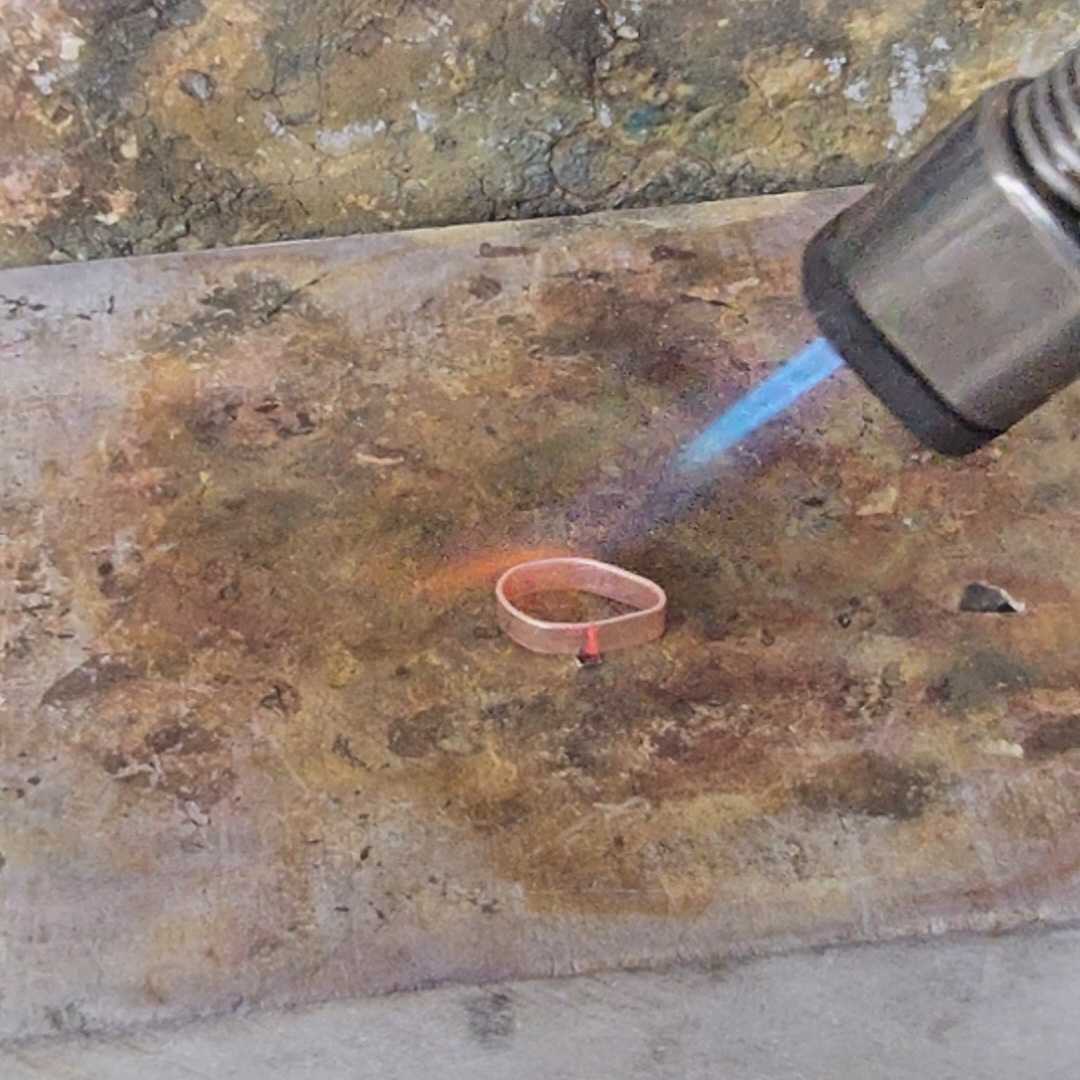 | 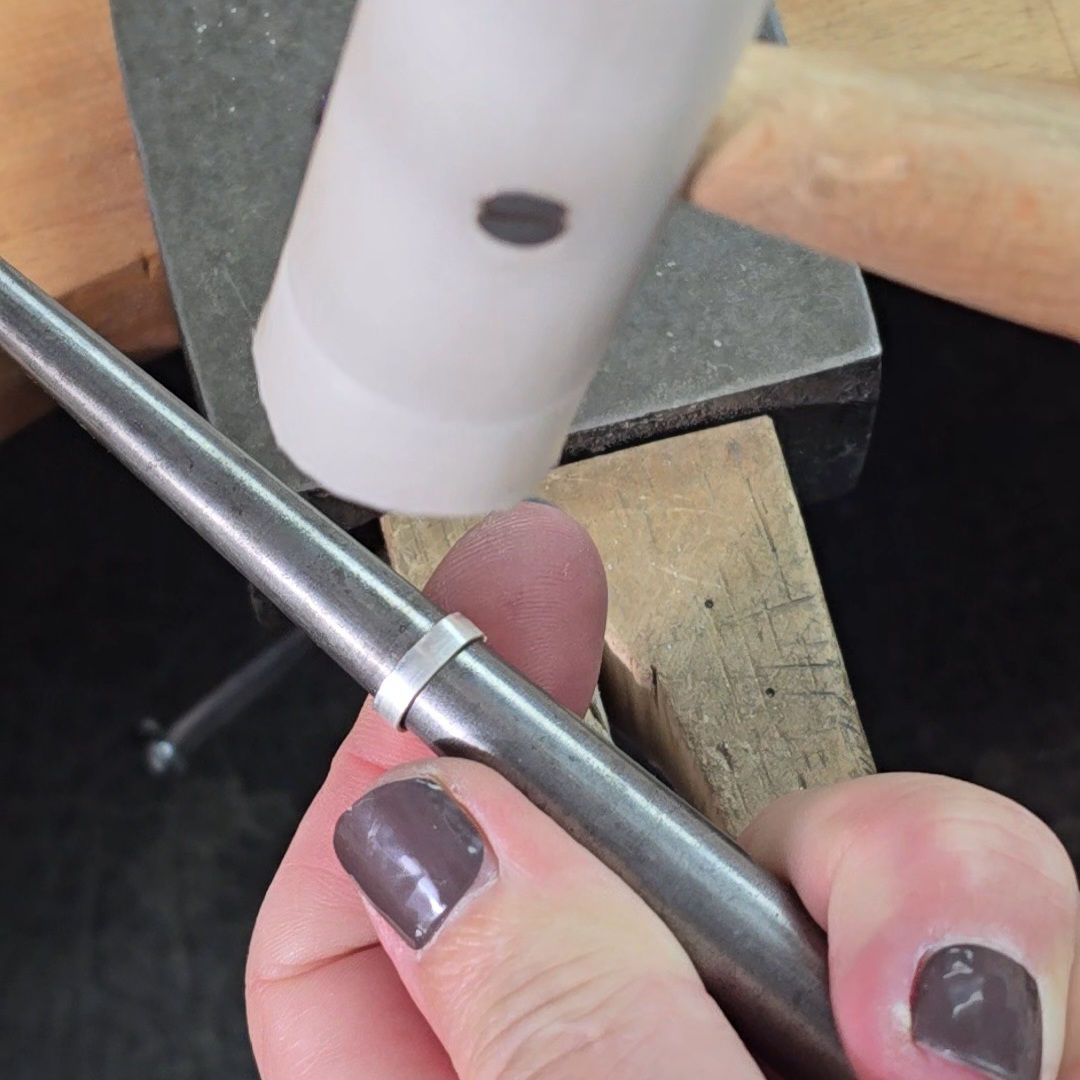 | 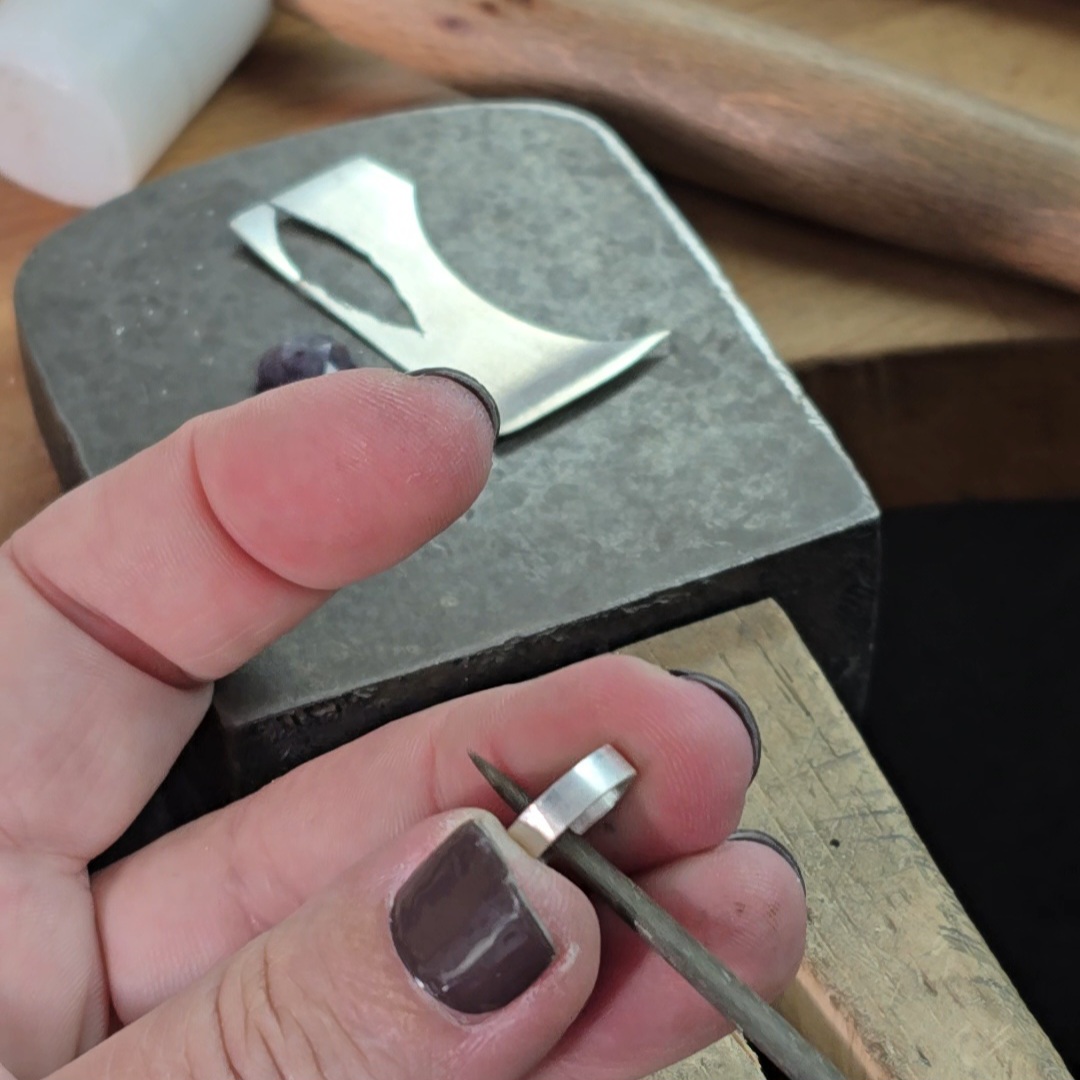 |
4. Solder the bezel closed with hard solder. I place a piece of hard solder underneath the join so that it doesn't pop out of place as the flux dries. Quench and pickle the bezel. | 5. Once the bezel is clean and dry, shape it around a small round mandrel. | 6. File any excess solder away from the inside of the join, making sure that the join is smooth. Don't file the outside of the join yet - that comes later. |
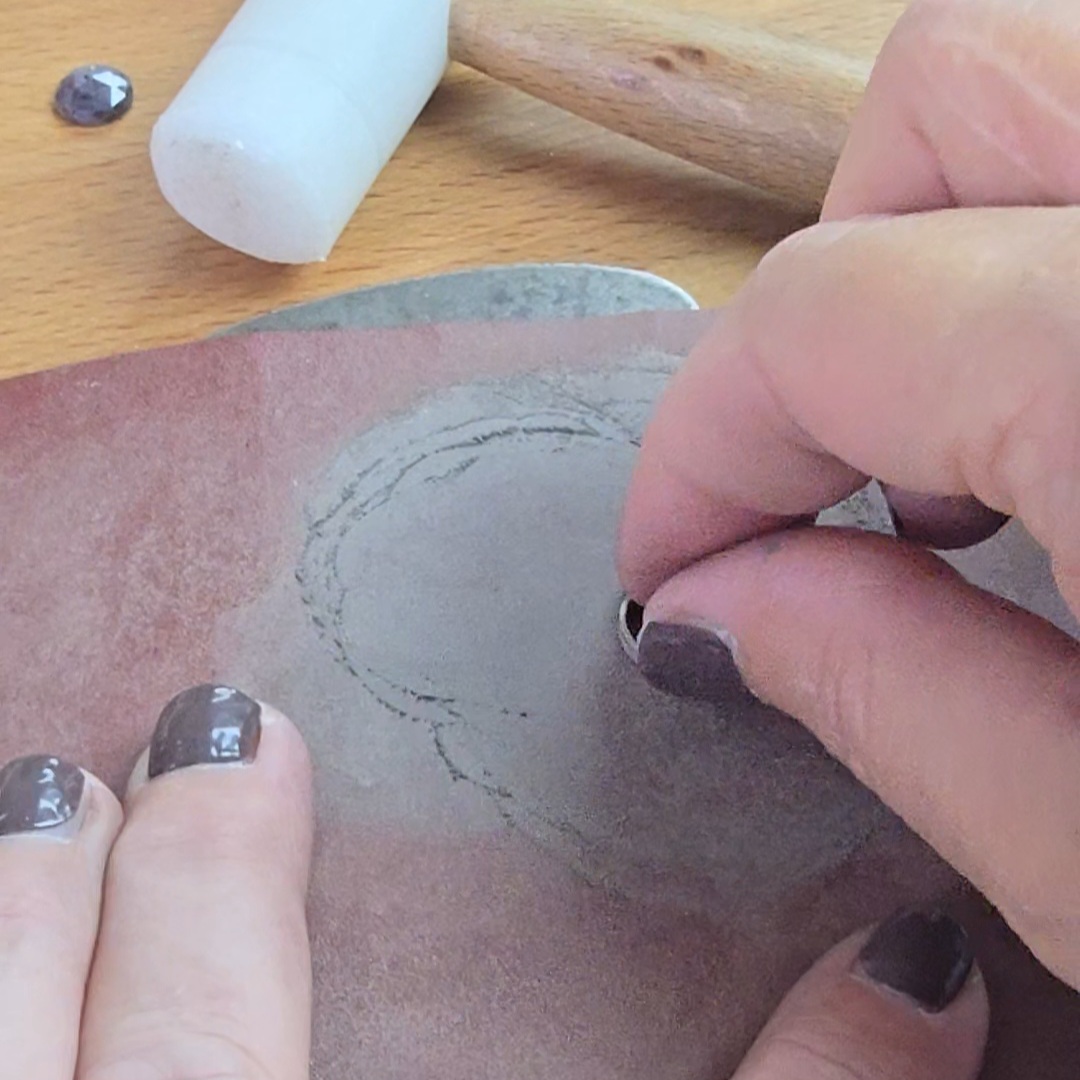 | 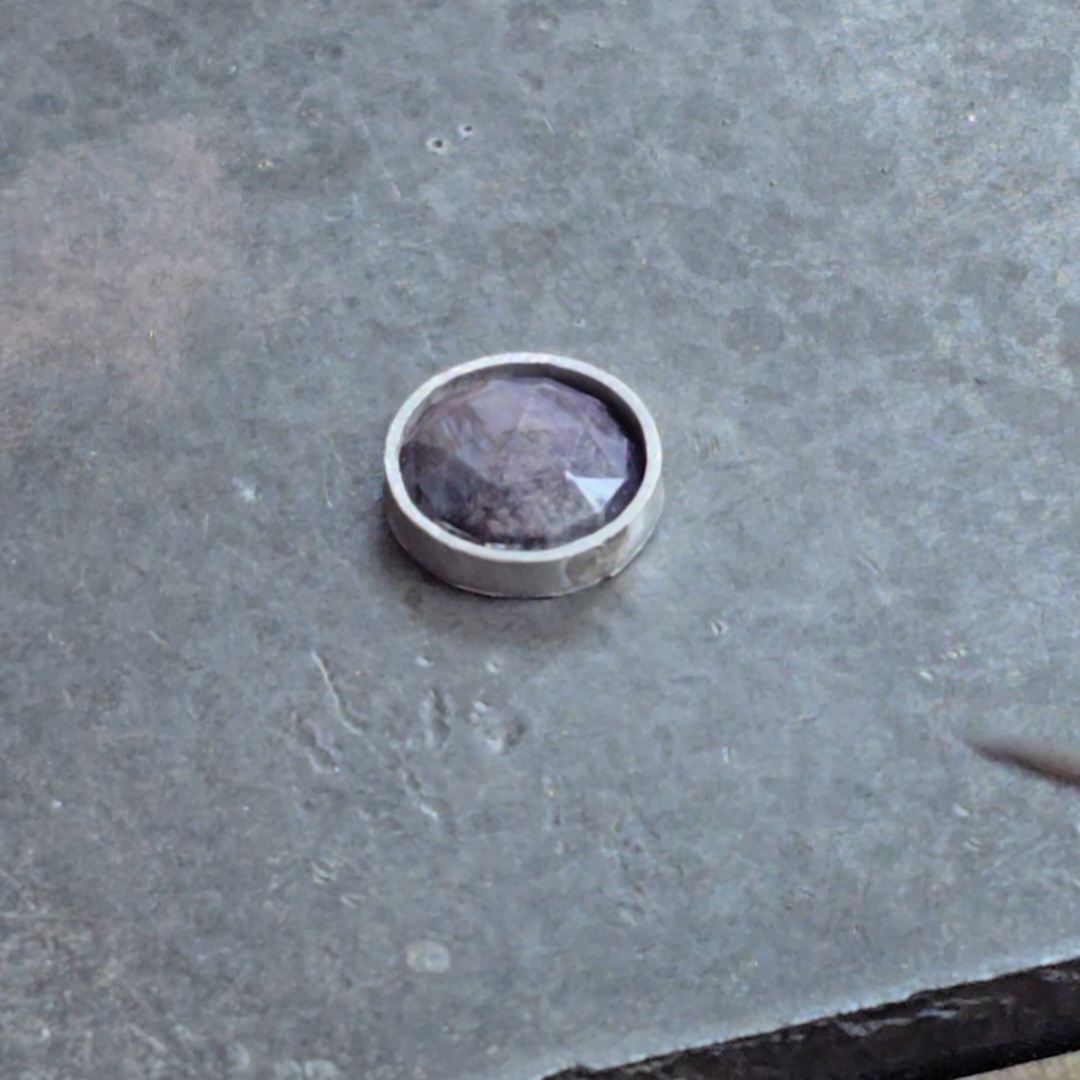 | 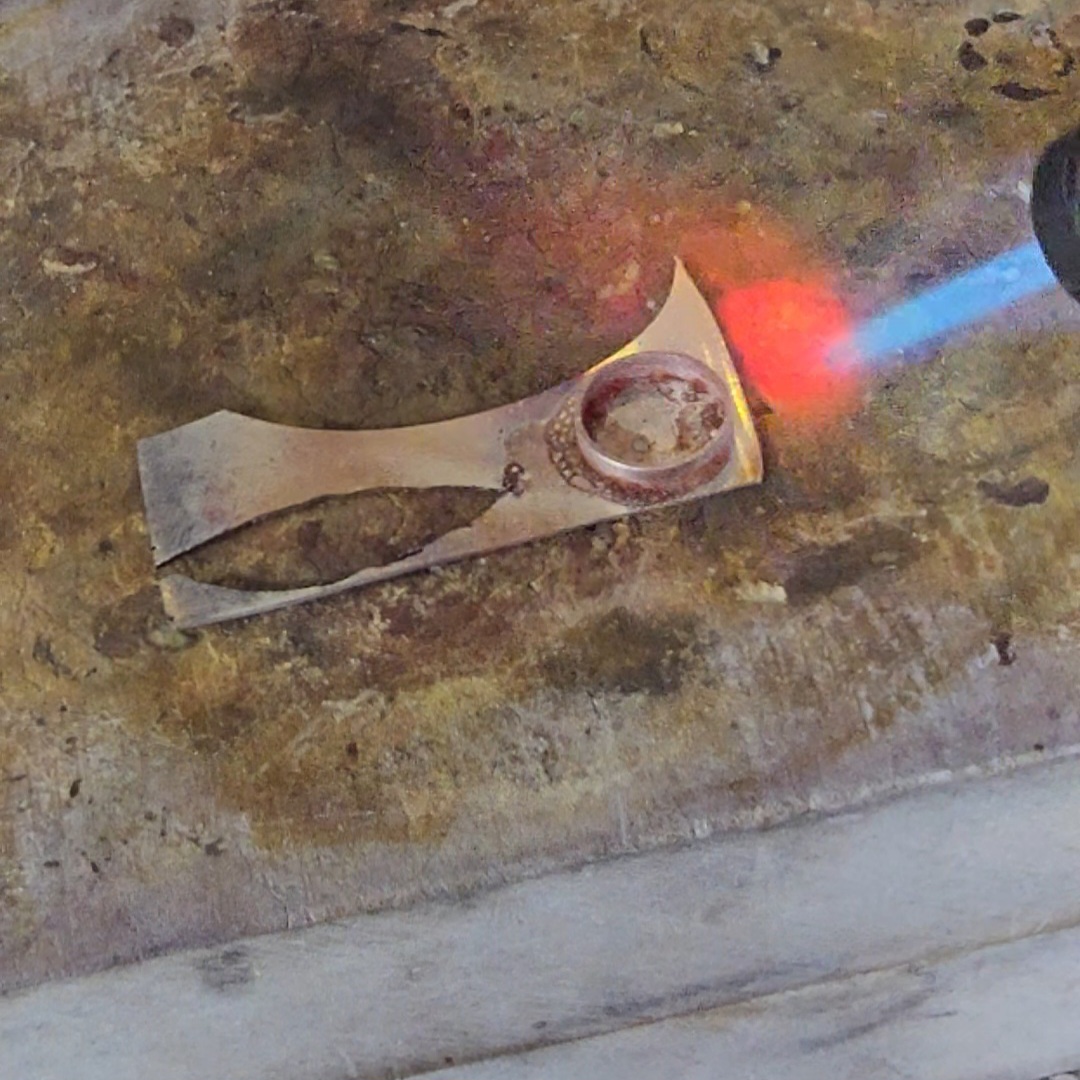 |
7. File or sand the top and bottom of the bezel to make sure that they are neat and flat. Once that is done, continue filing one side to reduce the height of the bezel so that it fits the stone. | 8. For this size of stone the bezel needs to be 0.4mm-0.5mm above the point at which the stone curves away from the silver. | 9. Use medium solder to solder the bezel to the backing plate. Quench and pickle to clean the setting. |
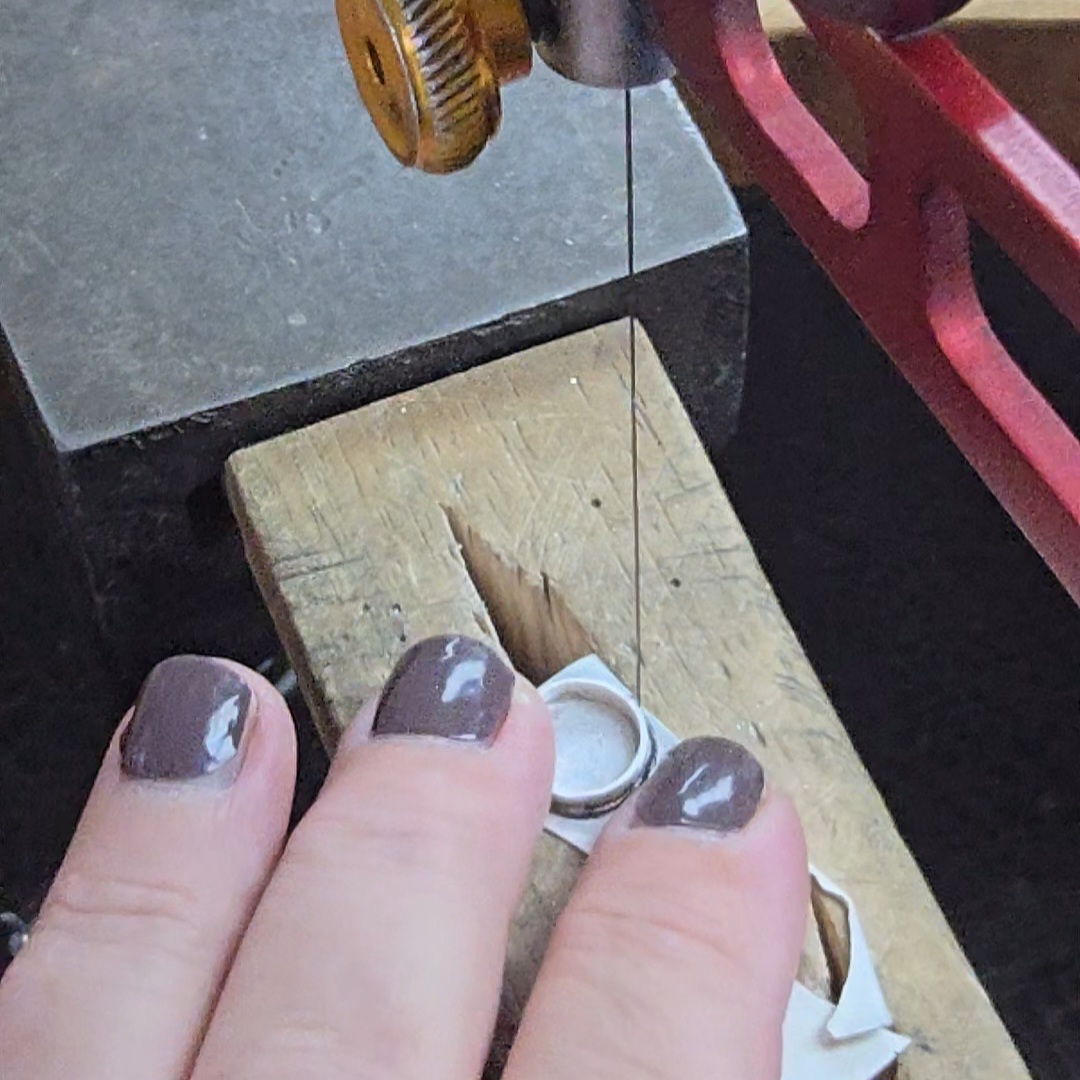 | 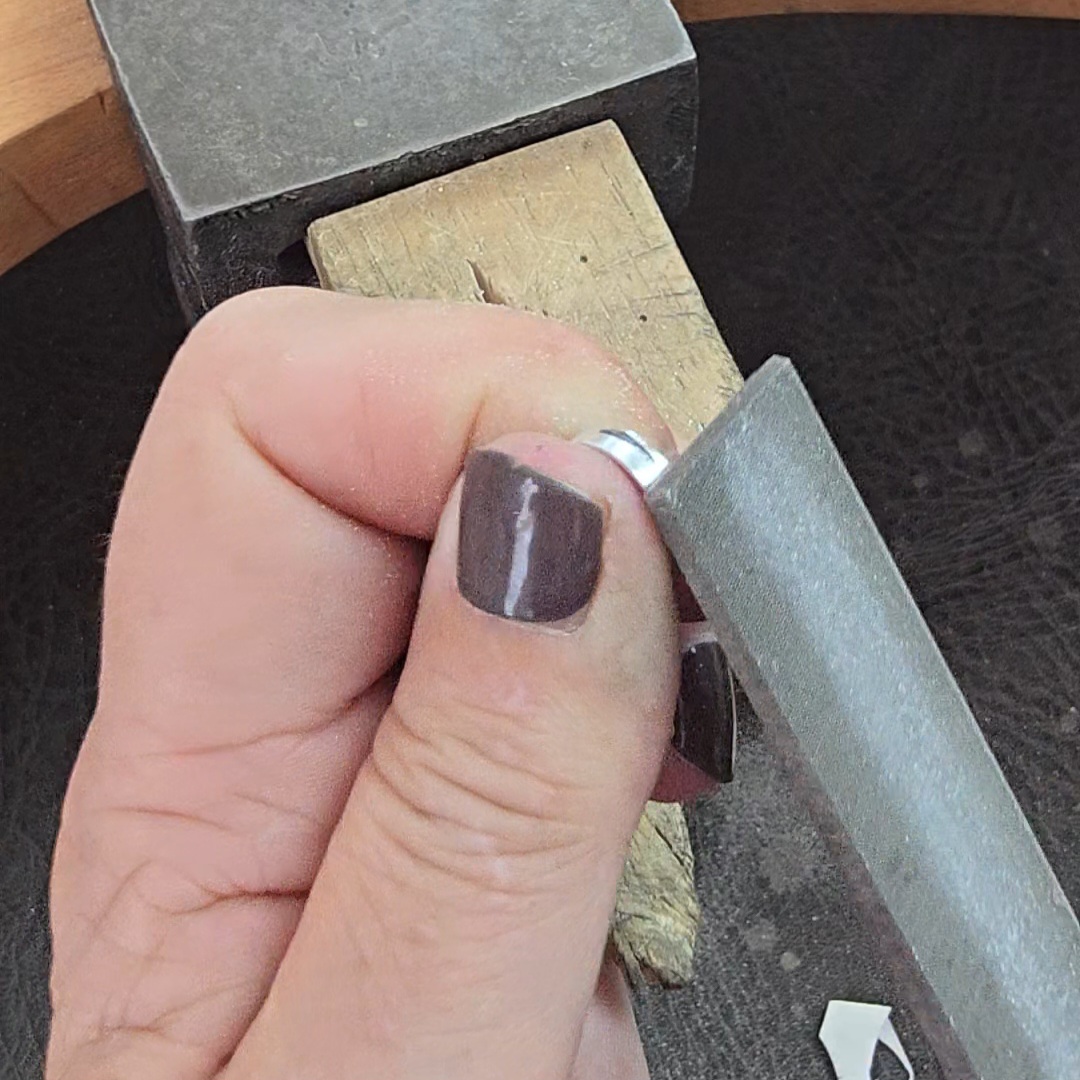 | 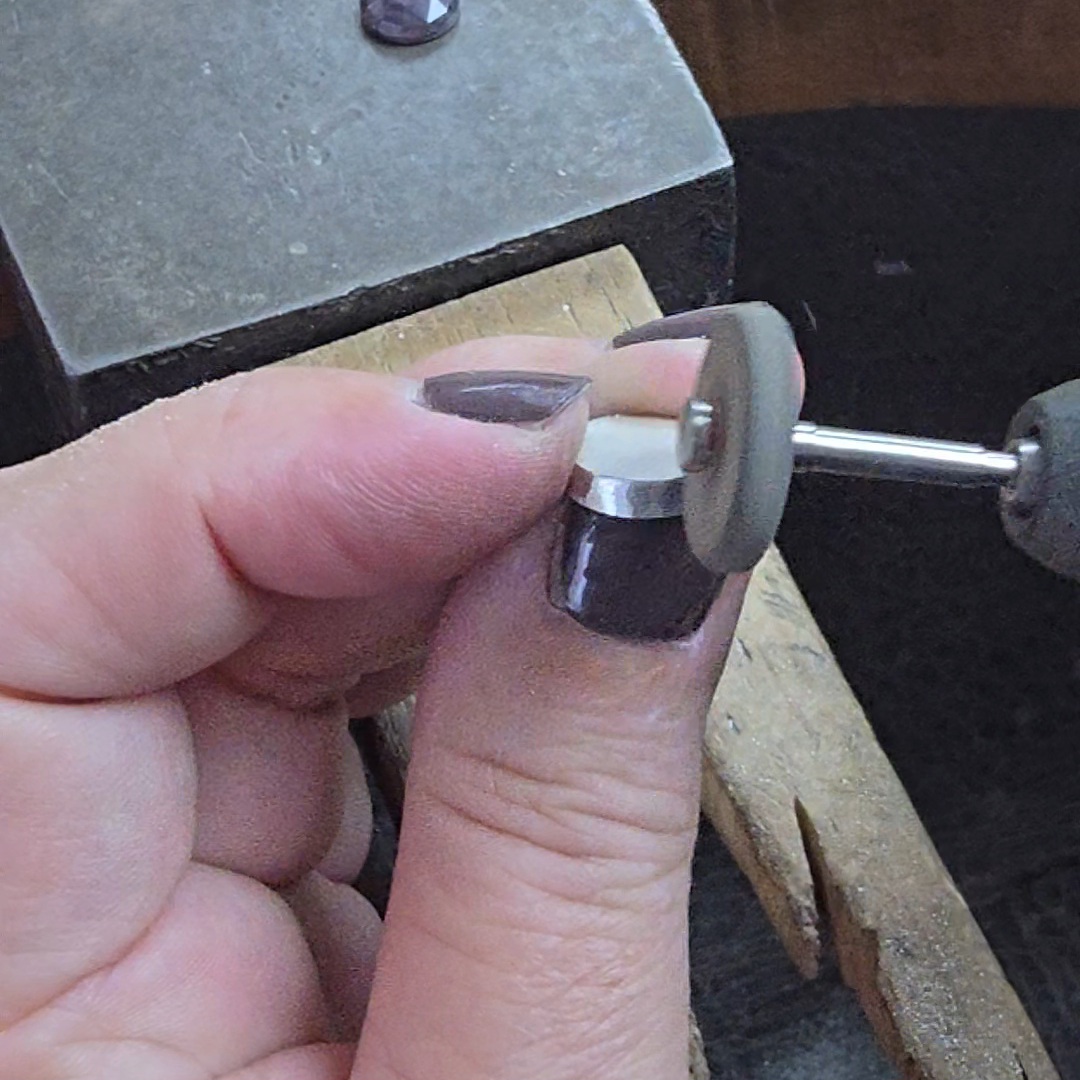 |
10. Once the bezel is clean, saw off the excess backing plate. I draw around the bottom of the bezel to make it clearer where to saw. | 11. Remove the last of the excess backing plate by filing. At this stage you will also file the outside of the bezel's solder join. | 12. Use a pendant drill tool (I use a silicon wheel) or emery paper to make sure that the edges of the bezel as lovely and smooth. |
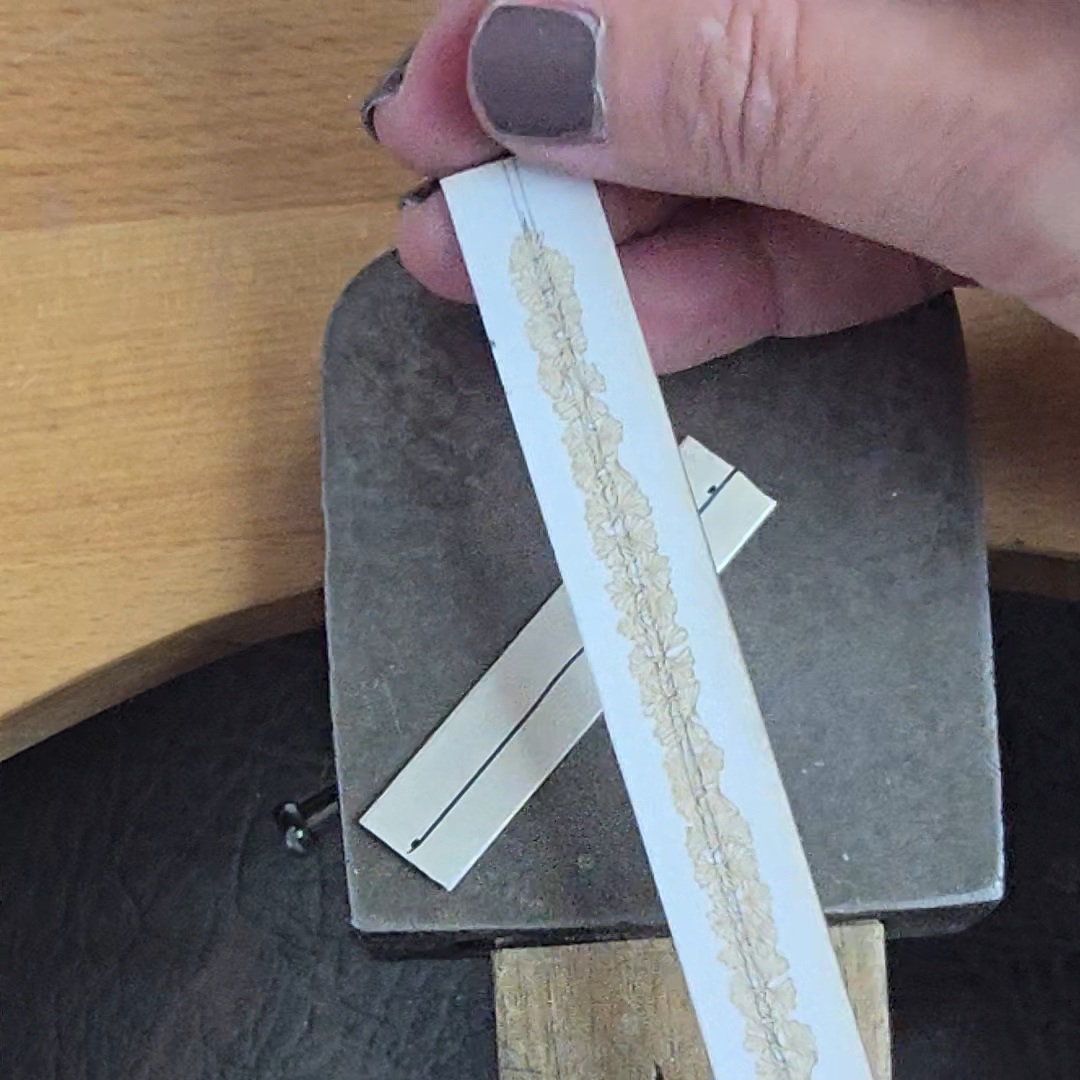 | 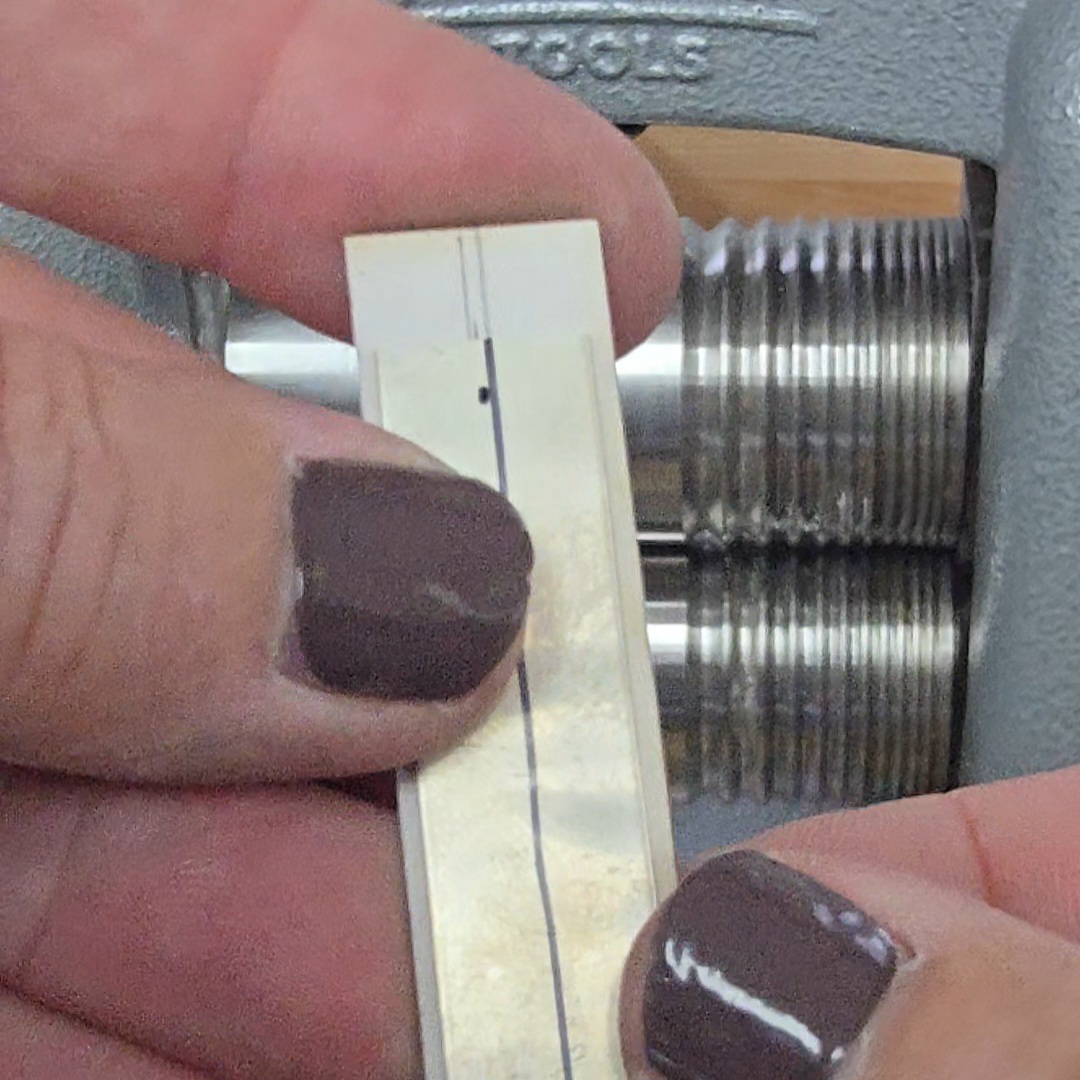 | 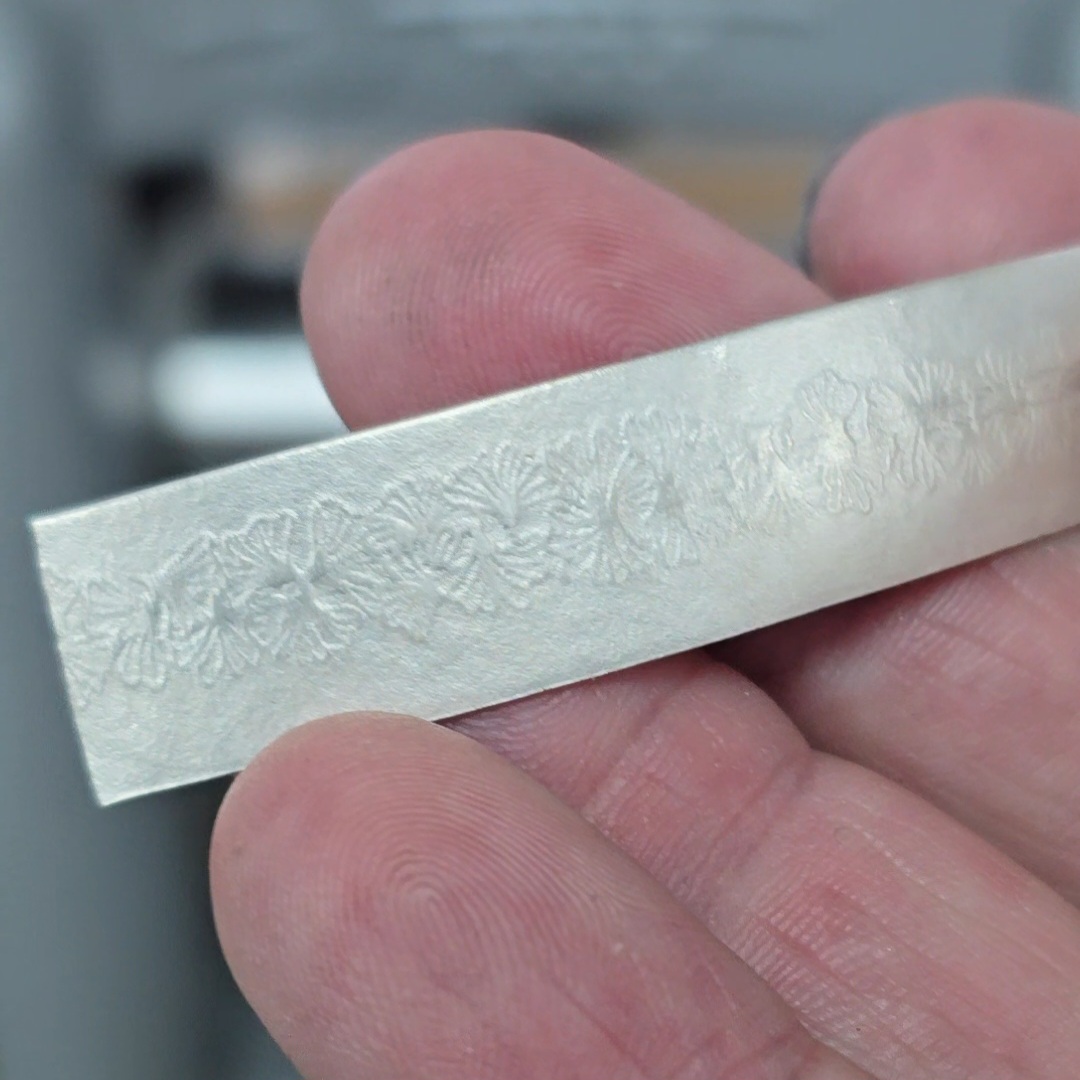 |
13. Moving onto the ring band, mark the centre line down both the length of silver and the ring band you have cut from the main texture sheet. | 14. Use these lines to align the silver and texture sheet so that the texture runs neatly down the middle of the ring band. Roll through the rolling mill to texture. | 15. And here's the lovely ginkgo leaves texture! |
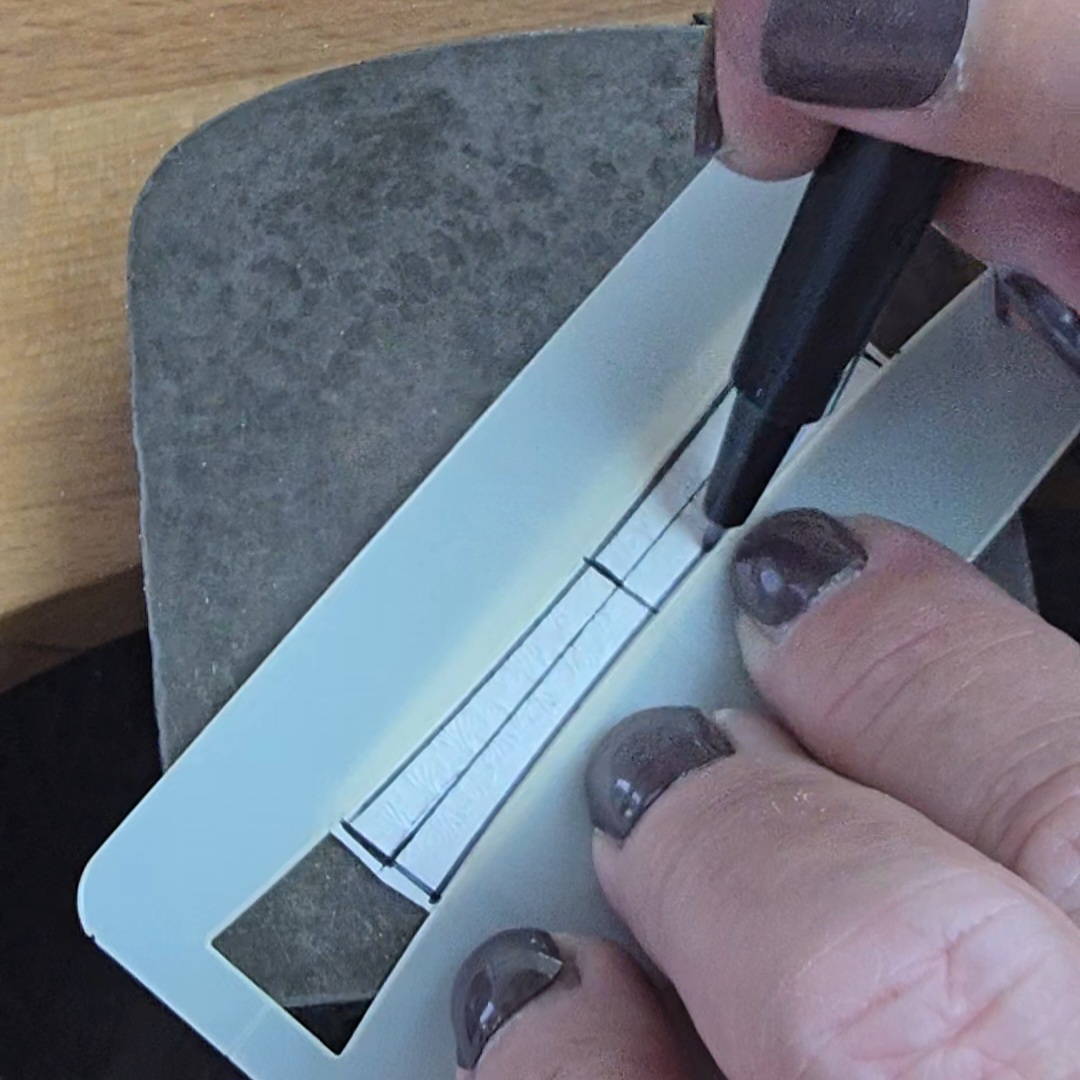 | 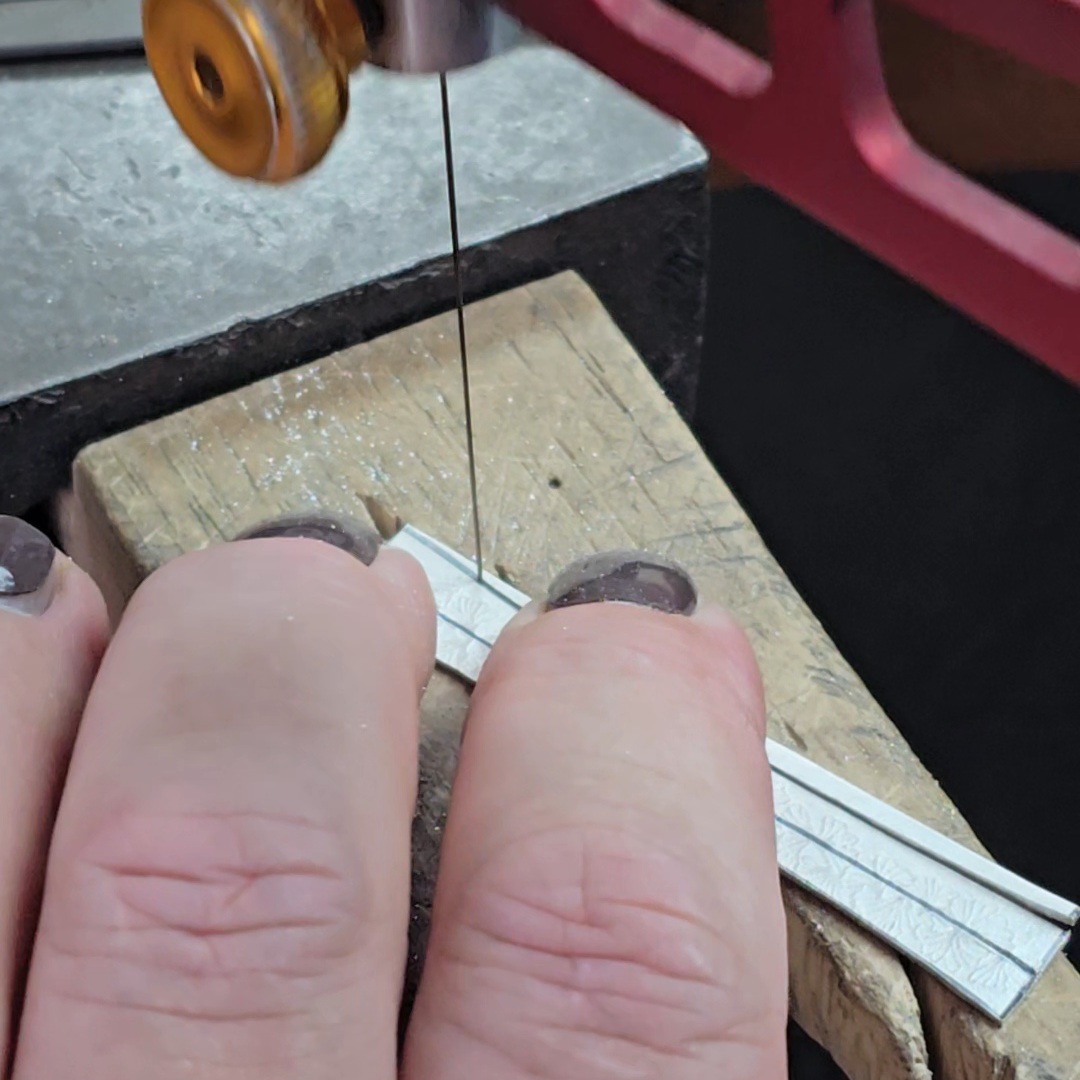 | 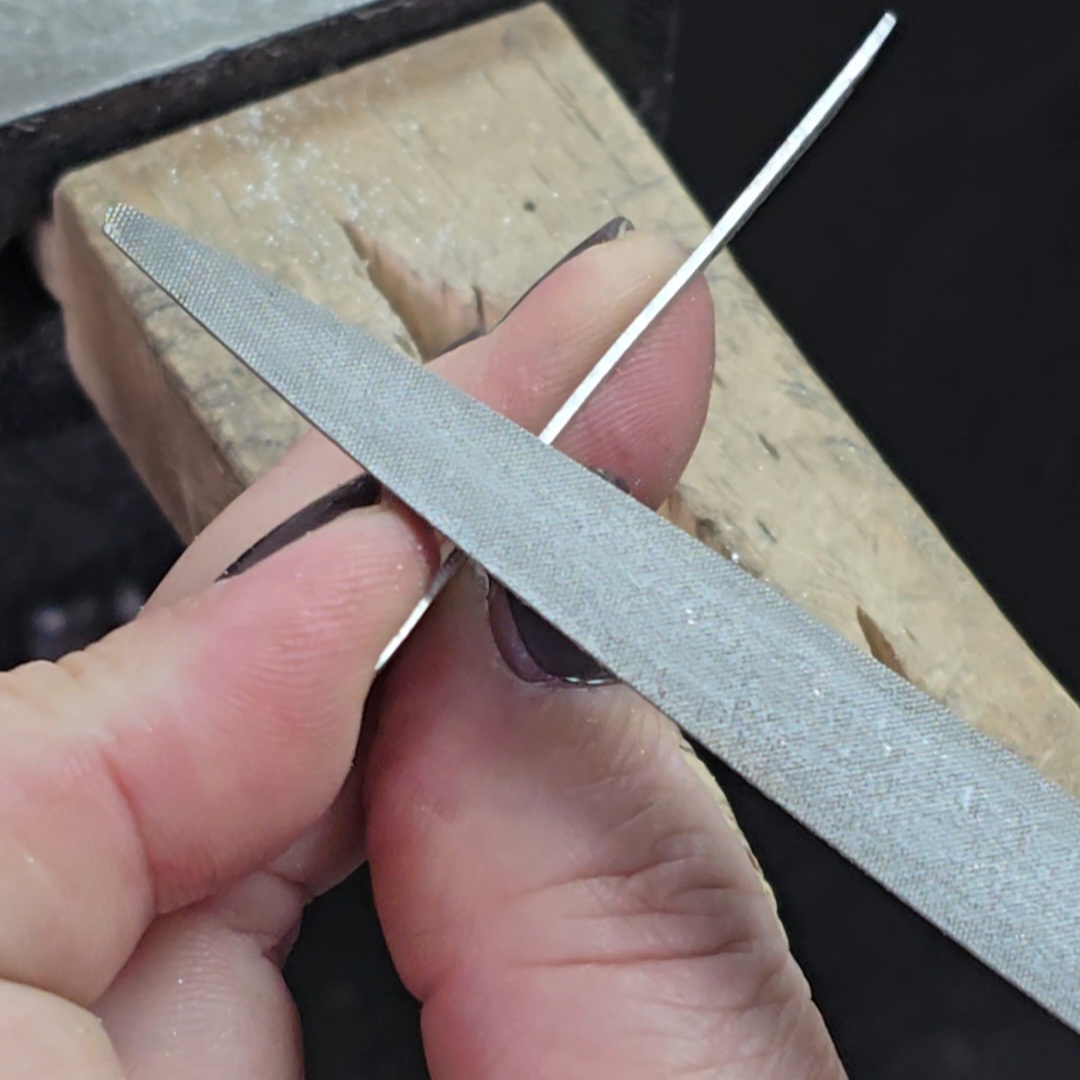 |
16. To mark the ring band for sawing, first mark the centre lines on the silver. Then line these up with the centre marks on the stencil for your chosen ring band and use a sharpie to mark out the cutting lines. | 17. Saw out the ring band. Remember, accuracy is more important than speed! | 18. File to neaten and refine the edges of the ring band. |
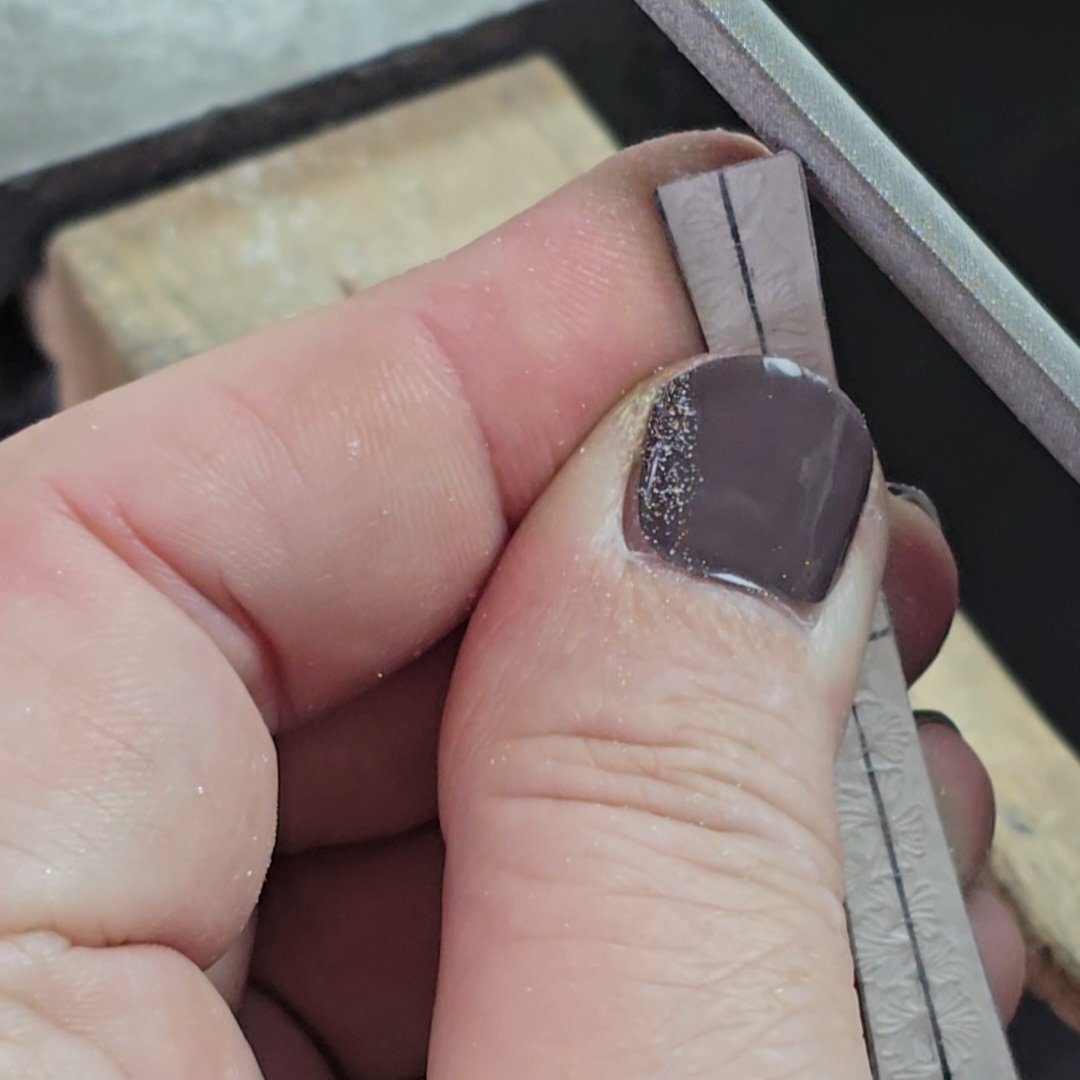 | 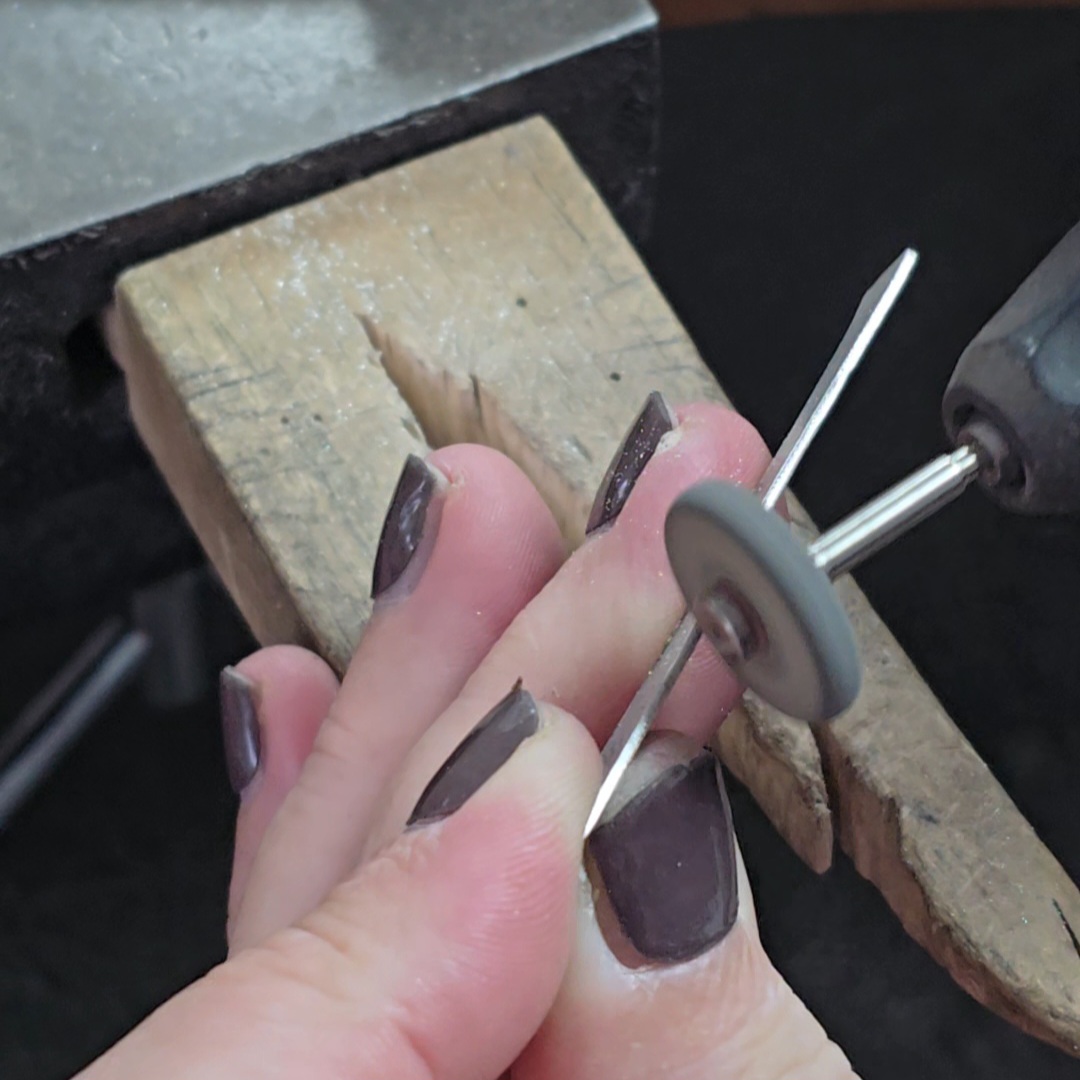 | 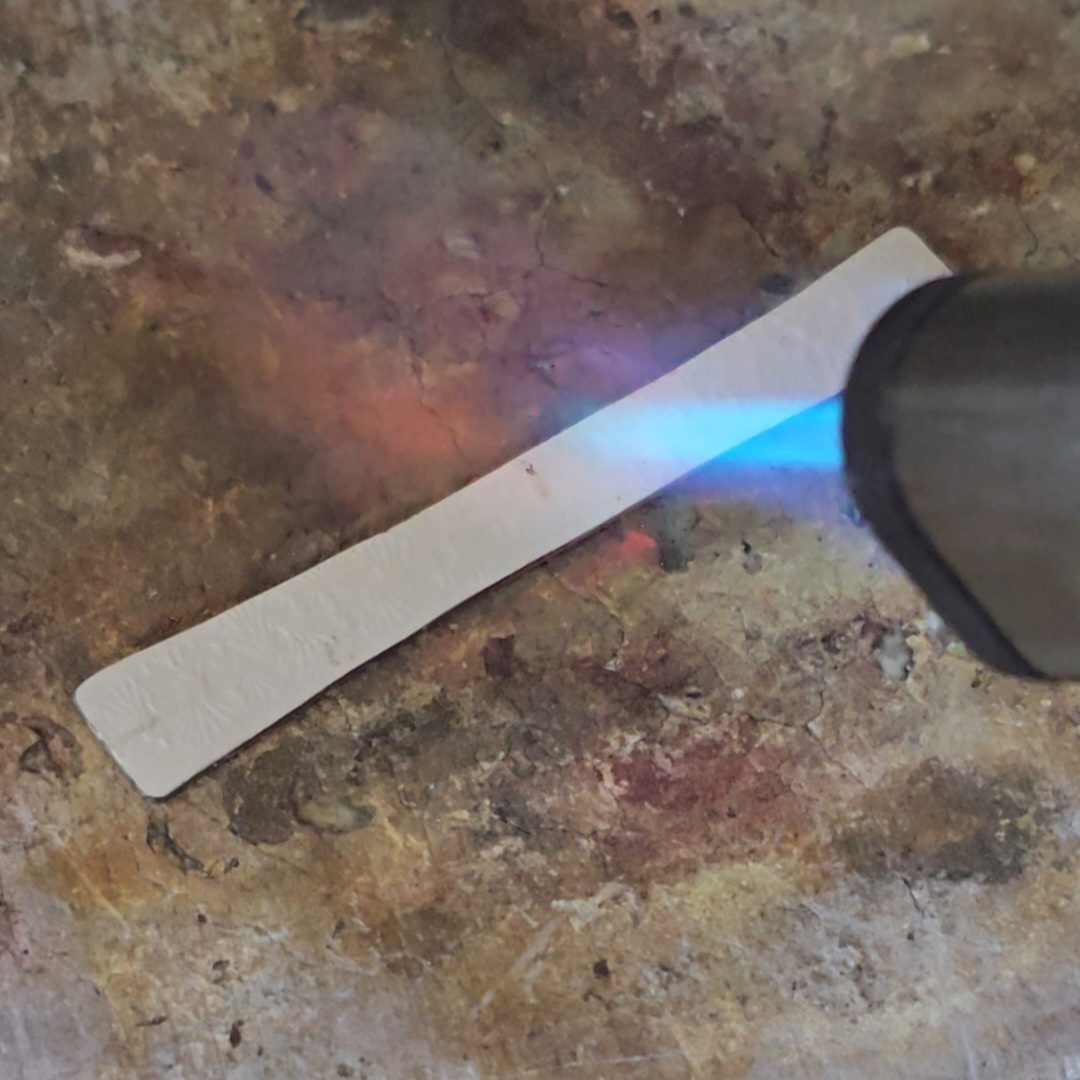 |
19. File the corners a little to round them out and make them more comfortable. | 20. Smooth the edges of the ring band with emery paper or a silicon wheel in a pendant drill. | 21. Anneal the ring band to prepare it for shaping. |
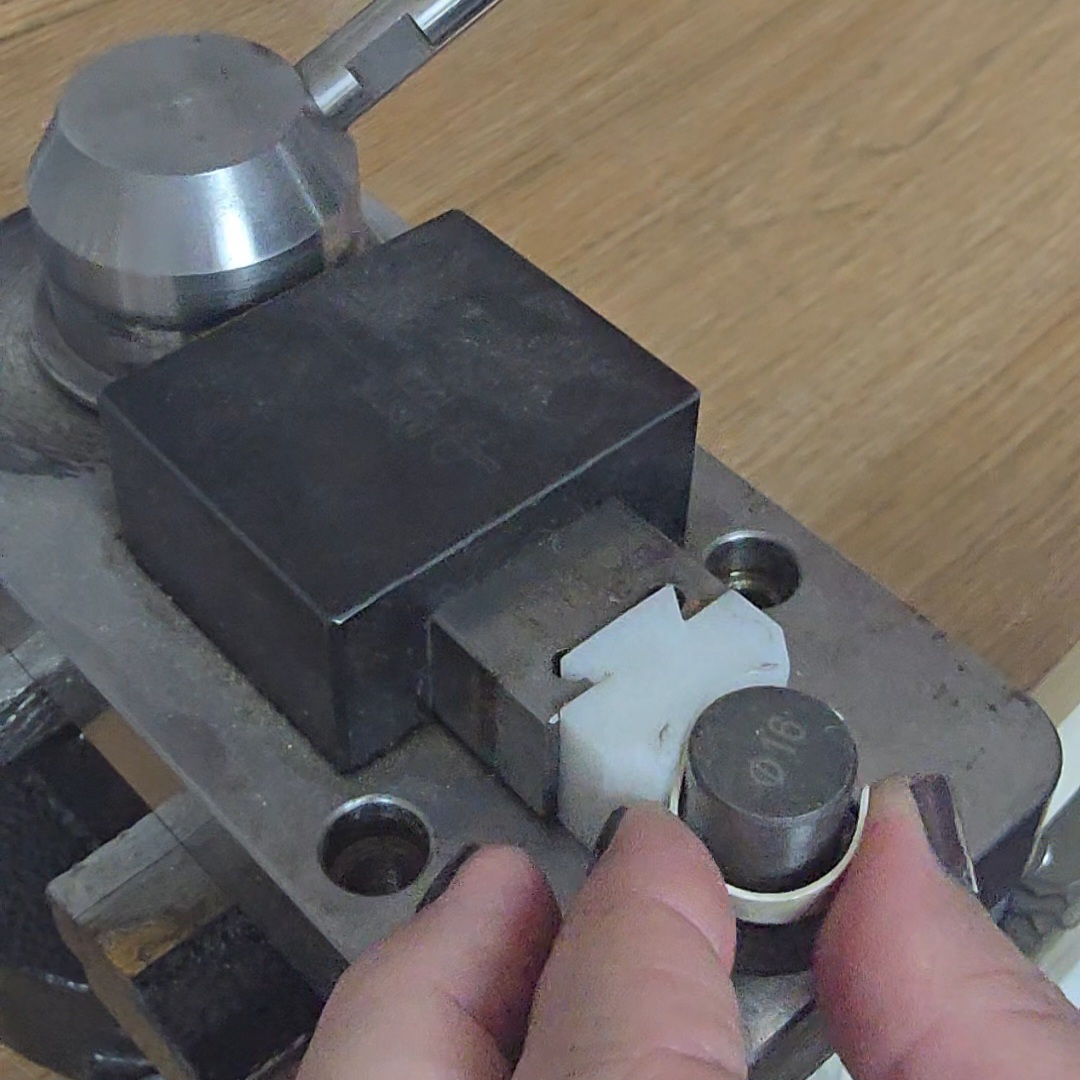 | 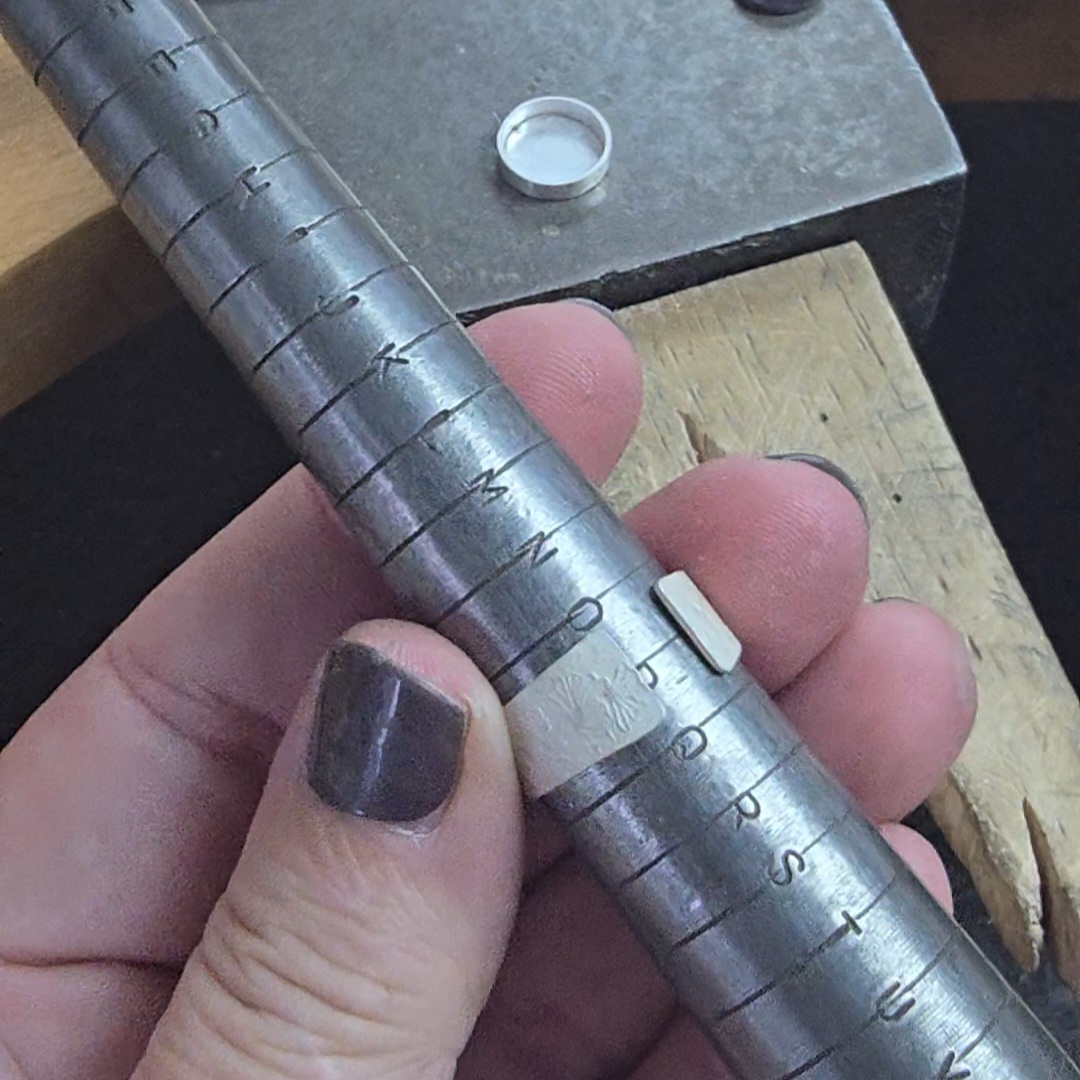 | 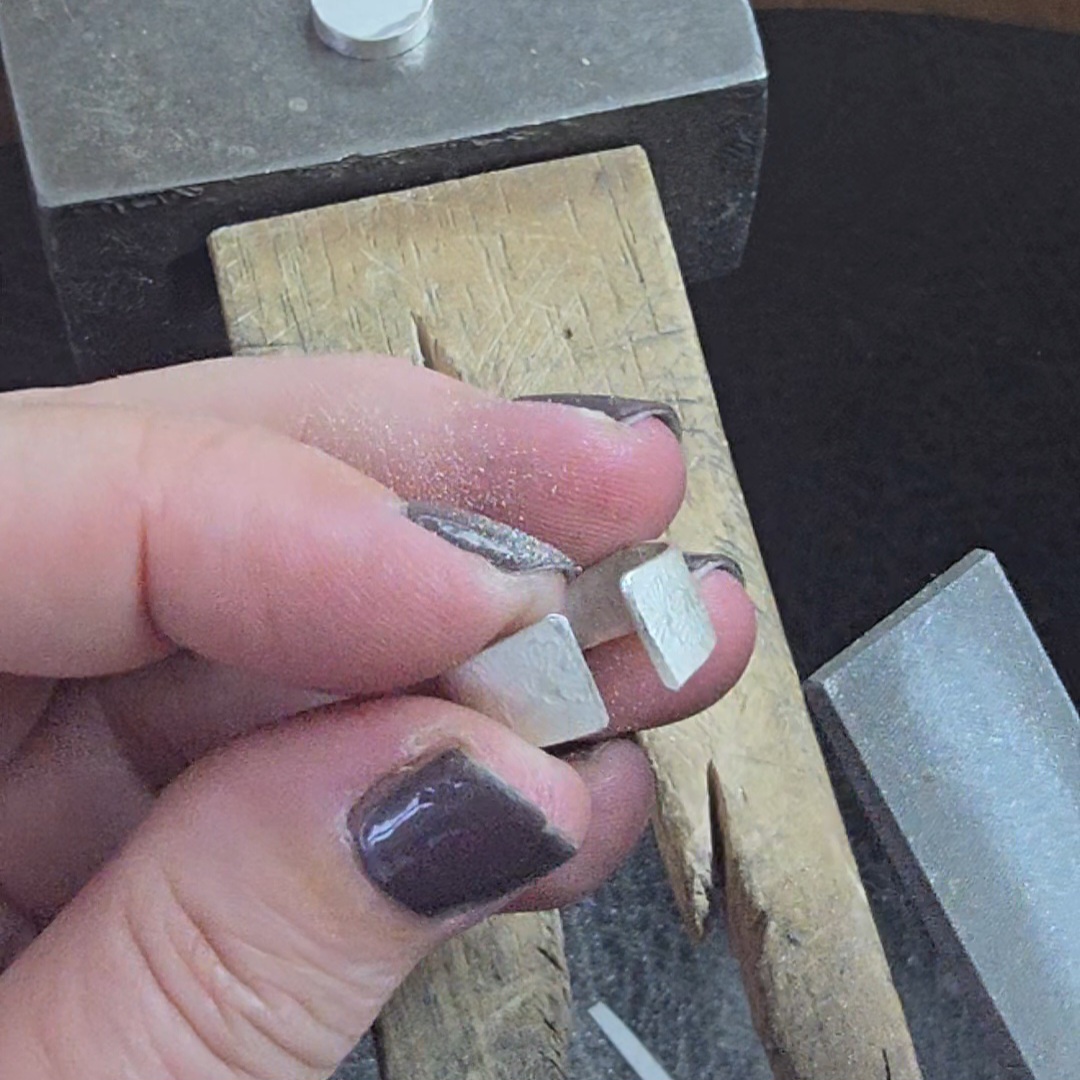 |
22. Shape the ring band with a nylon hammer and ring mandrel, or with a ring bending tool. | 23. Double check the size of the ring, pulling it down the mandrel to make it bigger if necessary. I pulled my ring band down to a size P, and when I took it off the mandrel tension in the silver made it spring closed it to the needed size O. | 24. Carefully file the top edges of the ends of the ring band to create a wider and so stronger join with the stone setting. |
6ad13df09d9ea_lg.jpg) | 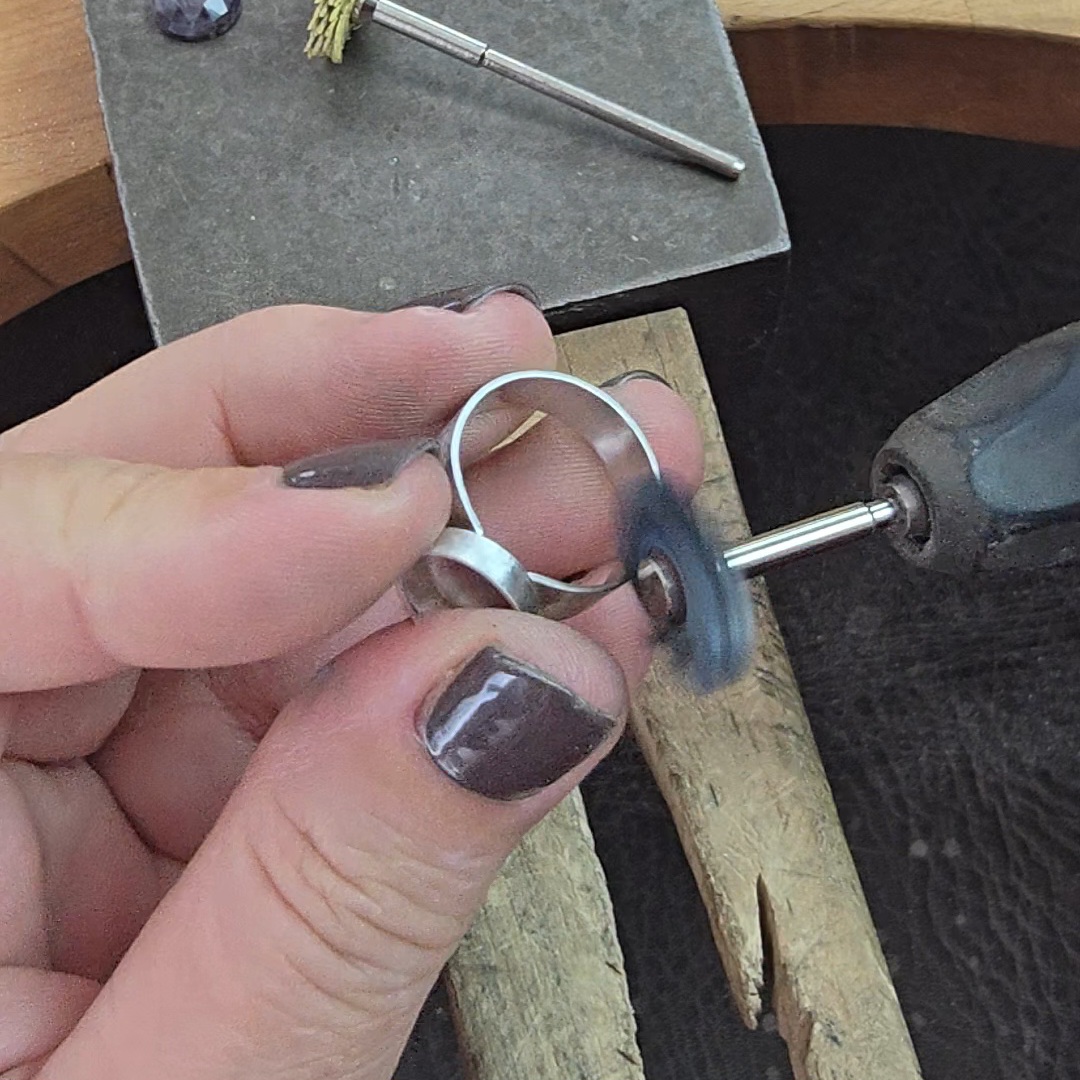 | 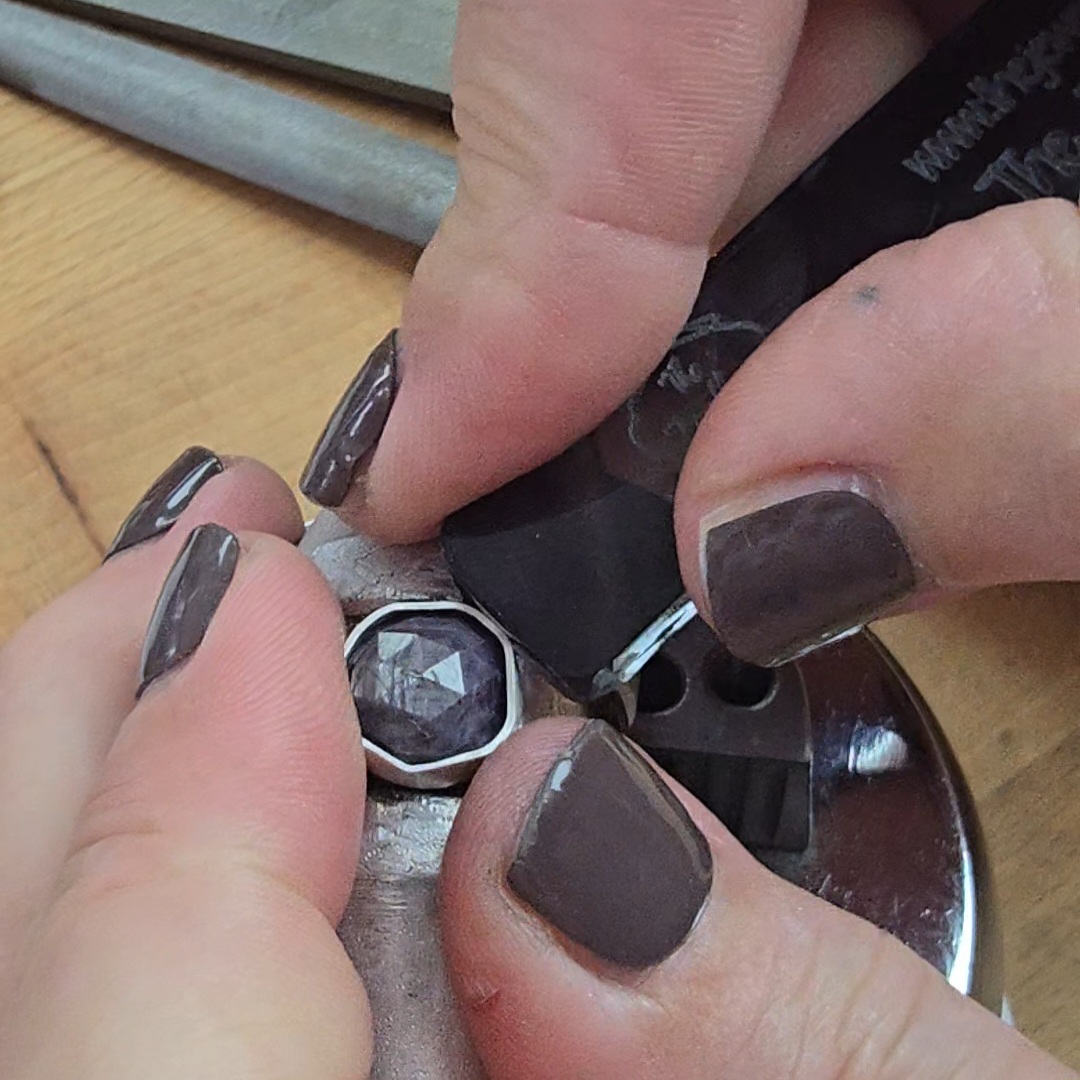 |
25. Align the ring band carefully on the stone setting. I drew lines across the middle of the setting to help with this. Solder the ring band and setting together with easy solder. | 26. Polish the ring using your preferred polishing method. | 27. Set the stone, remembering to work back and forth across the stone. Burnish the silver where it is pushed over the stone to make sure that it is firmly against the stone and to remove any tool marks. Then admire your lovely new ring! |
Looking for more ring projects?
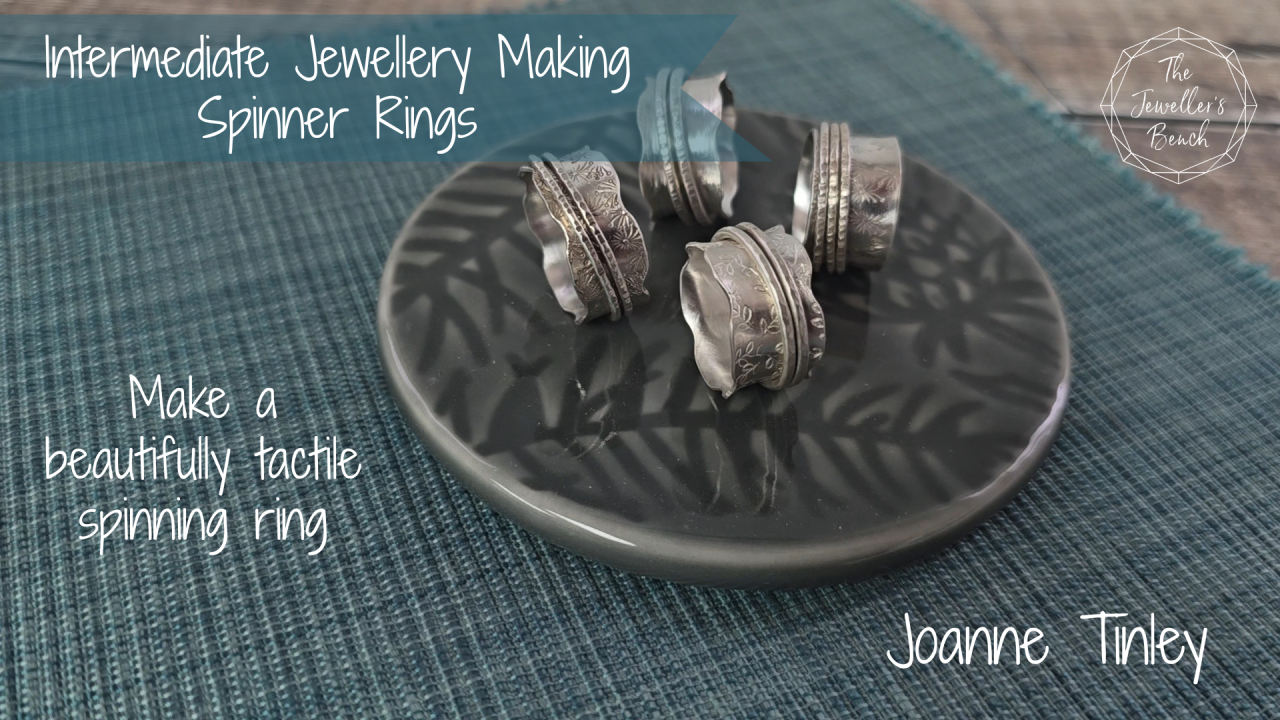 | 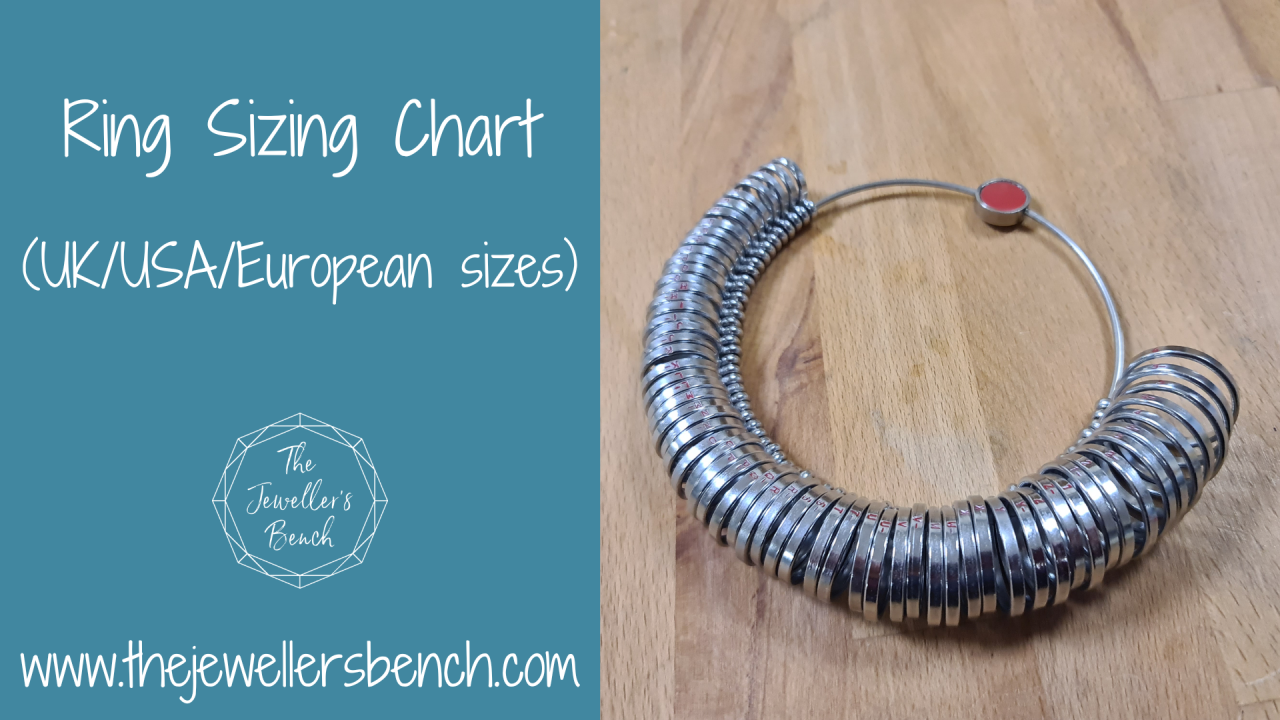 | 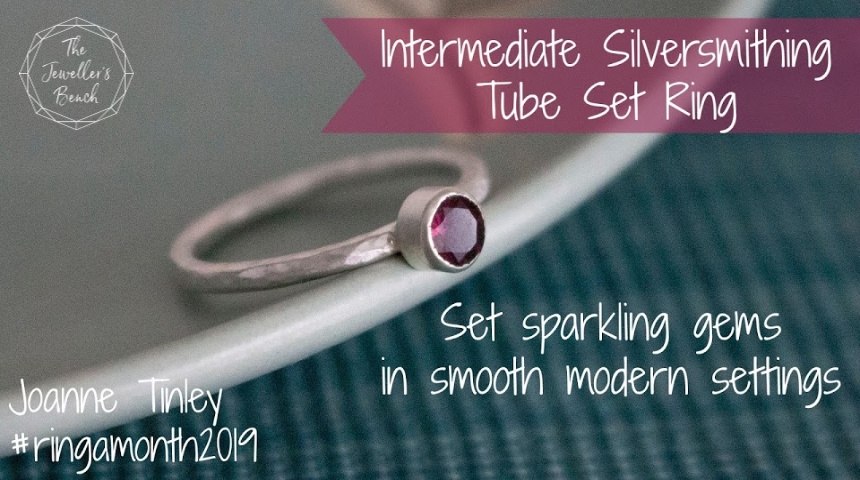 |
Spinner Rings | Ring Sizing Chart | Tube Set Ring |
| Make a beautifully tactile spinning ring - fun both to make and wear! | Download this free handy ring sizing chart. |
Learn how to set sparkling gems in smooth modern settings.
|
Categories: : back to basics, jewellery making tips, jewellery tutorial

Joanne Tinley
Tutor and Founder of The Jeweller's Bench
The Jeweller's Bench is run by Joanne Tinley. She has been making her own jewellery for as long as she can remember and left her first career as a school teacher to set up business as a jewellery designer and tutor nearly 20 years ago. She is
self-taught and like many people started with wire and beads. Learning how to solder, however, opened up a whole new world of jewellery making, one that she is keen to share!