What soldering equipment do I need?
 Joanne Tinley

Come and see the soldering set up in my studio and the equipment I use with my students!
Learning how to solder is wonderful!
It opens up a whole new world of jewellery making
and it is something that you can set up easier, and most importantly, safely at home.
In this blog post I'm going to show you my soldering set up in my studio and the equipment I use with my students.

This is my soldering area - a bit bigger than you need,
but then remember that I usually have students with me so we need room
to move! At most I will have 4 students soldering around the table,
with two soldering stations on each side of the table, fewer at any one
time if they are beginners. The fifth space at the front of the picture
is my space for demonstrating, and I'm the only one soldering then.
It's actually looking quite clean and tidy for it's photoshoot - soldering isn't exactly the cleanest part of making jewellery!
First of all, the table
itself. It is important that you solder at a height that allows you to
get a good view of your jewellery as it is being soldered without having
to hunch over it. Some people like to have a soldering station set up
on one side of their jewellery bench and tend to solder while seated. I
prefer to keep things a bit more separate and have a table at which I
stand. As such, I have a taller, workbench-style table. I've used two of
these tables from Ikea
as they also provide some nice storage underneath. An upcycled
second-hand table or workbench would do the job just as well - just
make sure that it is sturdy and of a suitable height.

Let's have a look at just one of the soldering stations and the equipment there
- I use <a data-selector="ul > li > a" data-uniqid="1605095763141" href="https://www.cooksongold.com/Jewellery-Tools/Soldering-Sheet-300-X-300-X-9mm-prcode-999-969&query=soldering%20sheet&channel=uk" rel="noopener noreferrer" target="_blank" >
- On top of the soldering sheet are a couple of soldering blocks. These provide extra protection for the table but most importantly a great surface to work on, and I do most of my soldering on these. They absorb some of the heat from the flame and pass it back into the silver, so if you have several pieces on the block waiting to be soldered (for example if you are soldering lots of links for a chain in the Hammered Chain Bracelet class), they will start to heat up before the flame even touches them, speeding your work up. I have a few blocks, and if I am soldering a big piece I will prop a couple up the block I'm working on to form a small "kiln" and radiate the heat back to the metal.
- An alternative soldering surface is this type of softer <a data-selector="ul > li > a" data-uniqid="1605095763146" href="https://www.cooksongold.com/Jewellery-Tools/Magnesia-Soldering-Block-prcode-999-974&query=magnesia&channel=uk" rel="noopener noreferrer" target="_blank" >
- The black brick is a <a data-selector="ul > li > a" data-uniqid="1605095763146" href="https://www.cooksongold.com/Jewellery-Tools/Natural-Charcoal-Block-140mm-X-70mm-X-30mm-prcode-999-970" rel="noopener noreferrer" target="_blank" >

Next up are the tools I use to hold or move my work as I'm soldering
- The wooden handled tweezers are <a data-selector="ul > li > a" data-uniqid="1605090238720" href="https://www.cooksongold.com/Jewellery-Tools/Reverse-Action-Tweezers,-Set-Of-2,-Straight-And-Curved-Tips,-With-----Insulated-Grips-prcode-999-987A" rel="noopener noreferrer" target="_blank" >
- The red handled tool is a <a data-selector="ul > li > a" data-uniqid="1605090238722" href="https://www.cooksongold.com/Jewellery-Tools/Titanium-Soldering-Probe-prcode-999-AAFE&query=solder%20pick&channel=uk#description" >
- Also shown is a <a data-selector="ul > li > a" data-uniqid="1605090238723" href="https://www.cooksongold.com/Jewellery-Tools/Third-Hand-On-Base,-Complete-prcode-999-AAA" rel="noopener noreferrer" target="_blank" >
- The reel of wire is binding wire. It has many uses, including holding together larger pieces during soldering.
- And there are also a few pennies and small pieces of scrap copper sheet. These are useful for propping up small pieces while you solder them.

And of course you need something to heat your work with!
I have got two types of hand torches that I use
in my classes. It is the heat of the piece of work that melts the
solder, not the heat of the flame, and so if I am soldering a big
piece such as a bangle I need to use a bigger torch to heat the silver
up enough. The smaller torch is ideal for chains, clasps, earwires,
small pendants etc. Both of these torches are refilled by butane gas
canisters. My small torch is this one, but this is a good alternative. The big torch is this one, available from a range of suppliers. This is also a good alternative for a larger torch.
I also have a more specialist (and therefore more expensive!) torch that is fuelled by a propane bottle and an oxyconcentrator. That one is under my desk, out of sight. The torches pictured are all that a beginner will need.
The next two pictures shows my soldering materials - flux and solder in various forms

- The white cone is a <a data-selector="ul > li > a" data-uniqid="1605090240089" href="https://www.cooksongold.com/Jewellery-Tools/Borax-Dried-Flux-Bar-And-Ceramic---Dish-Soldering-Set-prcode-1VP-001" rel="noopener noreferrer" target="_blank" >
- The bright yellow liquid is <a data-selector="ul > li > a" data-uniqid="1605090240090" href="https://www.cooksongold.com/Jewellery-Tools/Auroflux-Soldering-Fluid-250ml-prcode-998-108" rel="noopener noreferrer" target="_blank" >

- The lengths of metal are <a data-selector="ul > li > a" data-uniqid="1605095763878" href="https://www.cooksongold.com/category_select.jsp?channel=uk&query=silver+solder+strip" rel="noopener noreferrer" target="_blank" >
- <a data-selector="ul > li > a" data-uniqid="1605095763879" href="https://www.thejewellersbench.com/why-are-there-different-solders-and-how-do-i-use-them" rel="noopener noreferrer" target="_blank" >this="" blog="" post<="" a="">The syringes contain <a data-selector="ul > li > a" data-uniqid="1605095763880" href="https://www.cooksongold.com/category_select.jsp?channel=uk&query=silver+solder+paste" rel="noopener noreferrer" target="_blank" >
- The <a data-selector="ul > li > a" data-uniqid="1605095763881" href="https://www.cooksongold.com/Jewellery-Tools/717.5cms-Straight-Shears-With-Red-Handle-prcode-997-3003&query=shears&channel=uk" rel="noopener noreferrer" target="_blank" >
A few more bits and pieces for you:

- Safety goggles are a very important piece of kit for a jeweller - you've only got one pair of eyes!
- The dish of water is my quench pot - such a sophisticated expensive piece of kit! Quench your work to cool it down quickly and safely.
- The slow cooker is my pickle pot. Pickle is a mild acid used to clean silver after soldering, and it works quickest when it is warm. It can be found in a few different forms, and everyone has their favourite! You can buy expensive pickling units, but slow cookers are a cheaper alternative. Make sure that you buy a slow cooker with a ceramic rather than metal insert. If you put steel or iron (eg reverse action tweezers, binding wire) into the pickle, all of the copper the pickle has collected off the silver as it's been cleaned will go back on the silver!
- Which leads me to the brass tweezers. These are used to take work out of the pickle instead of steel tweezers. You can also buy plastic tweezers, and I use small plastic tea strainers or sieves to hold my smaller pieces of work in the pickle. It saves me having to fish about for them at the bottom of the slow cooker!
If you've read through that you might be worrying that it's a lot of equipment, but do remember that some of it (the solder picks and different soldering surfaces for example) are optional, and what you do buy will last you for years and be used for many many soldering projects!
Essentially
all you need are something fireproof and heatproof to work on, tools to
safely move your work, solder, flux, something to melt the solder with
and a way of cleaning the silver afterwards. If you have room for a
permanent set up then that's wonderful, but many of my students set up
temporary soldering stations in their kitchens. A baking tray with soldering blocks makes a great soldering area!
I've linked to the main supplier of jewellery equipment that I use here in the UK, Cookson Gold, but have a look at this blog post for more ideas of suppliers in the UK and the US.
Looking for some more soldering tips and great projects to get you started?
 | 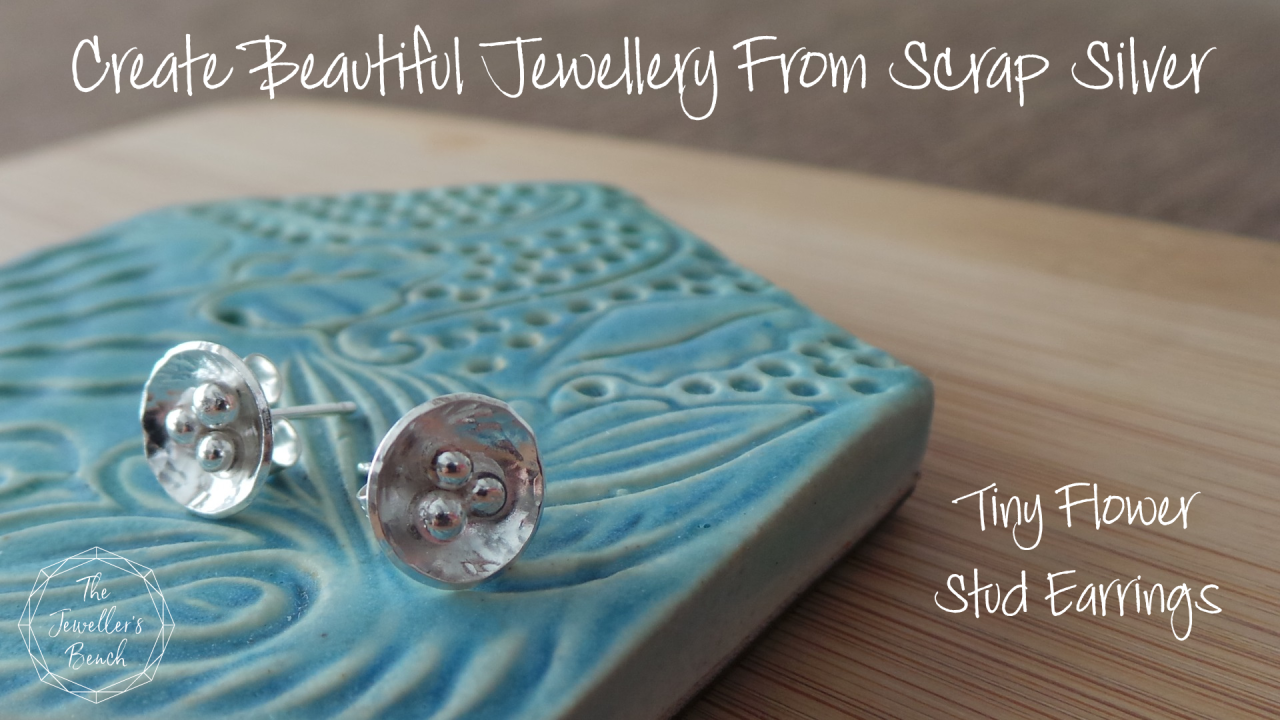 | 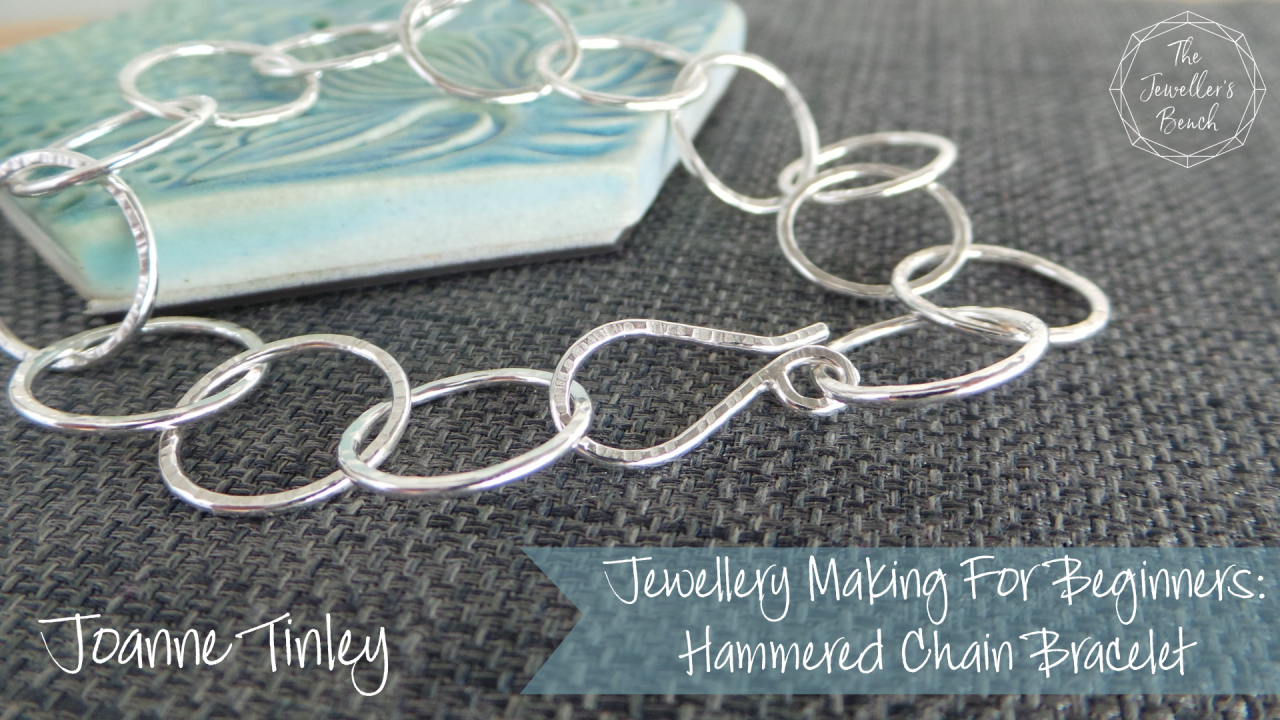 |
Why are there different solders and how do I use them? | Tiny Flower Stud Earrings | Hammered Chain Bracelet |
Learning to solder silver (and copper and gold!) opens up a whole new exciting world of jewellery making, but sometimes all the different terms can be a bit daunting when you're first getting started! Read on and I will explain it all! | Find out how to make beautiful earrings from scrap silver and how to solder stud earring fittings securely in place. | Learn how to turn a length of wire into a beautiful chain bracelet, and practise your soldering at the same time! |
Categories: : getting started, how to, jewellery making tips, studio organisation

Joanne Tinley
Tutor and Founder of The Jeweller's Bench
The Jeweller's Bench is run by Joanne Tinley. She has been making her own jewellery for as long as she can remember and left her first career as a school teacher to set up business as a jewellery designer and tutor nearly 20 years ago. She is
self-taught and like many people started with wire and beads. Learning how to solder, however, opened up a whole new world of jewellery making, one that she is keen to share!
