What to do if your bezel is too small for your stone
 Joanne Tinley
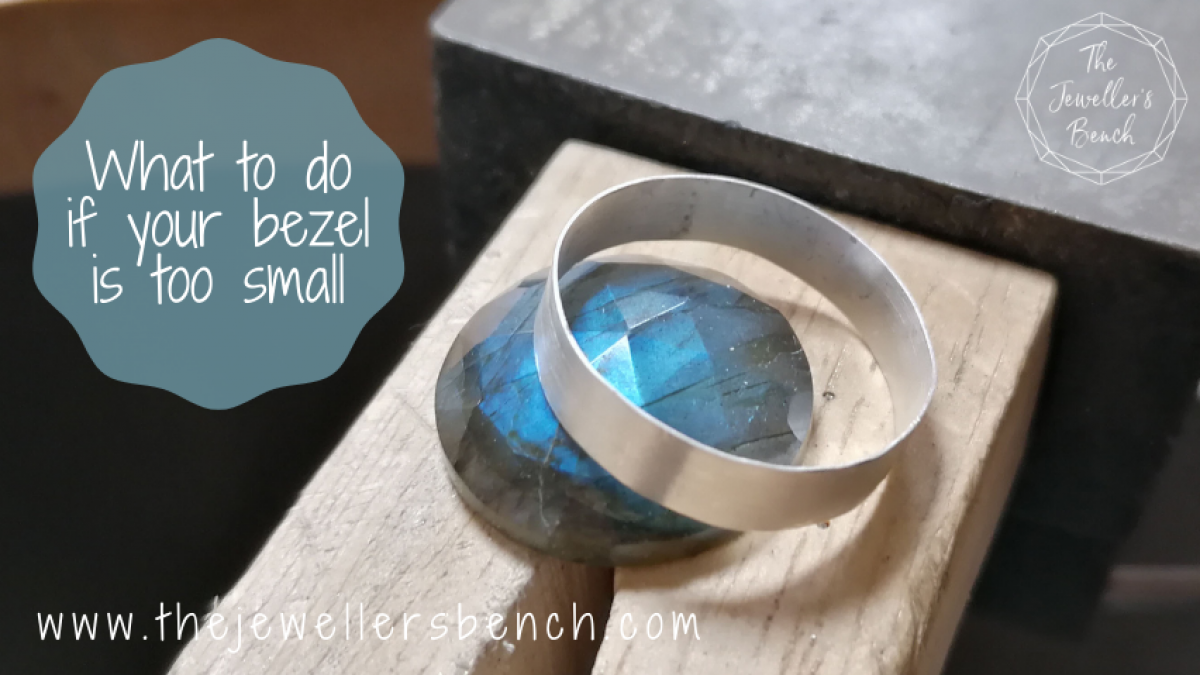
You've soldered your bezel - only to find that it's now too small! Don't worry, we've all done it.... and I'm going to show you an easy way to put it
You've cut your bezel strip to size, filed the ends, soldered and carefully neatened up the solder join - only to find that the bezel is now too small for your stone!
Don't worry, we've all done it.... and I'm going to show you an easy way to put it right.
To be perfectly honest, I would much rather that my bezel was a bit too small than a bit too big.
If
your bezel is too big then your stone cannot be set securely. It is
likely to be untidy at best, and at worst the stone will wobbly about
and could eventually come loose. To sort out a bezel that's too big you
have to cut it open at the solder join, re-file the ends to create a
tightly fitting join, solder, file again. You get the idea - it's
possible but it means repeating your hard work, and sometimes it's just
easier to see if you've got a smaller stone to fit in there instead!
However,
making bezel a bit bigger much easier.... I make my bezel settings
bigger by stretching them. This works with fine silver, sterling
silver, all purities of gold and even with copper, although the softer
the metal you have used to make your bezel the easier and quicker the
stretching will be.

Roll it out...
I
roll the bezel between to steel surfaces, a bench block on the outside
of the bezel and a steel rod on the inside. I use one of the steel
mandrels from my set of coiling mandrels (you can see how I usually use
them to start preparing links for my bracelets in the Hammered Chain Bracelet class),
but a metal knitting needle would do the job just as well. Use whatever
you have to hand - it just needs to be smaller in diameter than your
bezel and long enough to hold through your bezel as I'm doing in the
photo.
Place the bezel on a steel bench block as shown and roll
back and forth as if you're rolling out pastry. It might take a little
practice to get the pressure right but you want the bezel to roll
around the rod so that you're applying pressure almost all the way
round the bezel. As you roll the soft silver between the harder pieces
of steel you will roll the silver longer - a human rolling mill!

A couple of important tips...
•
avoid rolling across the solder join (that's why I said almost all the
way round the bezel). The solder join is harder than the rest of the
metal and so will react slightly differently, and it is also a potential
weak spot.
• count the number of rolls back and forth that
you're doing. Do, say, 8 rolls, remove the roller, turn the bezel round
the other way and do 8 more rolls. The number isn't important - doing
the same both ways round is. This will compensate for the fact that you
will naturally be applying more pressure on one side than the other.
This is what I'm doing in the photo you can see here.
• do a little and check often - you don't want your bezel to become too big!!

If you are using anything but fine silver, or even if you are using fine silver and your bezel is more than just a little bit too small you are likely to find that after a while your metal becomes too hard to stretch. You have work hardened your metal and need to anneal it as I'm doing in the photo below.

To find out what annealing is and why there's a black sharpie mark on my silver watch this free video tutorial!

Ta da! One perfectly fitting bezel! I promise, this really is the same
one from before! If your bezel needs to be stretched quite a bit, as
this one did, then you may feel that you're not going to get it done but
persevere and you will get there!
This bezel now needs some filing to lower its height. At the moment it would cover too much of the beautiful rose-cut labradorite cabochon to form a neat setting, and hide too much of the stone too. One last tip though.... do make sure that you check the fit of your bezel by putting the stone down through the top of the bezel, not by putting the bezel over the stone, as this it the way that the stone will have to be put into the finished setting.
Want to learn more?
Get 15% off stone setting video classes by using "TJB15" at checkout
 |  |  |
Stone Set Rings | Make your own stonesetting tool | Tube Set Ring |
Start with simple hammered rings and learn how to adorn them with small cabochons! | Learn how to turn a nail into a great stone setting tool - with stone setting tips too! | Learn how to set sparkling gems in smooth modern settings. |
Categories: : how to, jewellery making tips, problem solving, stone setting

Joanne Tinley
Tutor and Founder of The Jeweller's Bench
The Jeweller's Bench is run by Joanne Tinley. She has been making her own jewellery for as long as she can remember and left her first career as a school teacher to set up business as a jewellery designer and tutor nearly 20 years ago. She is
self-taught and like many people started with wire and beads. Learning how to solder, however, opened up a whole new world of jewellery making, one that she is keen to share!
