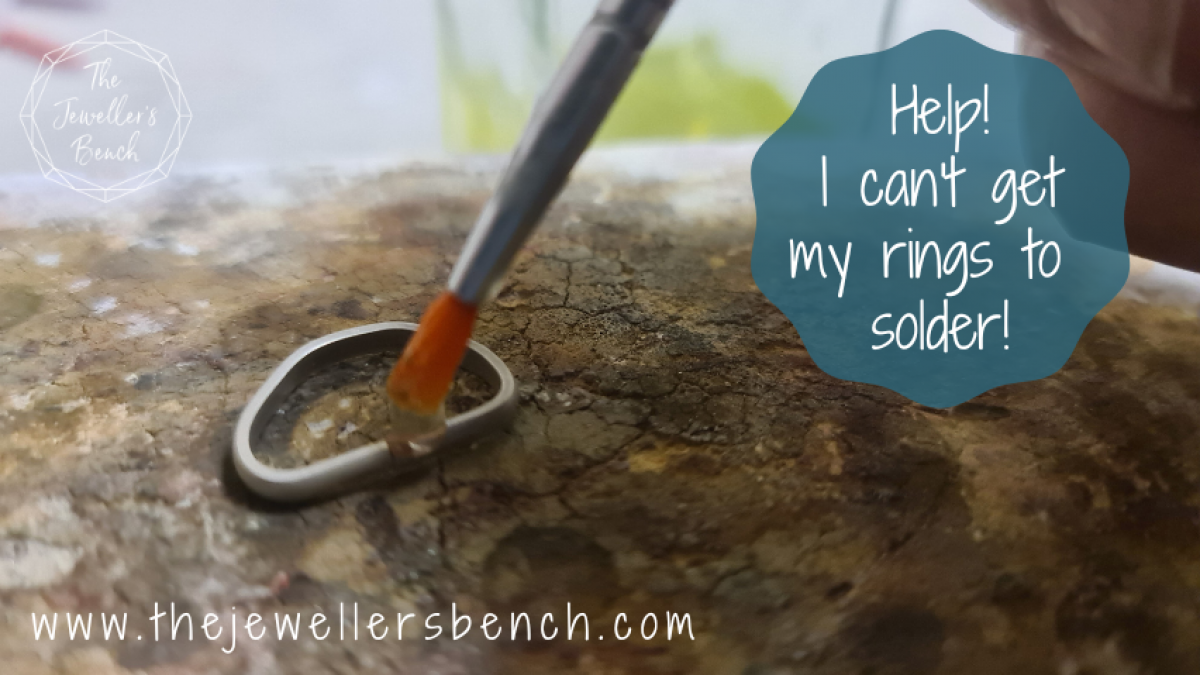
Help! I can't get my rings to solder!

Learning to solder is like riding a bike – it takes practice but once you’re confident with it you’re off! Read the tips I sent a student....
A student enrolled on the Stacking Rings class email for some help
"I’m just stuck on the soldering part. It looks so simple on the video but the outcome at this end is poor.
When I was soldering, I encountered a number of problems; no flow, then brittle joints and the last time, the solder didn’t completely fill the space.
I will keep trying!"
This is the advice I sent, now with some pretty pictures as well....
Learning to solder is a little like riding a bike – it takes practice but once you’re confident with it you’re off and everything is so much easier. That’s not to say that you’ll never have soldering go wrong again though. If you watched any episodes of All That Glitters you’ll have seen soldering mishaps even with those fantastic jewellers. Most soldering mishaps can be put right by taking a deep breath and setting it up again. Sometimes though you have to walk away and come back later. Soldering (and also sawing!) is not something to do when you’re tired, in a rush or frustrated!
Often issues with soldering can have more than one cause, and the only way of knowing for certain which particular issue someone is having is to watch them solder, but below are the most common causes of the problem my student was having.
Let's have a look at each problem in turn...

Solder not flowing – this can be down to a couple of things, either not enough flux or not enough heating in the right place.
If there is not enough flux then the solder will melt into a ball but not actually flow out across the join. If students in the studio are heating their work but the solder isn’t flowing I get them to add more flux as it’s the most likely cause of the problem and the easiest thing to try.

Regarding heating, the whole piece of silver needs to be hot enough, not just the join. Heat the whole ring and then brush across the join with the flame when you see a nice tinge of red (a tinge not a bright blush, that’s too hot!) and the solder should melt and flow across the join.

Brittle joins – probably down to not enough heat put into the whole piece.
When silver gets the right temperature it expands slightly, opening up microscopic spaces that the solder then flows into (assuming you have enough flux). So, if you haven’t heated the silver up enough then the solder won’t flow enough into the metal either side of the join. If you then try to hammer or shape the item the solder join is likely to be brittle and pop open. Often when this happens the broken join looks a little dry, crispy and rough at the edges of the join, and is called a dry solder join. Can you see the blob of solder sitting on the left hand side of the join? It flowed to one side of the join rather than across and through it, either because the solder wasn't placed carefully or one side of the join was heated more than the other. Solder flows to the hottest part of your work!

Solder not completely filling the space – this may be down to one of the above problems or maybe as simple as not having enough solder to fill the join. Working out just how much solder you need is something that will get easier with experience. You also need to make sure that the join is well prepared. The ends need to fit snugly together for the neatest join, and any gap larger than a hair's width is very unlikely to be filled neatly. The join in the ring on the
left needs more filing. You should spend more time preparing your work for soldering than actually doing the soldering itself!

While I'm on the subject of preparing the join, have a look at the one on the ring to the right.... it's a secure, strong solder join but not enough care was taken to make sure that the ends were meeting neatly before it was soldered. There is far too much of a step at the solder join. Tidying that up with a file would noticeably change the profile of the wire. It would be far better to saw open the join and solder it again.
The most important thing to remember about soldering is that it never works perfectly for everyone everytime, no matter how experienced they are!
As you get more practiced and confident the mistakes and mishaps will become fewer - and you will learn from each one!
Want to improve your soldering?
Follow the links in the images below!
Categories: : how to, jewellery making tips, problem solving, stone setting

Joanne Tinley
Tutor and Founder of The Jeweller's Bench
The Jeweller's Bench is run by Joanne Tinley. She has been making her own jewellery for as long as she can remember and left her first career as a school teacher to set up business as a jewellery designer and tutor nearly 20 years ago. She is
self-taught and like many people started with wire and beads. Learning how to solder, however, opened up a whole new world of jewellery making, one that she is keen to share!
 Joanne Tinley


