-
Silver Stacking Rings 1 - making beautiful rings from silver wire
16 Lessons-
StartIntroduction
-
StartMaterials
-
StartEquipment
-
StartSoldering Equipment
-
StartCutting And Filing The Wire
-
StartShaping The Wire For Soldering
-
StartSoldering The Rings
-
StartSoldering Troubleshooting
-
StartShaping The Rings After Soldering
-
StartFiling The Rings Again!
-
StartA Hammered Texture
-
StartPolishing
-
StartConclusion
-
StartBonus - using solder paste
-
StartBeginners Silversmithing Equipment List
-
Startworking out your ring size and wire length needed
-
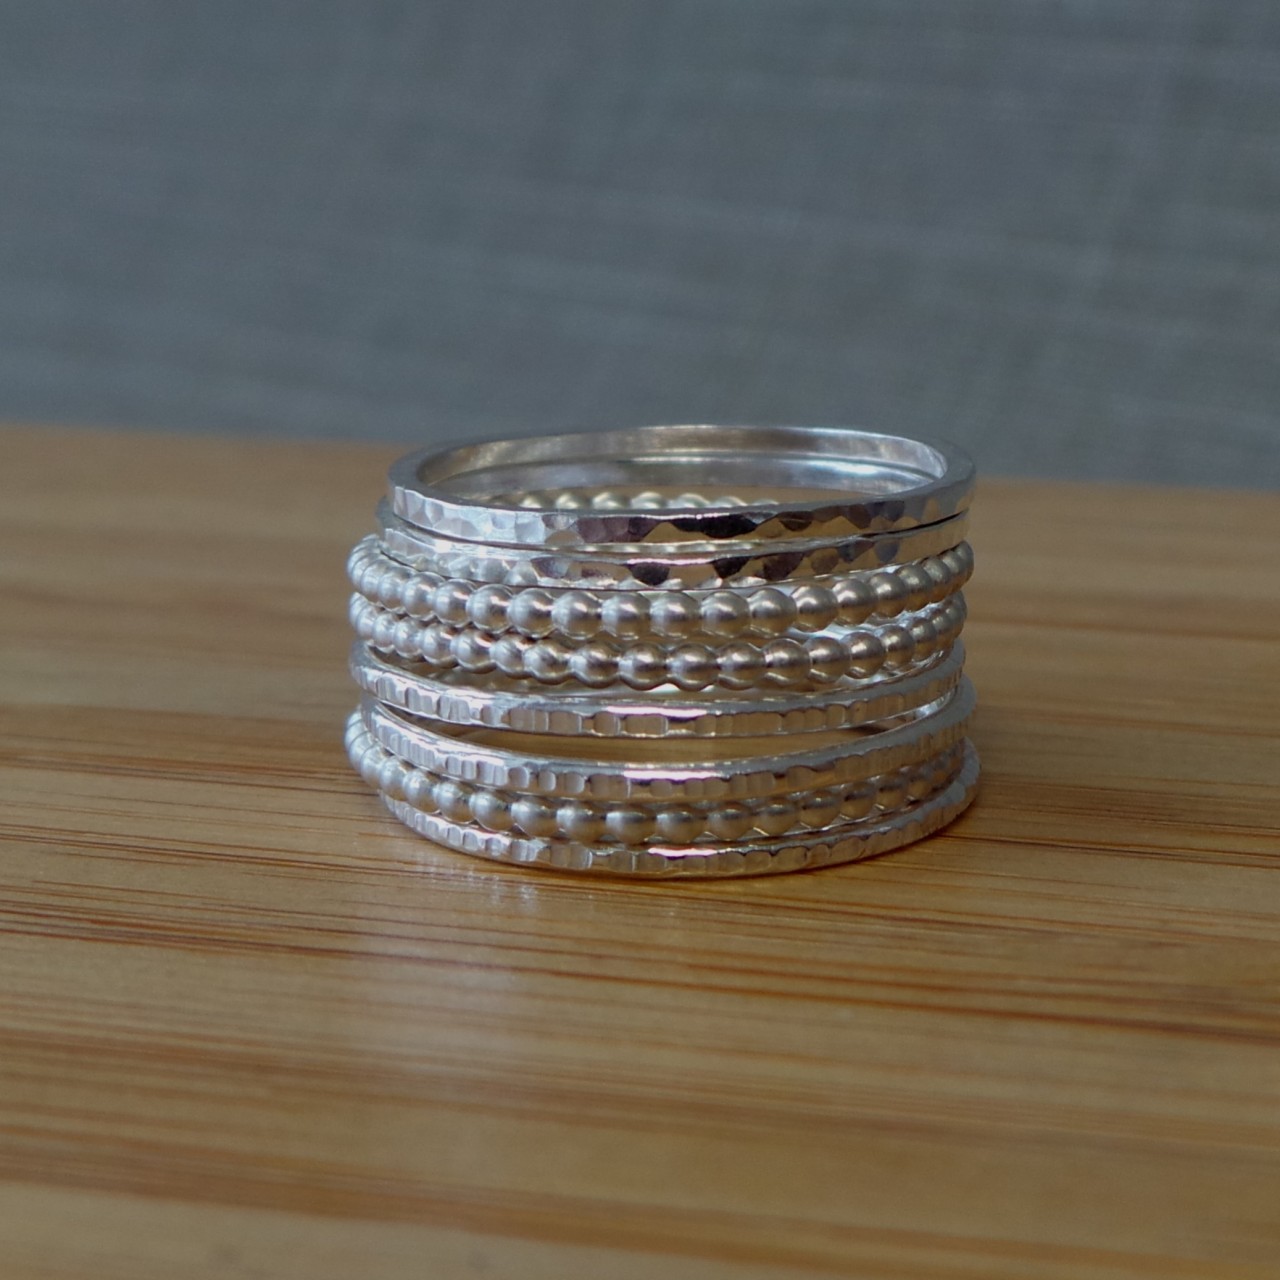
Silver Stacking Rings 1
Learn how to make beautiful set of rings from silver wire
About the Class
Learn how to turn simple silver wire into beautiful sets of stacking rings while building confidence with many of the core jewellery making techniques used throughout silversmithing.
This class is a wonderful beginner project because it introduces so many essential skills in a simple, satisfying way. Along the way, you’ll learn how to measure and size rings, shape and solder the wire, add texture, and finish your rings neatly so that they are comfortable and lovely to wear.
All the materials, equipment, and techniques are explained step by step, making the process feel approachable even if you’re completely new to jewellery making. A downloadable ring size chart is also included to help you work out ring sizes even if you don’t yet own a set of ring sizers.
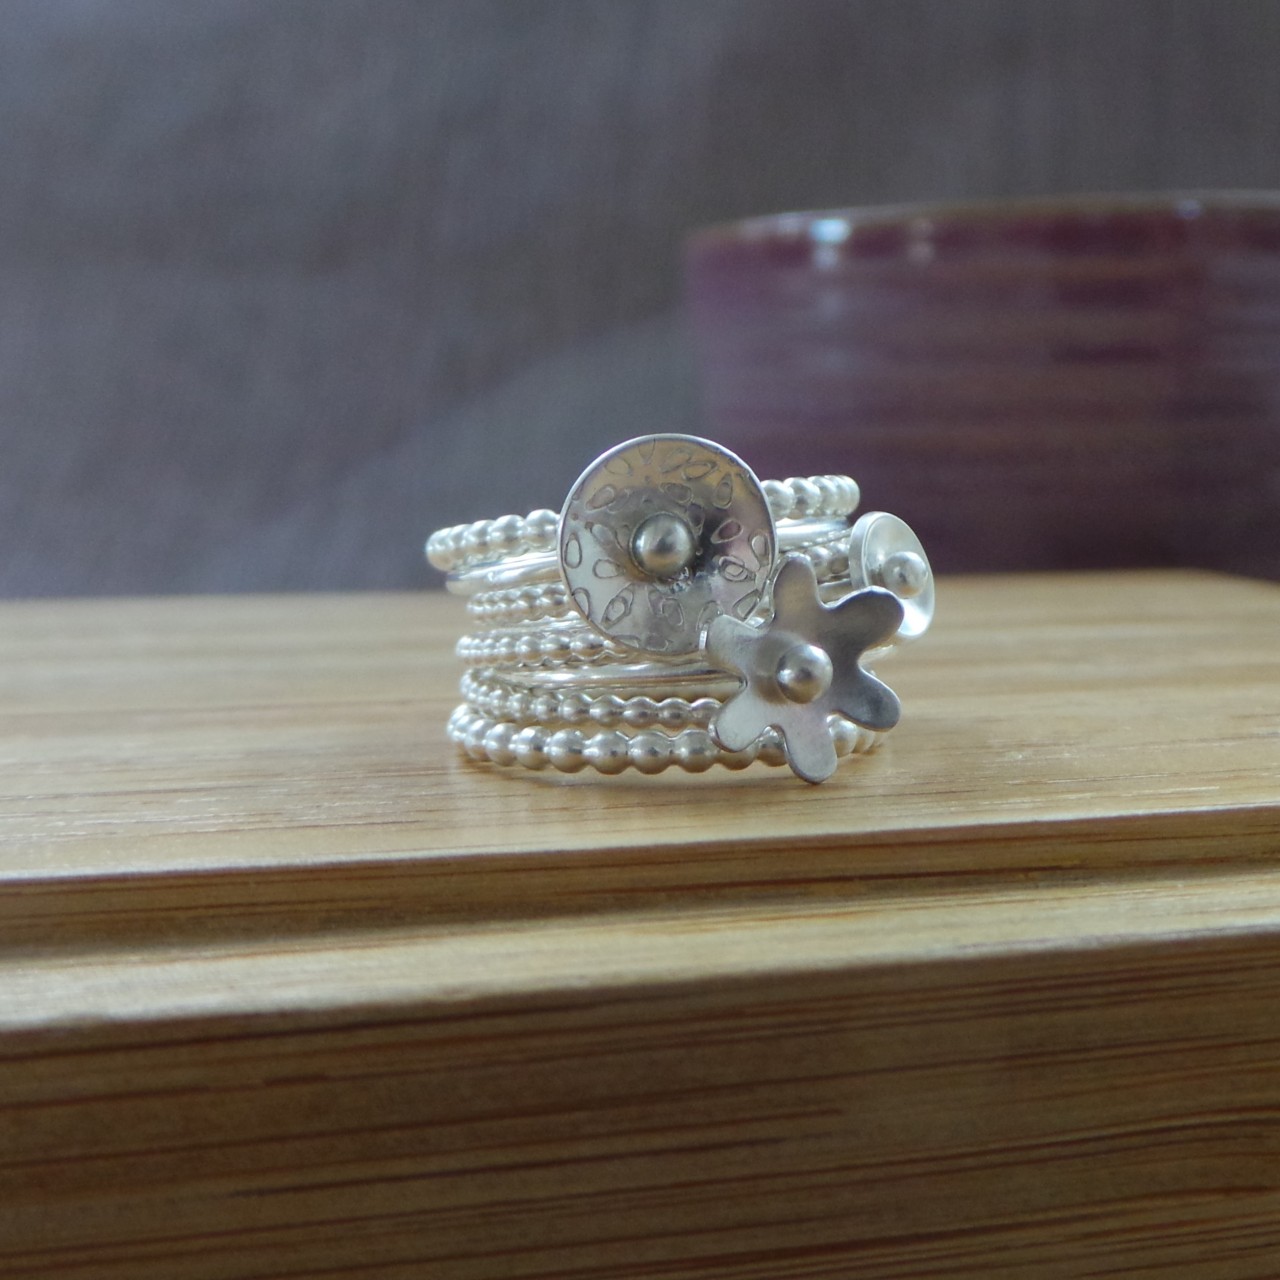
Once you’ve mastered the basics, the Silver Stacking Rings 2 class will show you how to add decorative details and embellishments to create even more varied and personalised designs. Have a look at the photo below for ideas!
This class is part of a series teaching you how to make a range of beautiful rings. You can choose to enrol on this class separately or on the Rings course bundle and access the full series of classes.
If you need any extra help as you work your way through the classes do join us over on The Jeweller's Bench Café group over on Facebook - the perfect place to ask for advice and to show off what you've been making.
You will need:
Materials:
You can use a variety of wires ranging from 1.2mm to 2mm thick, either round, half-round, square, oval or rectangular. Fancy beaded wire also make fantastic stacking rings.
Equipment: (all the jewellery making kit listed here can be used for many different projects)
* Soldering kit - see here for more details
* Ring sizers
* Ring mandrel (also called a triblet)
* Ruler and sharpie
* Wire cutters and nylon jaw pliers
*Jeweller’s saw and saw blade
*Bench peg
* Half-round 6" File
* Engineer’s square
* Nylon hammer
* Hammers for texturing
* For polishing - a tumble polisher or elbow grease and a silver polishing cloth.
An explanation of all the tools and materials that you need is included in the videos, and a downloadable equipment and materials list is available with the class.
Don’t worry if you don’t have the same materials in stock that I have used in the class example, or hammers that give the same textures – experiment with what you have available.
46 minutes long, 14 lessons
Course Curriculum
"Brilliant teacher with incredibly easy to follow classes"
Raina H.
"Very easy step by step instructions to create beautiful stacking rings. I have done some soldering and a few rings before but picked up some useful tips even so. And great written info on ring sizing to download. And Jo also shows you what to do when things go wrong i.e. how to get them back on track, very helpful!
Gill R.
"Joanne is an excellent teacher! She takes the mystery out of jewelry making and makes it comprehensible. I am so grateful for her style of teaching. Thank you Joanne!"
Tiffany N.

Joanne Tinley
Tutor and Founder of The Jeweller's Bench
The Jeweller's Bench is run by Joanne Tinley. She has been making her own jewellery for as long as she can remember and left her first career as a school teacher to set up business as a jewellery designer and tutor nearly 20 years ago. She is
self-taught and like many people started with wire and beads. Learning how to solder, however, opened up a whole new world of jewellery making, one that she is keen to share!
Legal Disclaimer: Every effort has been made to show safe working practices and to discuss health and safety aspects of jewellery making, but in the end I cannot take responsibility for how the tutorial information is used and how safely you work. Take the effort to set up your work area safely right from the start!
All Rights Reserved. No part of this course may be reproduced or shared without express, written consent from the author.

Reviews