-
Riveting Part 3 - Decorative Rivets
14 Lessons-
Startintroduction
-
Startmaterials
-
Startequipment
-
Startsoldering equipment
-
Startsoldering
-
Startdrilling
-
Startfinishing the rivet
-
Startmaking the headpin
-
Startfinishing the pendant
-
Startfinal thoughts
-
Startwrapped loops tutorial
-
Startsawing hints and tips booklet
-
Starttemplates for riveting classes
-
Starttools for riveting classes
-
This course is not open for enrollment
Riveting Part 3 - Decorative Rivets
Learn how to add non-solderable materials to your jewellery with these versatile cold-connection techniques.

About the Class
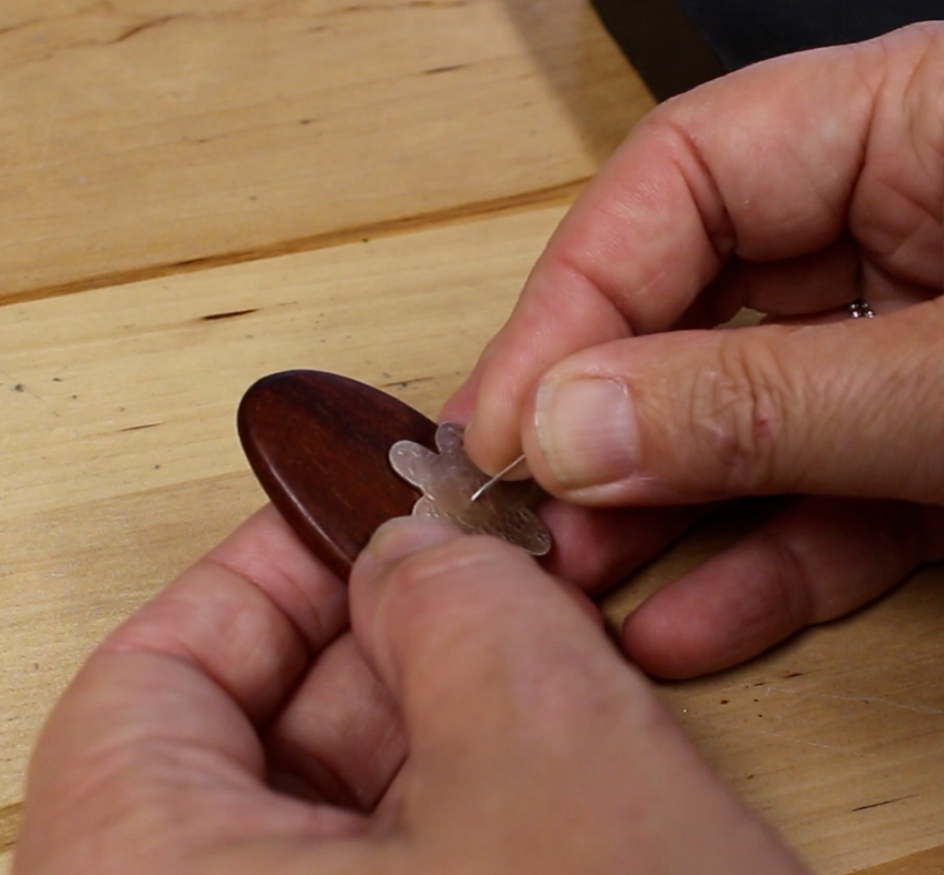
Soldering opens up a huge range of possibilities in jewellery making, but sometimes it’s just as useful to work with materials that cannot withstand heat. That’s where riveting comes in — a cold connection technique that allows you to join layers together securely without using a blowtorch.
This third class in my riveting series builds on the techniques taught in the earlier classes and introduces decorative rivets, helping you add extra detail and interest to your jewellery designs while still creating strong secure connections.
In this project, I’ll show you how to make and use a decorative rivet within a simple design, guiding you step by step through the process so that you can understand both the technique itself and how to adapt it for your own future projects. Although I use just one rivet in the class design, once you’ve mastered the technique you can easily experiment with using multiple decorative rivets in your jewellery.
I would recommend watching the first two riveting classes before beginning this one, as the techniques taught here build on the foundations covered earlier in the series.
All classes in the Riveting series are part of the Jeweller's Bench membership - click here for more details
If you need any extra help as you work your way through the classes do join us over on The Jeweller's Bench Café group over on Facebook - the perfect place to ask for advice and to show off what you've been making
You will need:
Materials:
* Silver sheet for cutting flower and disc
* 0.8mm sterling silver wire
*Flat wooden bead
Equipment: (all the jewellery making kit listed here can be used for many different projects)
* Soldering kit - see here for more details
* Disk cutter and heavy hammer
* Steel block and leather cushion
* Ball pein hammer
* Riveting hammer
* Rubber block
* Jeweller’s saw and saw blade
* Bench peg
* Needle files
* Ruler and sharpie
* Wire cutters, nylon jaw pliers, flat nose pliers, round nose pliers
* Drill and 0.8mm drill bit
* The flower has been textured with the Spring Blooms texture sheet
An explanation of all the tools and materials that you need is included in the videos, and a downloadable equipment and materials list is available with the class.
43 minutes long, 10 lessons
Course Curriculum

Joanne Tinley
Tutor and Founder of The Jeweller's Bench
The Jeweller's Bench is run by Joanne Tinley. She has been making her own jewellery for as long as she can remember and left her first career as a school teacher to set up business as a jewellery designer and tutor nearly 20 years ago. She is
self-taught and like many people started with wire and beads. Learning how to solder, however, opened up a whole new world of jewellery making, one that she is keen to share!
Legal Disclaimer: Every effort has been made to show safe working practices and to discuss health and safety aspects of jewellery making, but in the end I cannot take responsibility for how the tutorial information is used and how safely you work. Take the effort to set up your work area safely right from the start!
All Rights Reserved. No part of this course may be reproduced or shared without express, written consent from the author.

Reviews