-
Bird on a Branch Hollow Form Necklace
18 Lessons-
StartBird on a Branch Hollow Form Necklace intro
-
StartBird on a Branch Hollow Form Necklace equipment
-
StartBird on a Branch Hollow Form Necklace soldering equipment
-
StartBird on a Branch Hollow Form Necklace materials
-
StartBird on a Branch Hollow Form Necklace forming the necklace front
-
StartBird on a Branch Hollow Form Necklace piercing the design
-
StartBird on a Branch Hollow Form Necklace tidying the pierced design
-
StartBird on a Branch Hollow Form Necklace preparation for soldering
-
StartBird on a Branch Hollow Form Necklace soldering the hollow form
-
StartBird on a Branch Hollow Form Necklace tidying the hollow form
-
StartBird on a Branch Hollow Form Necklace soldering the bails
-
StartBird on a Branch Hollow Form Necklace making the clasp
-
StartBird on a Branch Hollow Form Necklace making the beaded section
-
StartBird on a Branch Hollow Form Necklace adding the clasp
-
StartBird on a Branch Hollow Form Necklace final thoughts
-
StartBird on a Branch Hollow Form Necklace materials and equipment
-
StartSawing hints and tips booklet
-
Startbird and tulip templates
-
This course is not open for enrollment
Bird on a Branch Hollow Form Necklace
Learn how to make a hollow form with a flat back, and finish it with a beaded necklace.
About the Class
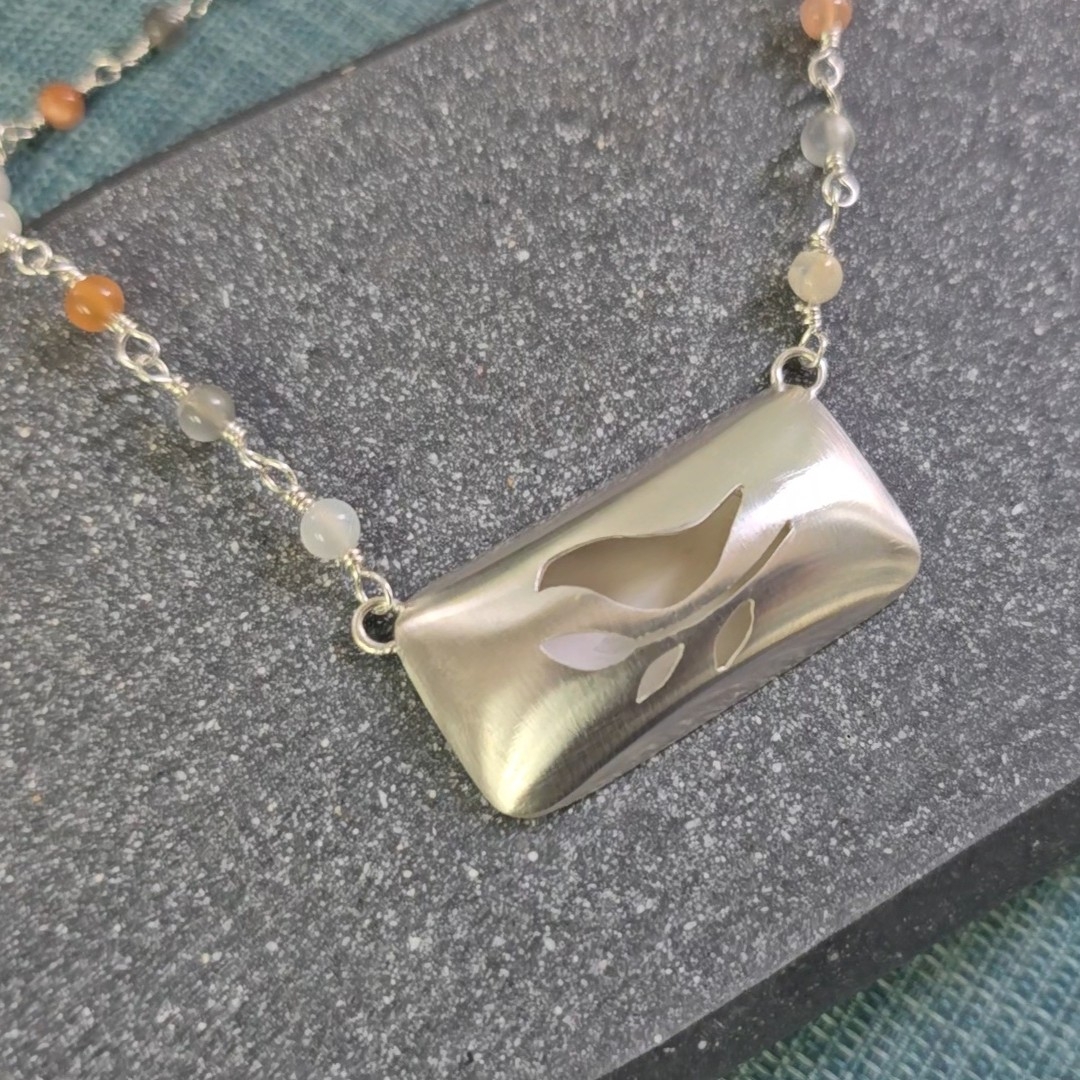
Learn how to create a beautiful Bird on a Branch Hollow Form Necklace while building skills that you'll use again and again in your own jewellery making.
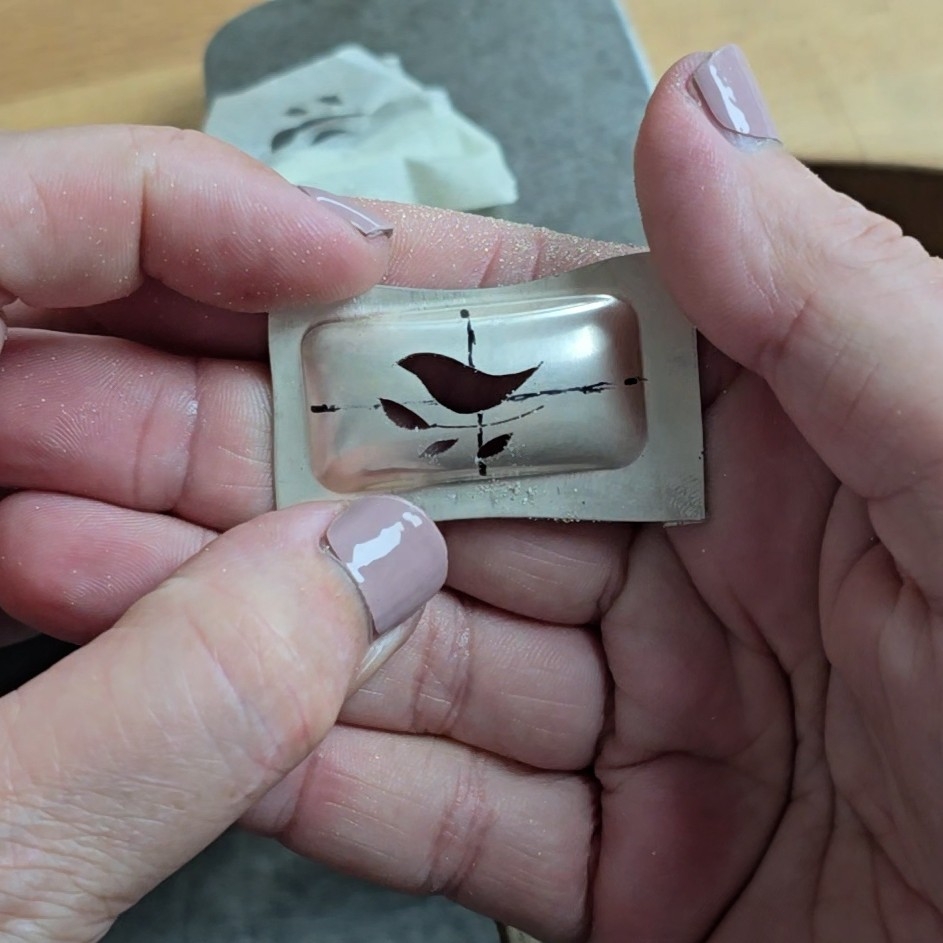
In this class you'll make a hollow form with a flat back, creating a lightweight focal pendant that's comfortable to wear. The front is decorated with a pierced bird on a branch design, and the finished necklace is completed with linked beads, handmade wrapped loops and a handcrafted clasp that perfectly complements the design.
Although there are several techniques included, I'll guide you through each step at a gentle pace, sharing plenty of tips and troubleshooting advice along the way. The skills you learn can easily be adapted to create your own hollow form pendants, necklaces and other jewellery projects.
The class includes the Bird on a Branch template, along with an alternative tulip design if you'd like to make a different version. These templates can also be used with my beginner-friendly Bird on a Branch Pendant project, giving you even more opportunities to practise your piercing skills.
If you'd like to explore the creative possibilities of hollow forms while improving your sawing accuracy and confidence, this class is a wonderful next step.
The Bird on a Branch pendant class is part of the Jeweller's Bench Membership -click here for more details.
If you need any extra help as you work your way through the classes do join us over on The Jeweller's Bench Café group over on Facebook - the perfect place to ask for advice and to show off what you've been making.
You will need:
Materials:
* 2 pieces of sterling silver sheet: approximately 0.5mm thick for the front of the hollow form and approximately 0.8mm thick for the back of the hollow form. I used approximately 30mm by 42mm of each thickness with a 35mm by 18mm silhouette die
*2 small jump rings for the bails plus another 8-12 for the end of the necklace
* Sterling silver wire and beads for the wrapped bead section of the necklace. The class example uses 0.5mm wire.
* approximately 4cm of 1.2mm sterling silver wire for the clasp
Equipment: (all the jewellery making kit listed here can be used for many different projects)
* Soldering kit - see here for more details
* Templates (downloadable from class materials)
* Silhouette die - project uses a Thin Rectangle 35mm by 18mm available from The Jeweller's Bench Shop
* Hydraulic press or bench vise
* Pair of rubber squares
* 6" flat file and selection of needle files (all cut 2)
* Sharpie and pencil
* Tracing paper
* Masking tape
* Pendant drill or hand drill
* silicon rubber wheel or sanding stick
* radial discs or other suitable polishing tools
* 0.8 mm or 0.9mm drill bit
* Jeweller's saw, 2/0 and 4/0 saw blades, beeswax, and bench peg
* Wire cutters, flat nose pliers (ideally two pair of these), round nosed pliers and nylon jaw pliers
* Emery paper in a good range of grades
* 6" flat file and needle files
An explanation of all the tools and materials that you need is included in the videos, and a downloadable equipment and materials list is available with the class.
Once you've made the Bird and Tulip pendants shown in the class have a go at creating your own designs!
1 hour 59 minutes long, 18 lessons
Course Curriculum

Joanne Tinley
Tutor and Founder of The Jeweller's Bench
The Jeweller's Bench is run by Joanne Tinley. She has been making her own jewellery for as long as she can remember and left her first career as a school teacher to set up business as a jewellery designer and tutor nearly 20 years ago. She is
self-taught and like many people started with wire and beads. Learning how to solder, however, opened up a whole new world of jewellery making, one that she is keen to share!
Legal Disclaimer: Every effort has been made to show safe working practices and to discuss health and safety aspects of jewellery making, but in the end I cannot take responsibility for how the tutorial information is used and how safely you work. Take the effort to set up your work area safely right from the start!
All Rights Reserved. No part of this course may be reproduced or shared without express, written consent from the author.

Reviews