Make a beautiful Ginkgo hollow pendant
 Joanne Tinley
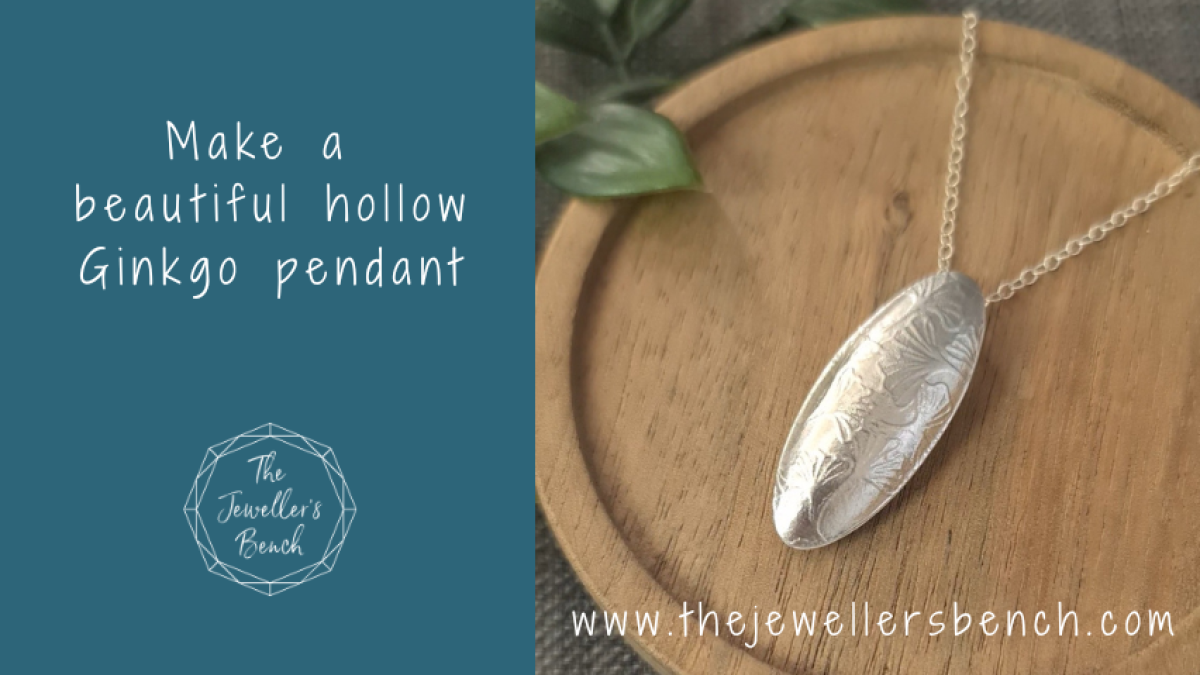
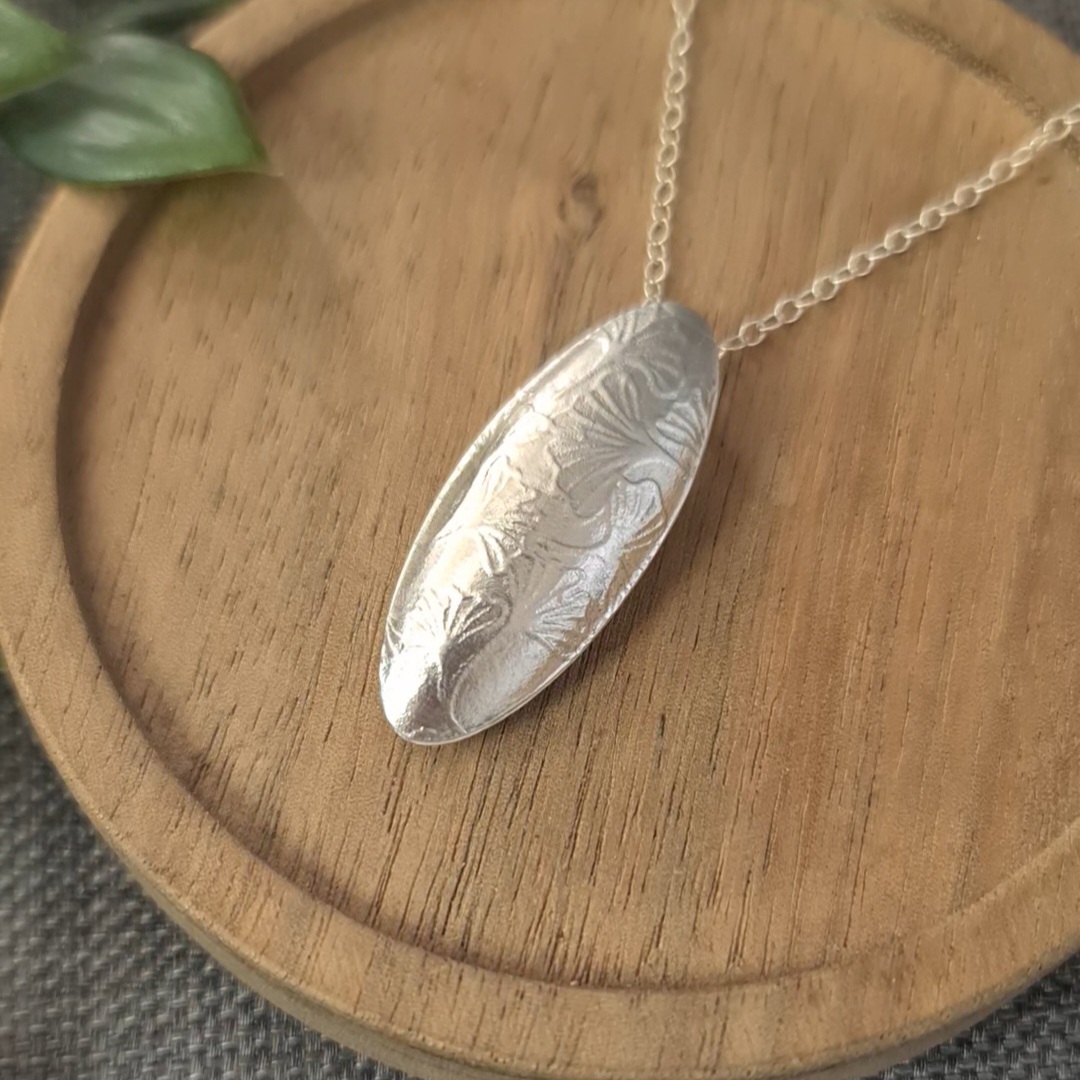
Learn how to make a beautiful and tactile Ginkgo-patterned hollow pendant
Combining two of my favourite things, rolling mill textures and hollow beads. In this case I'm using a new Ginkgo leaf pattern and a long narrow oval silhouette die - both available in the Jeweller's Bench Shop on Etsy of course!
Safety first:
The photos below take you step by step through the project but I wanted to add a safety issue.
I often solder hollow forms closed without drilling an air escape hole first. The hot air escapes through the seam before the solder flows and closes it. However, I am very careful to make sure that I don't over heat the silver and cause the air to try and escape through the closed seam. I always drill an air vent before doing any other soldering, before adding a bail for example.
If you are still building your confidence with soldering then I would strongly recommend drilling an air vent before doing the first soldering step. Safety first!
You will need:
- 2 pieces of 0.5mm sterling silver sheet, approximately 2-2.5cm by 5cm
- a small piece of 1mm or 1.2mm round sterling silver wire
- a chain
- Ginkgo 1 large texture sheet available here
- 35mm narrow oval silhouette die available here
- soldering kit
- saw, file, round nosed pliers, wire cutters, tools for polishing and drilling
- rolling mill (or give your metal a hammered texture instead)
- hydraulic press
If you don't have access to a hydraulic press don't worry! Learn how to use silhouette dies in a bench vise here.
And here's how to do it!
 | 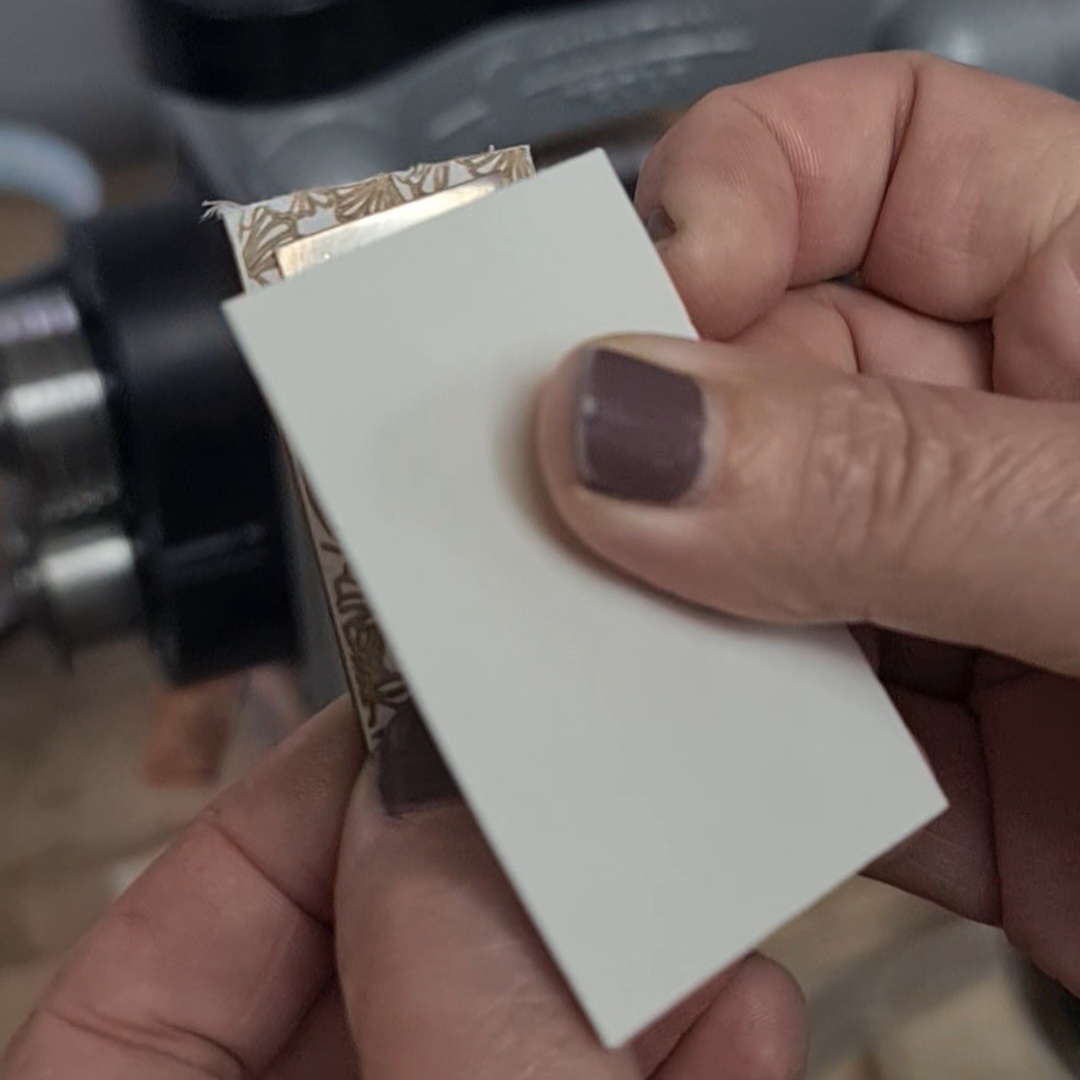 | 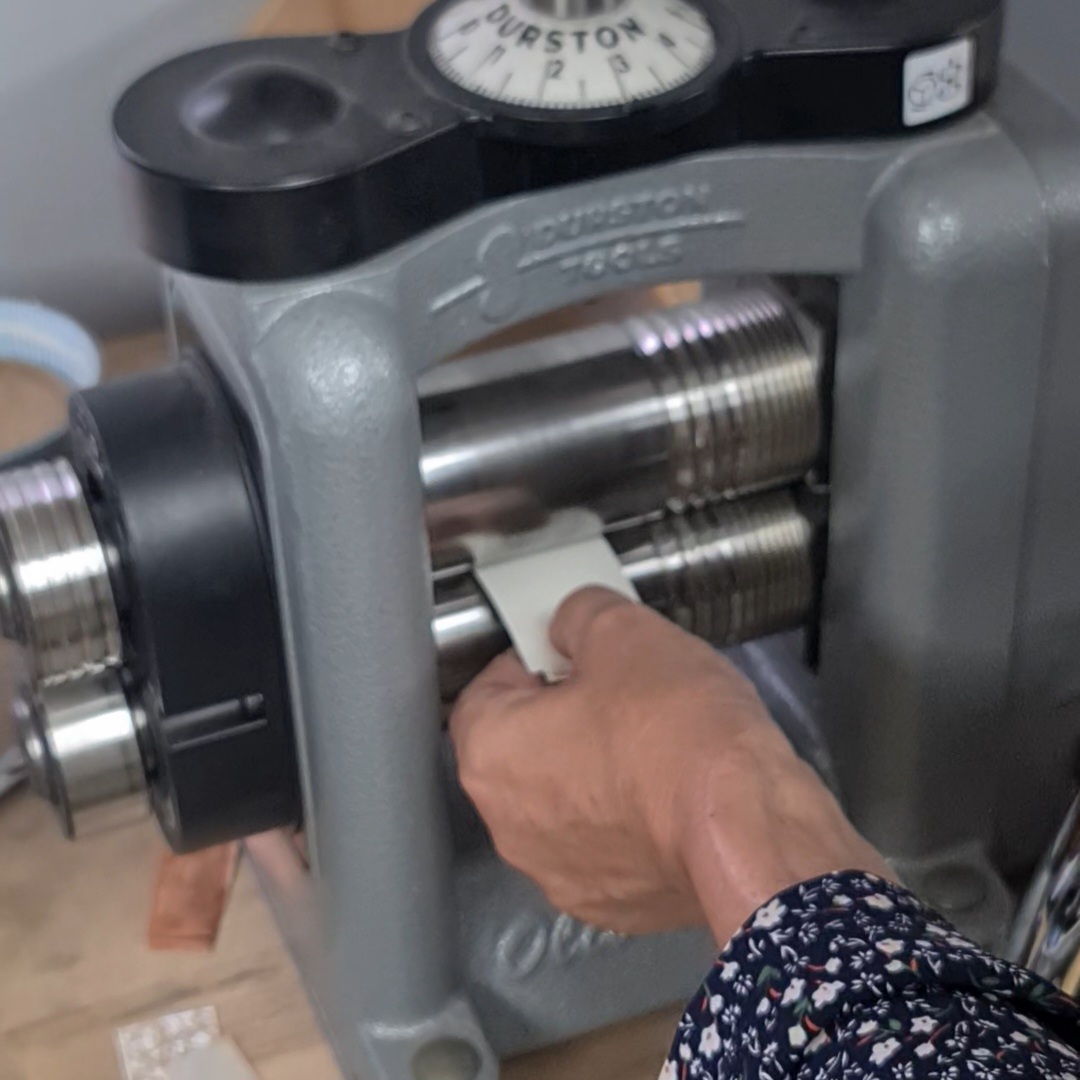 |
1. Anneal the silver sheet to prepare it for texturing. I buy annealled sheet, but always assume it has become a little harden in the post and knocking against other sheet in my storage! | 2. Cut a piece of texturing sheet and a piece of watercolour paper a little bigger than the silver. Sandwich the silver sheet between the two. The watercolour paper will help push the thin metal into the texture. | 3. Set your rolling mill to the correct tightness (which you will know from practicing with copper!). Roll this texturing "sandwich" through the rolling mill to emboss the pattern into the silver.
|
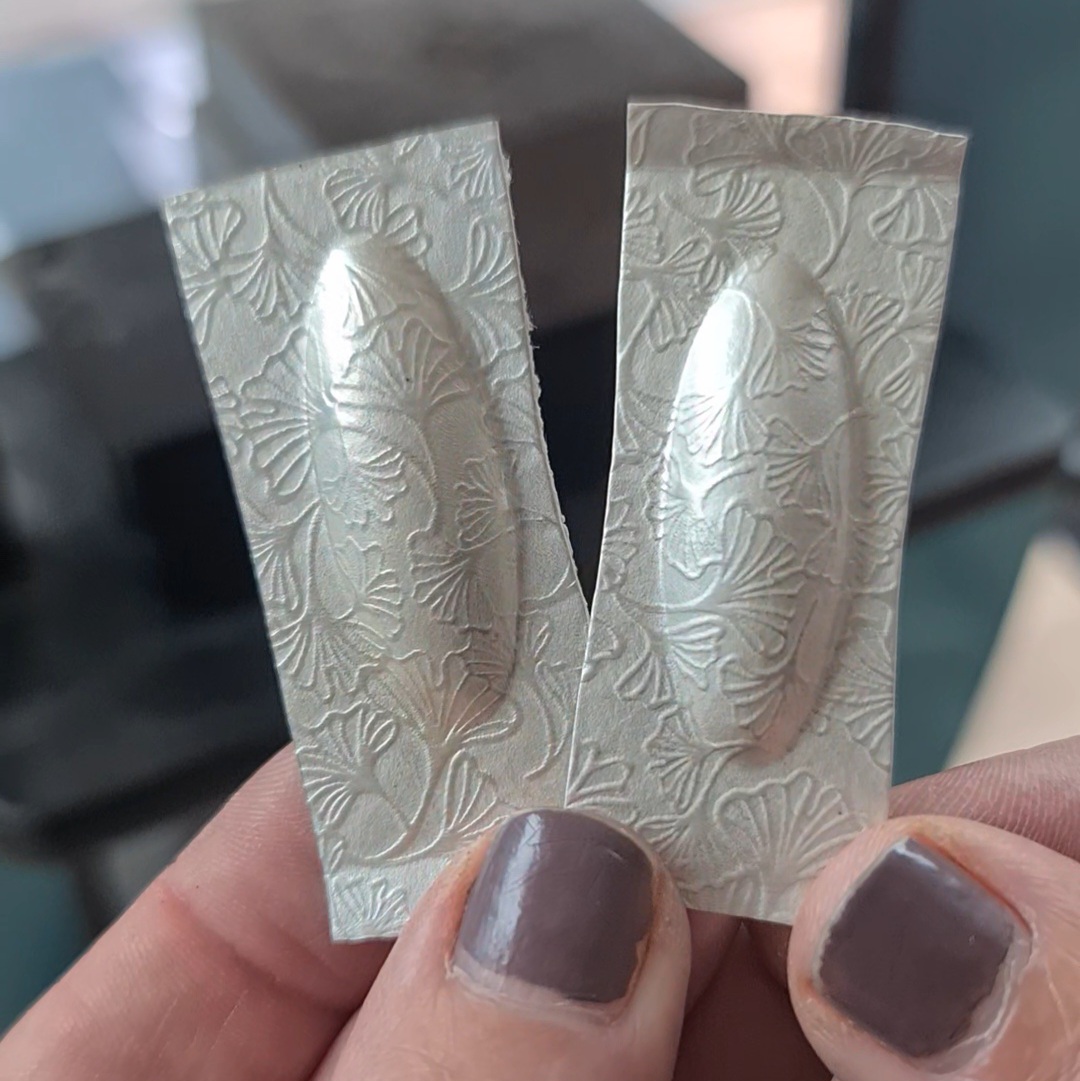
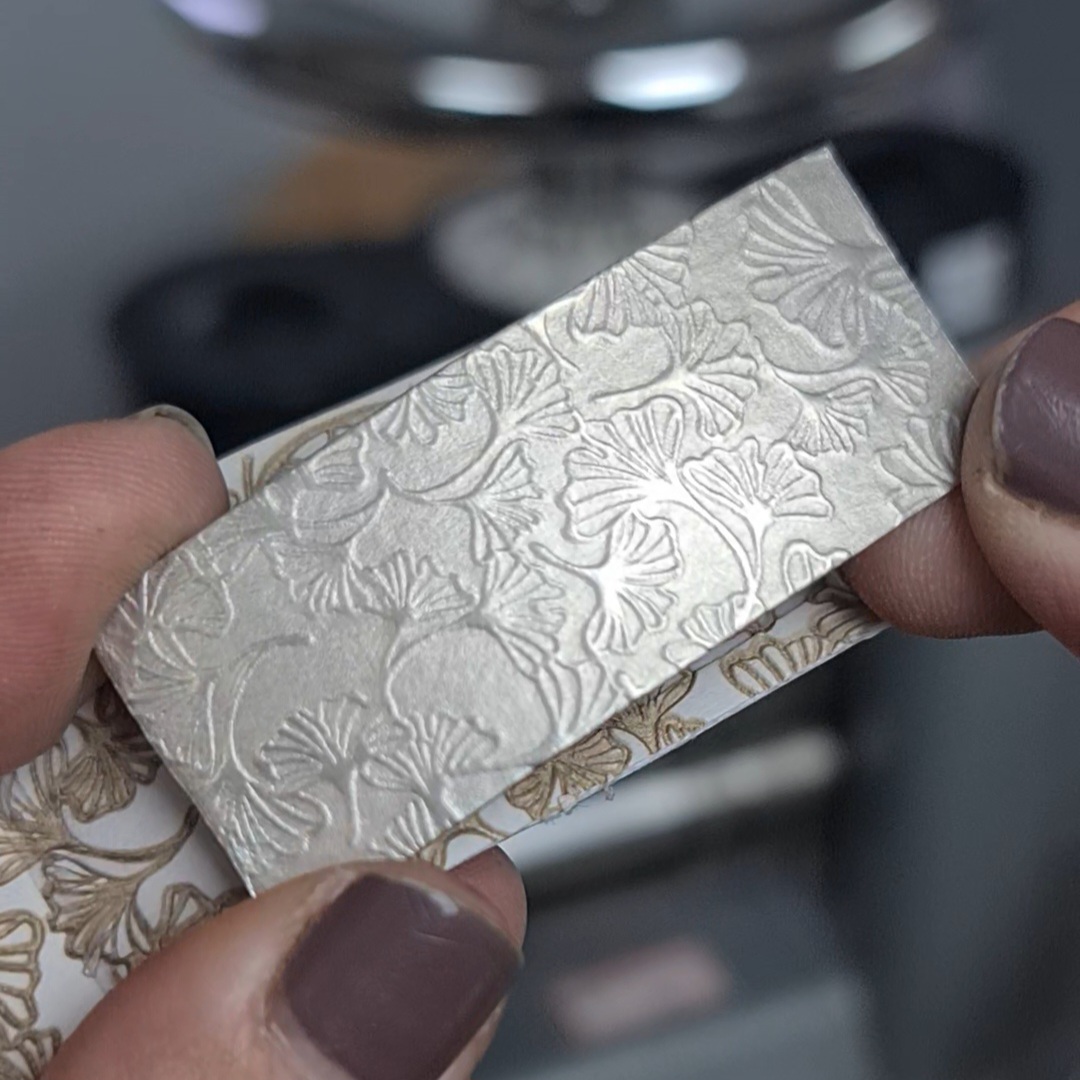 | 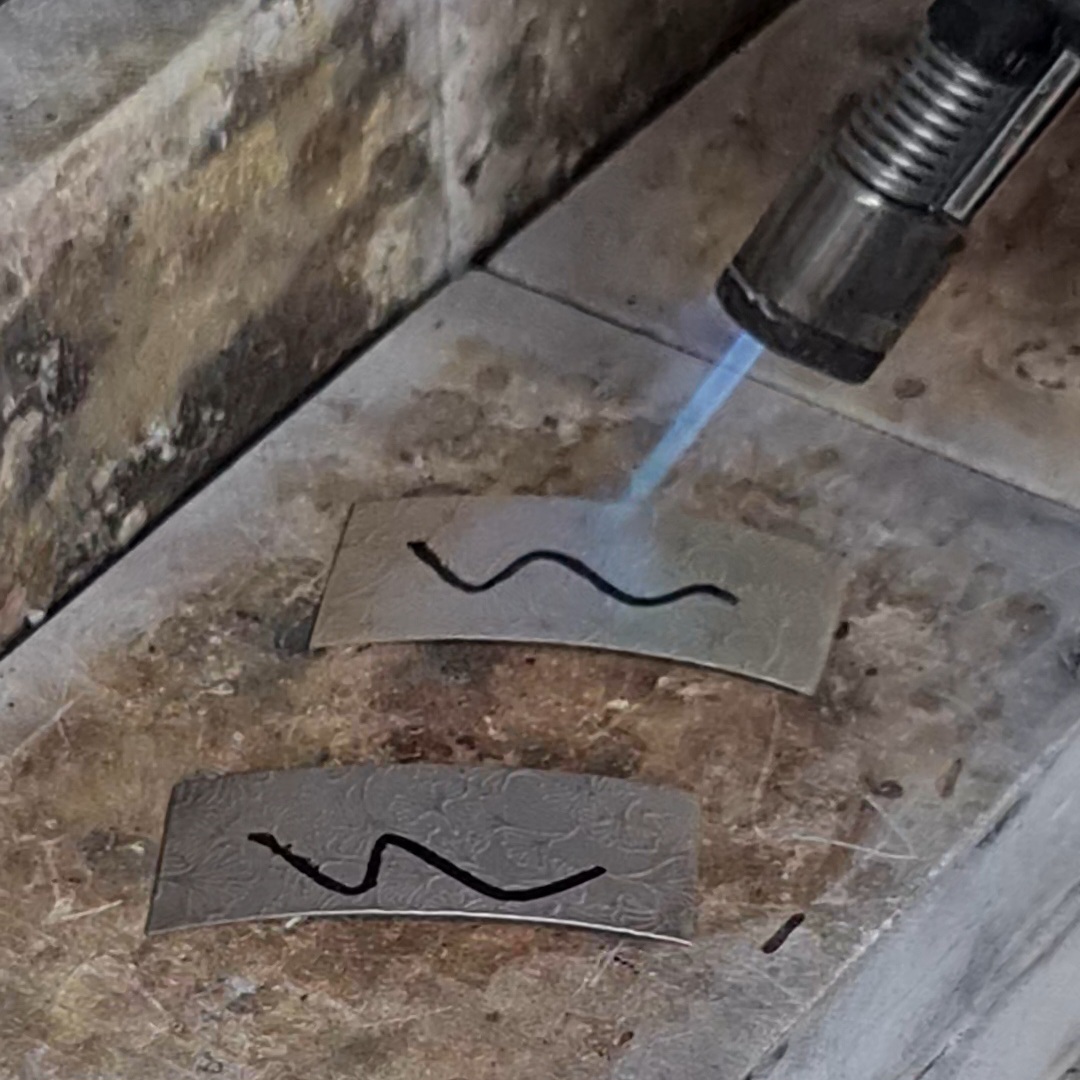 | 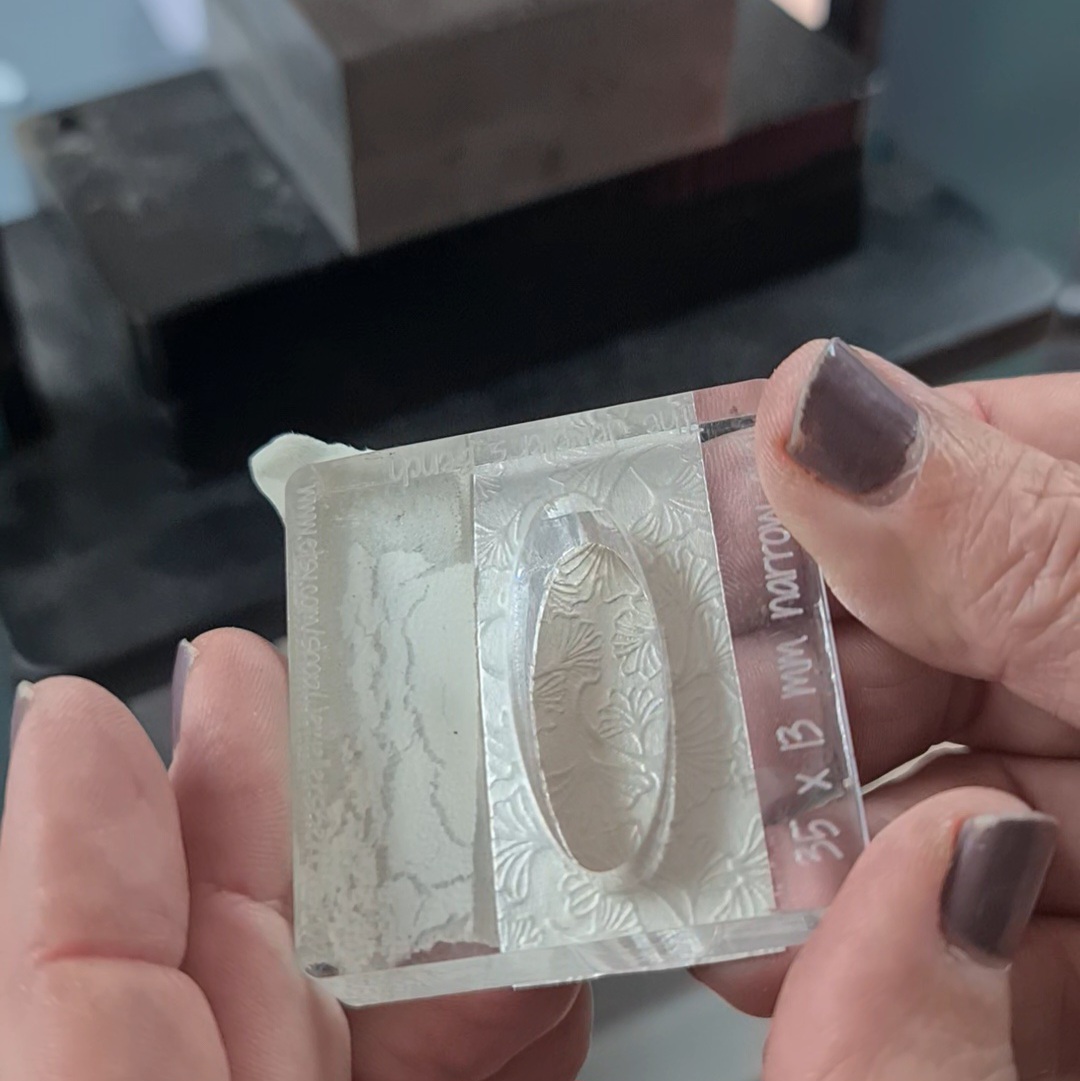 |
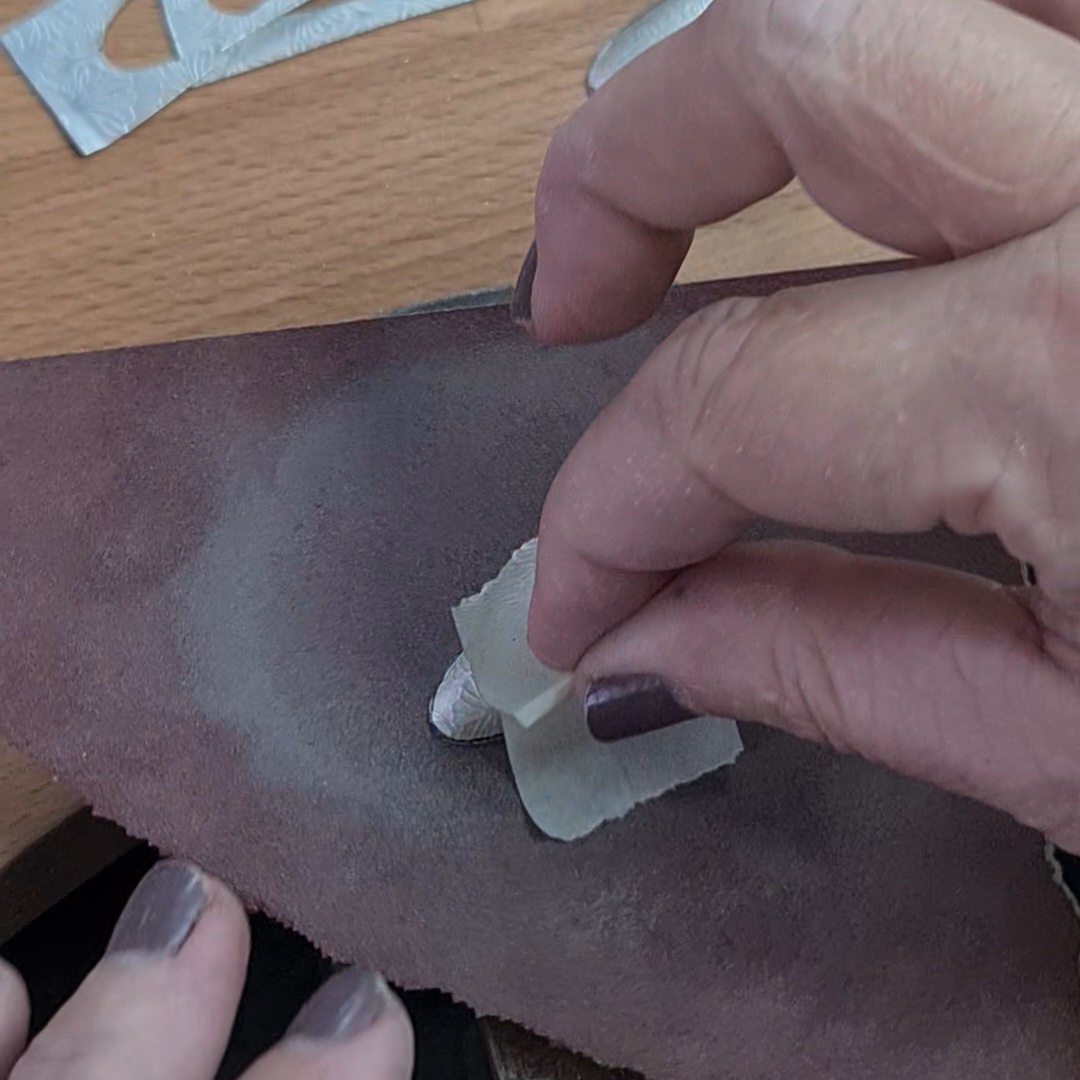
4. And look at that gorgeous texture! Repeat to texture the second piece of silver. | 5. Anneal the silver again to prepare it for shaping. Black sharpie burns off at annealing temperature, so it's useful to mark the sheet to tell you when to stop heating. | 6. Tape the first piece of silver sheet on to the silhouette die, textured side down. The clear perspex allows you to easily position the silver and choose the best texture. |
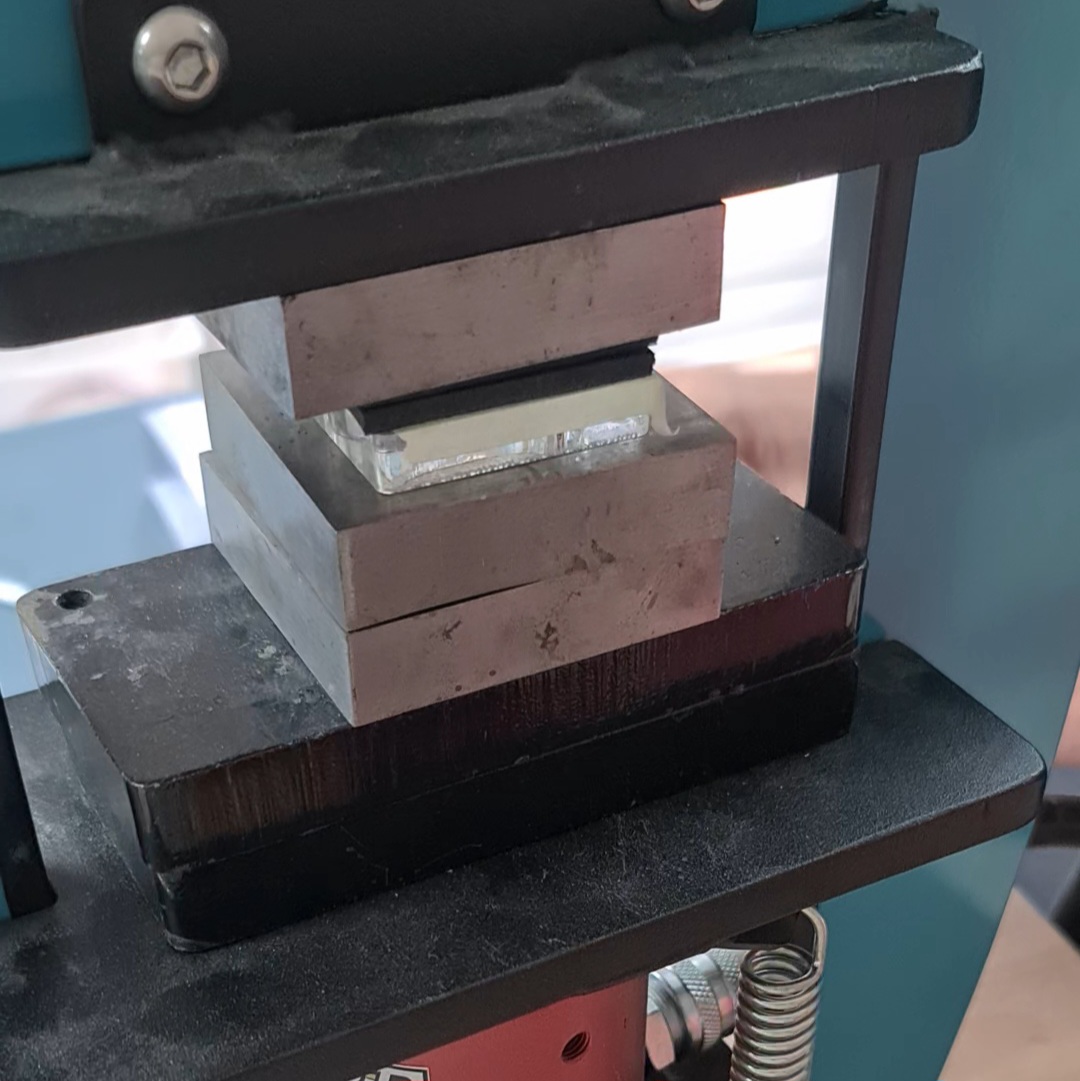 |  | 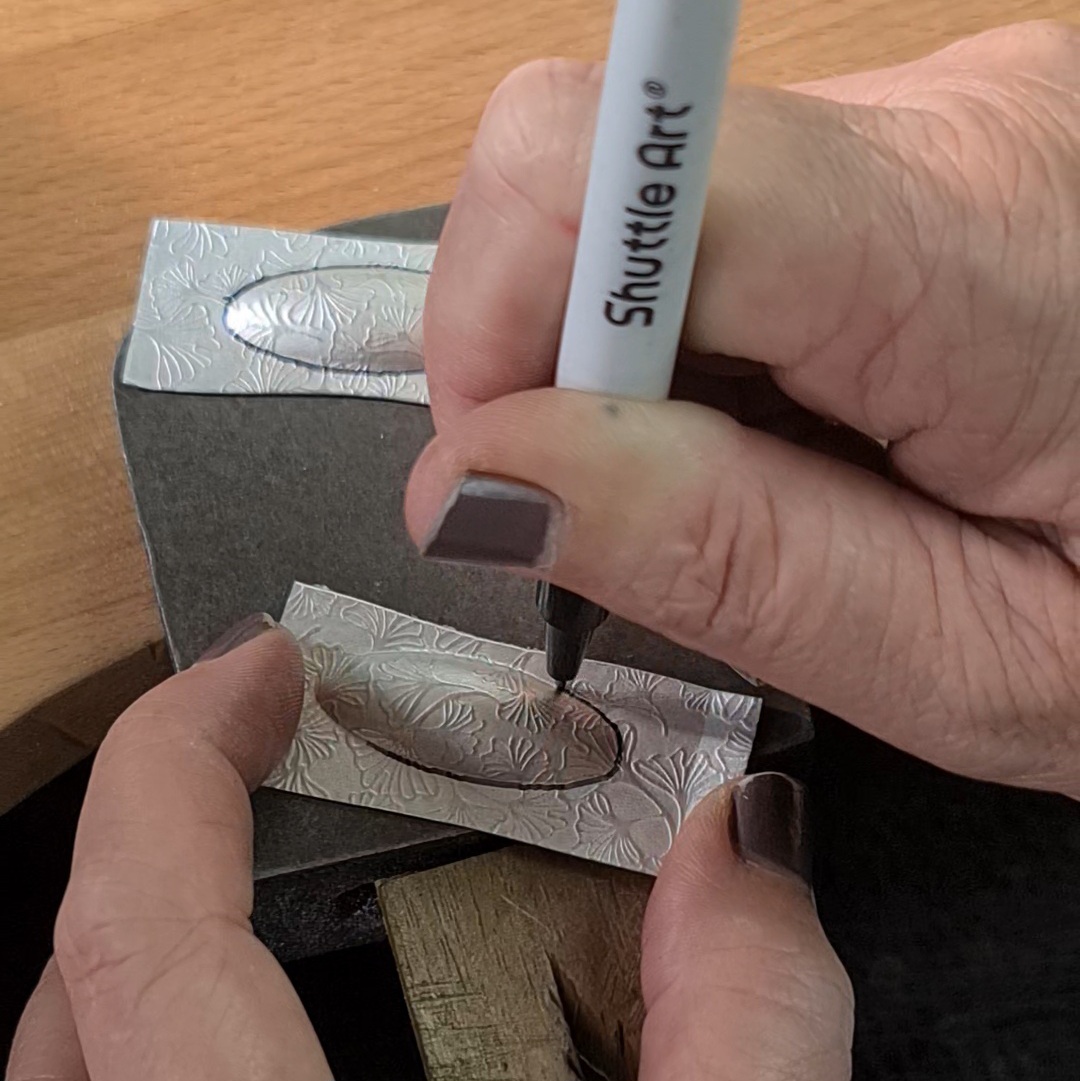 |
| 7. Place the silhoutte die and silver under the hydraulic press with one or two rubber sheets on top. Add a bench block on top of all that and press under the die. Repeat for the second piece of silver. | 8. The rubber will be pushed into the hole in the die, forcing the metal in too and creating beautiful shapes! | 9. Use a sharpie to draw around the edge of the shapes. This makes it easier to see where to trim off the excess metal without accidentally cutting into the shape. |
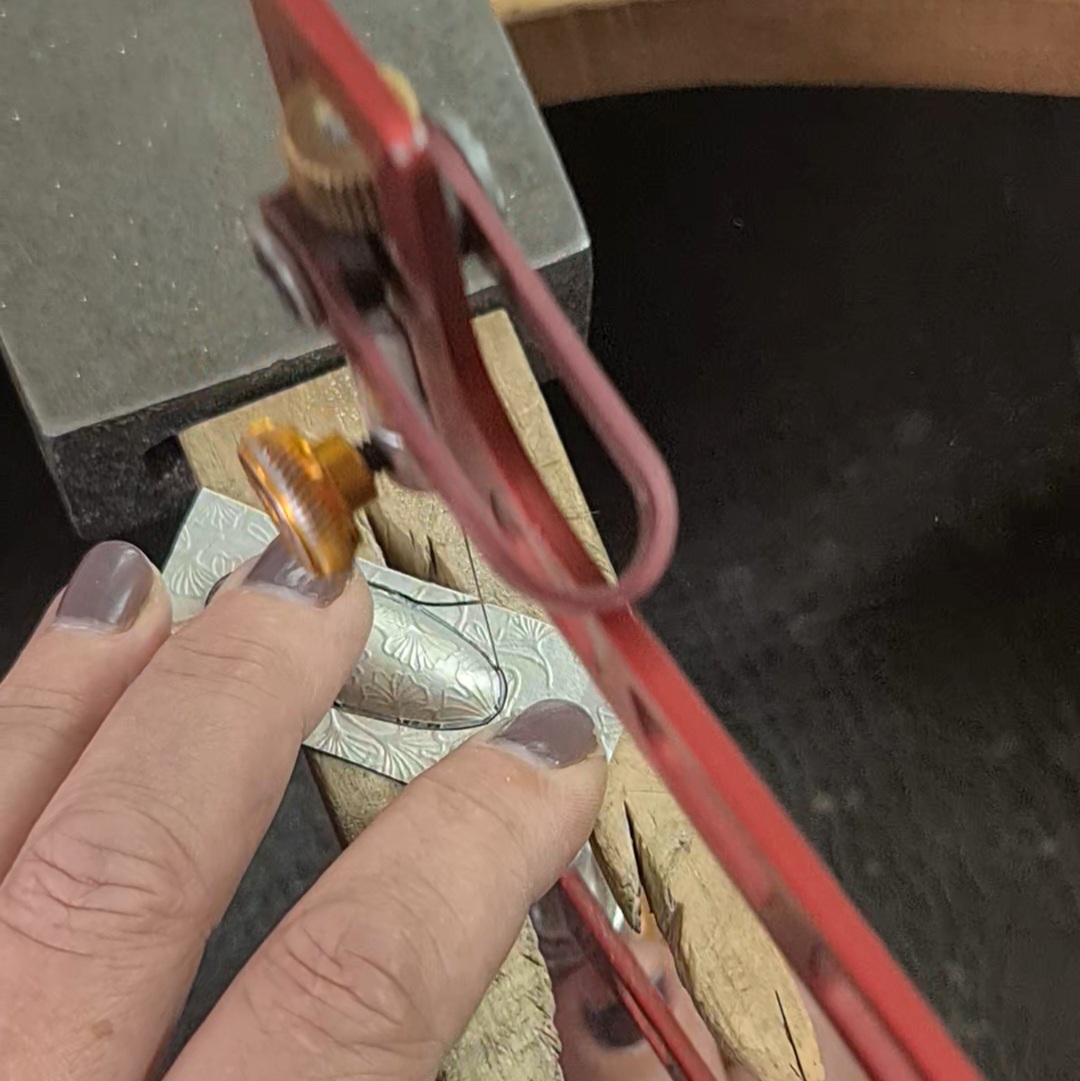 | 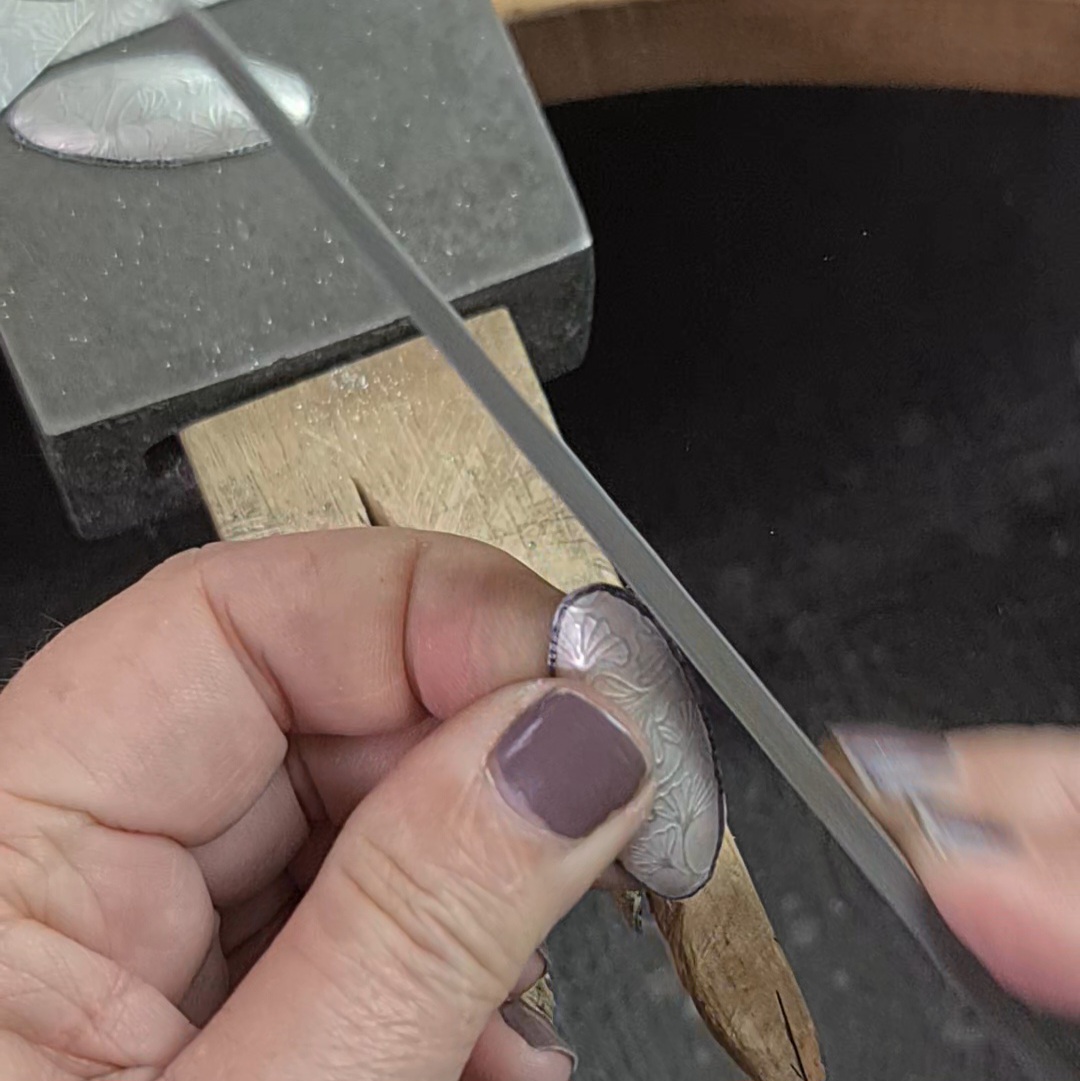 |  |
| 10. Carefully saw out the two ovals. | 11. File to neaten and trim off the last little excess silver around the ovals. | 12. Sand the rims of the ovals using a figure of eight motion to keep your sanding even. This creates a nice wide solder join, making the solder join stronger. |
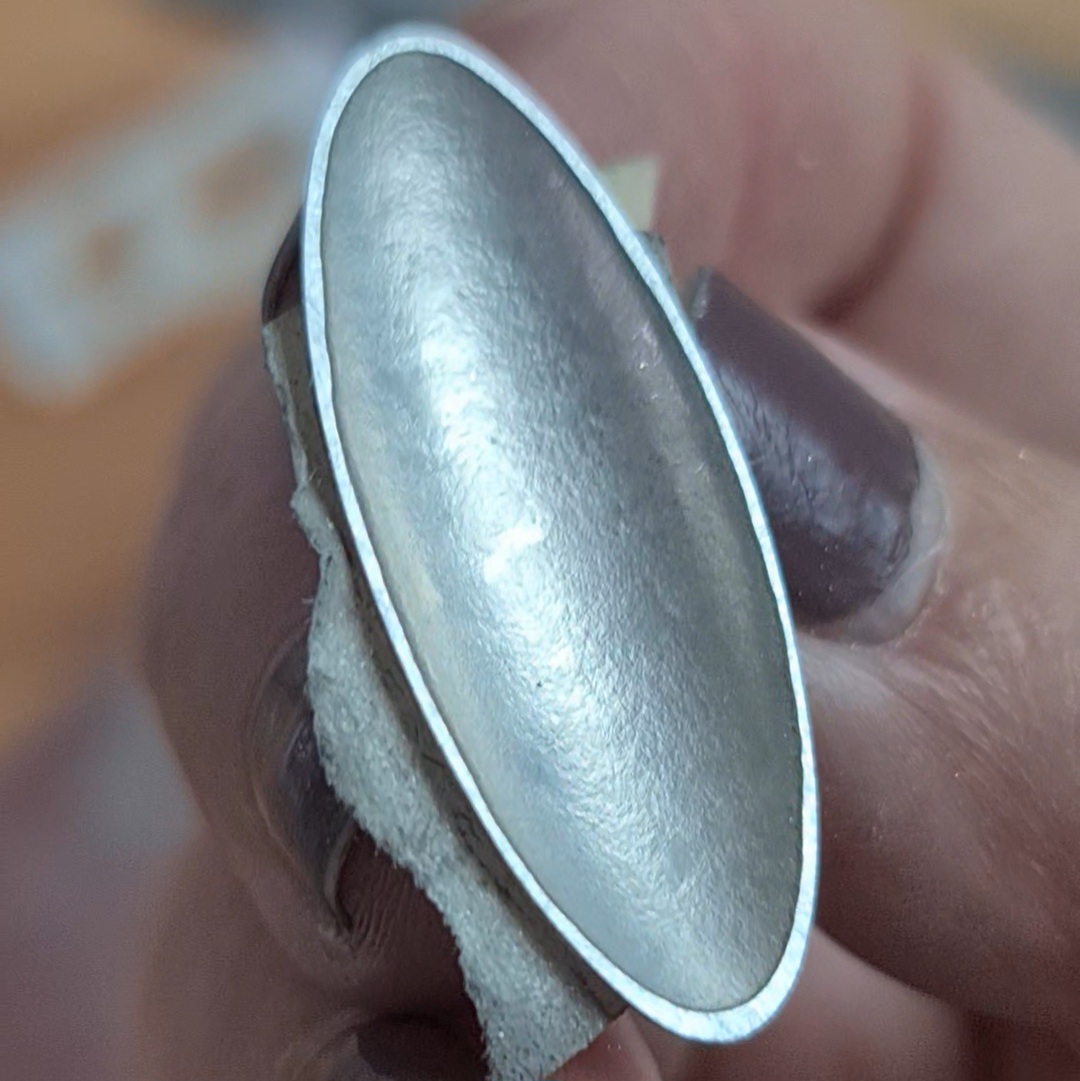 | 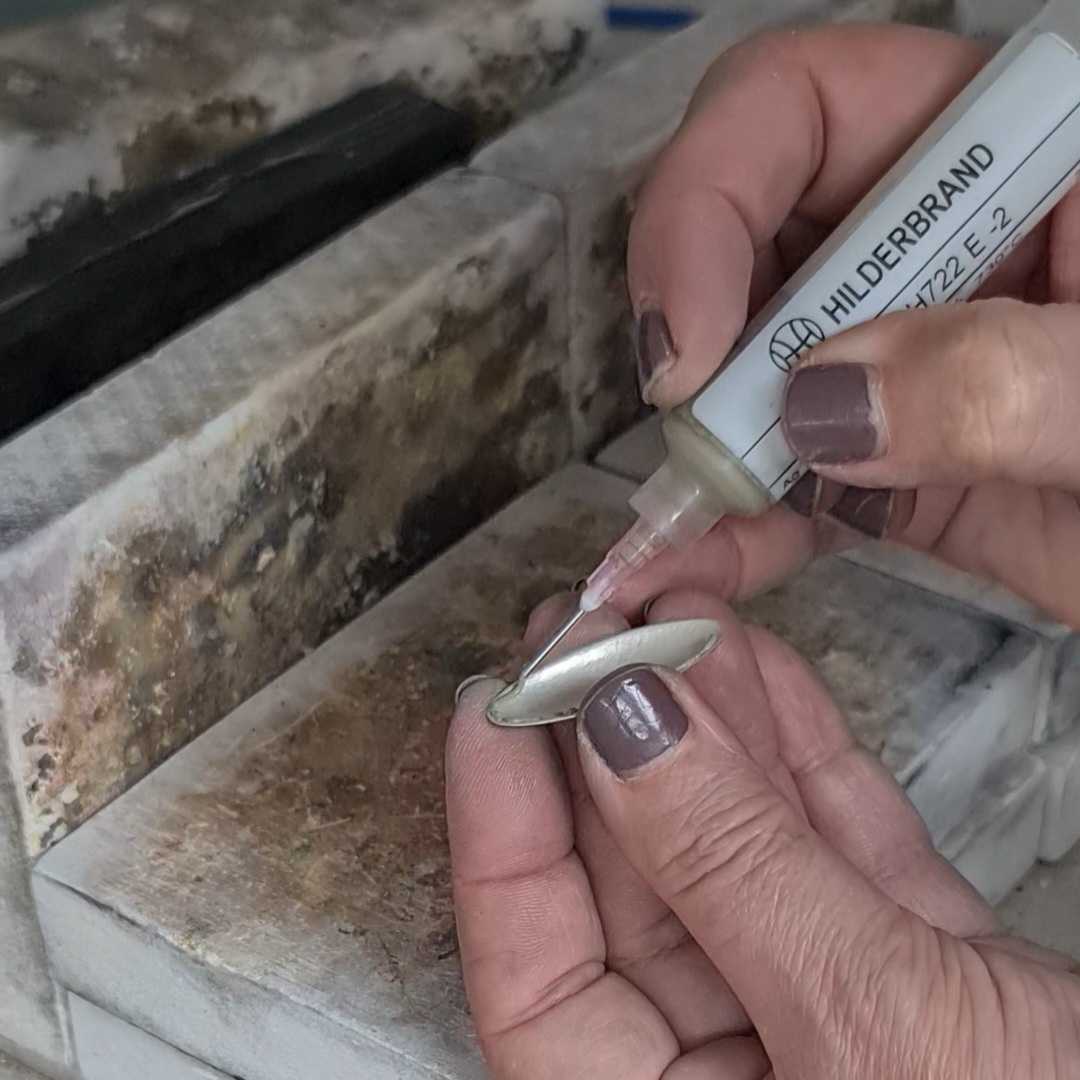 | 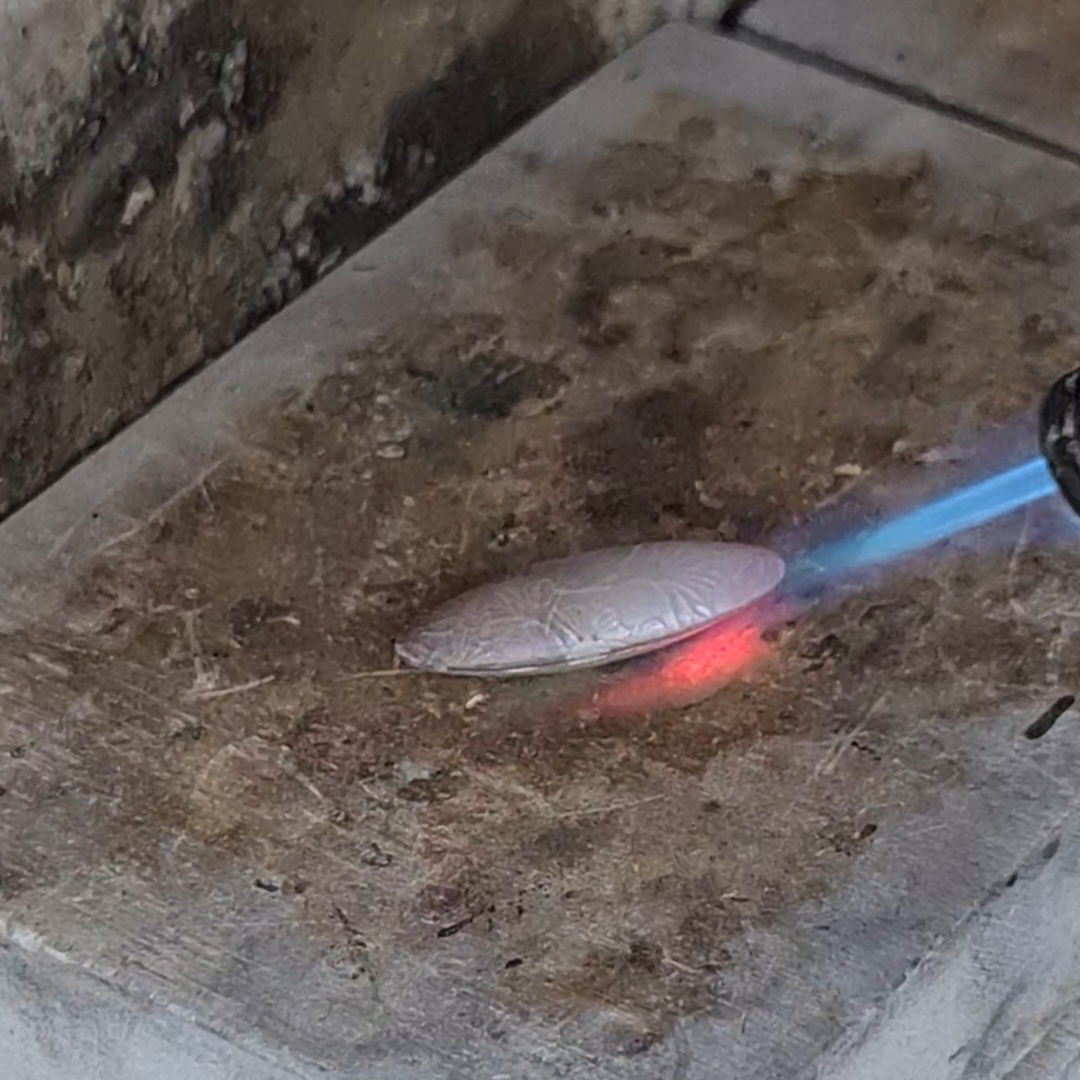 |
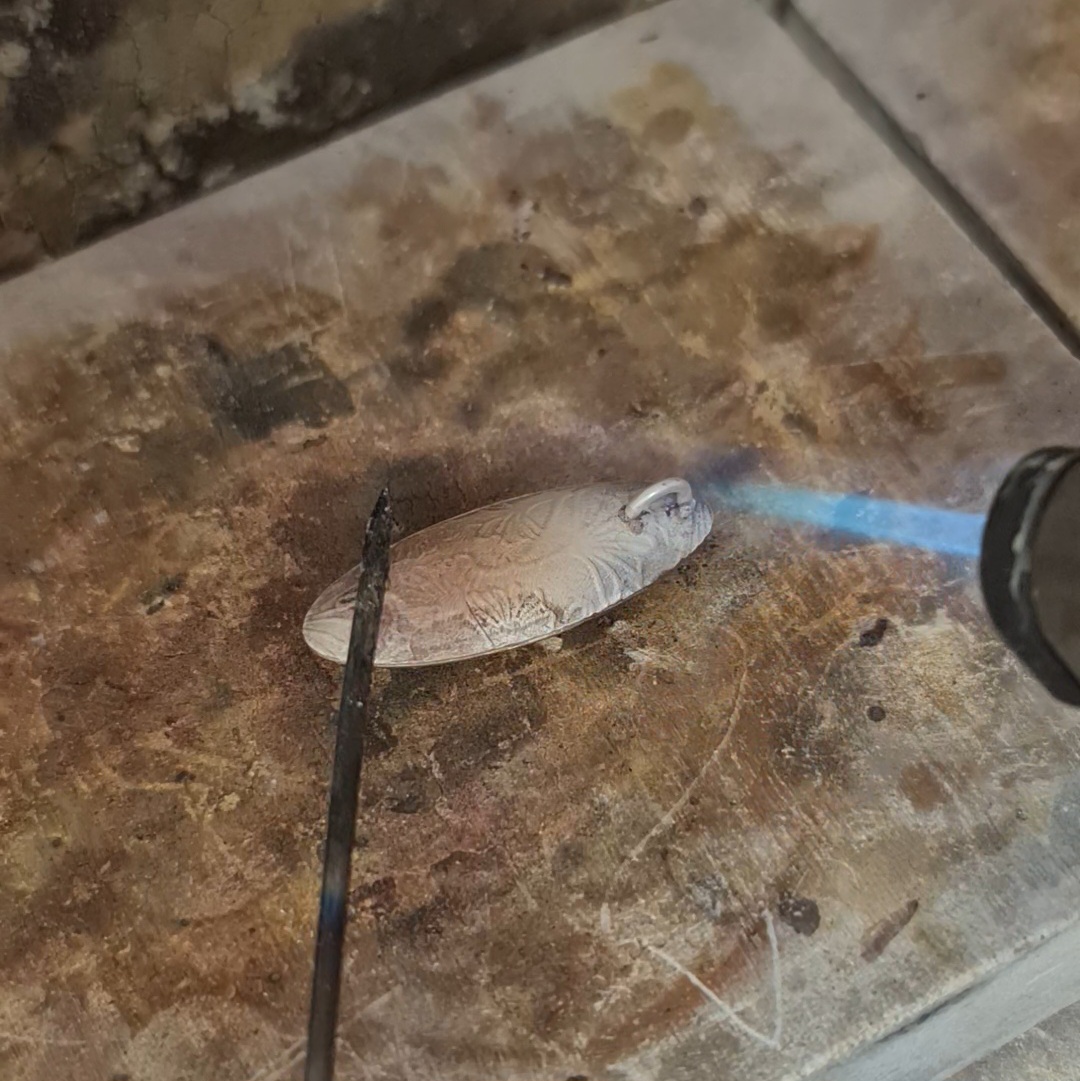
| 13. The rims should look like this, and the two ovals should match nicely when you hold them together. | 14. I prefer to use solder paste for hollow forms. As it's tacky it stays where I want it, just inside the rim. Use medium solder so that easy solder is left for the bail. | 15.Solder flows to the hottest part of the work, so play the flame along the seam to draw the solder out. Let the silver air cool before pickling so that heat shock doesn't contract the air and pull the sides of the silver in. |
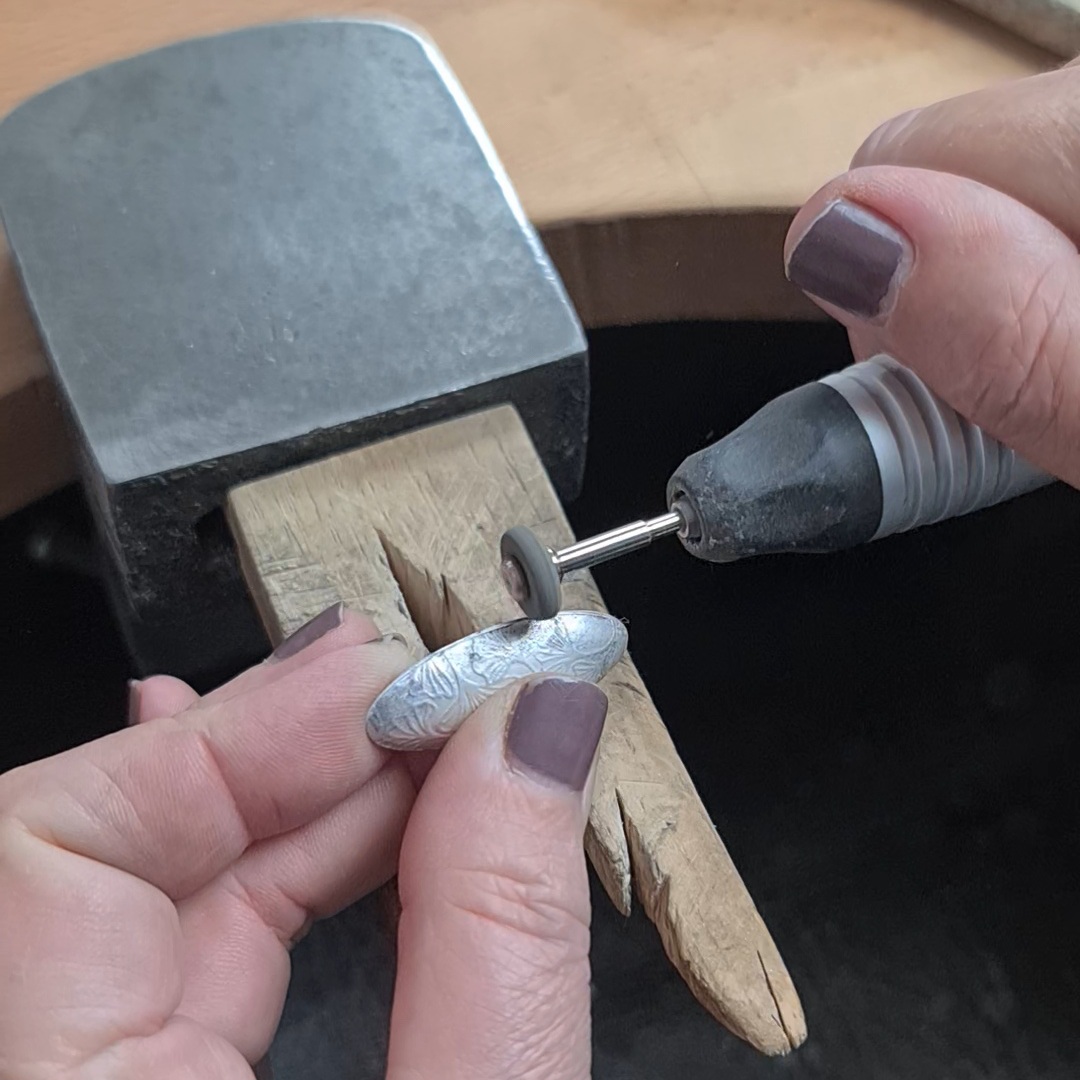 | 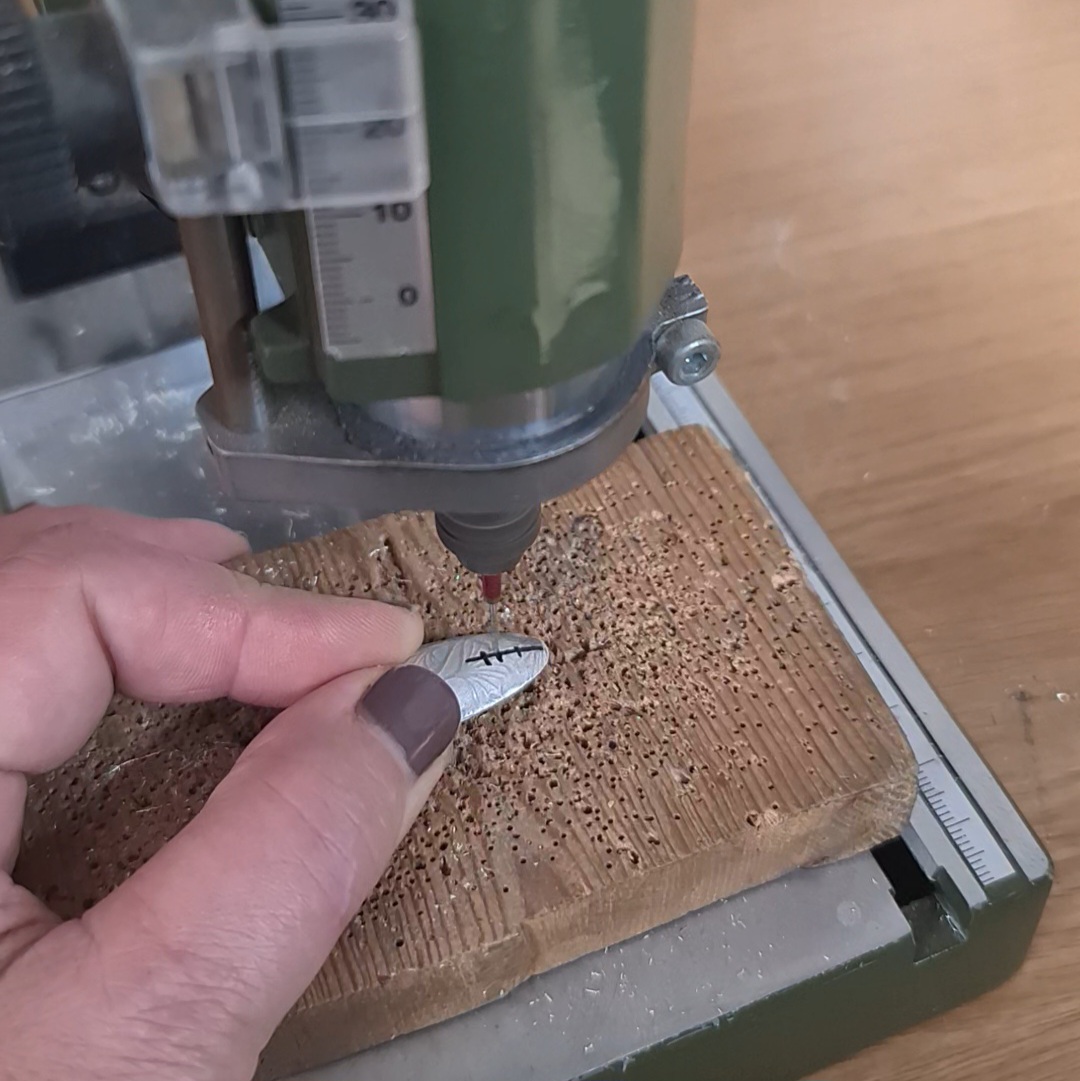 | 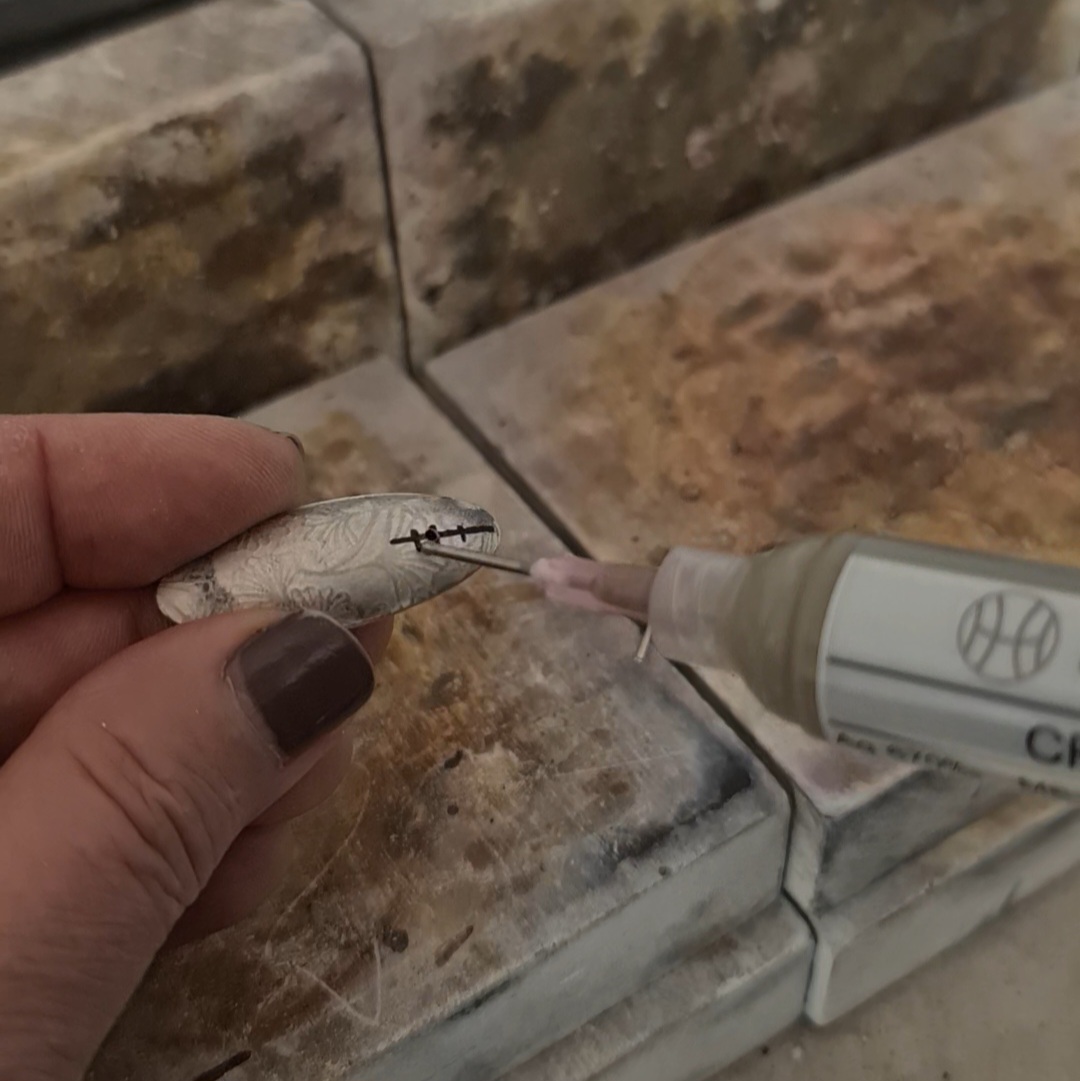 |
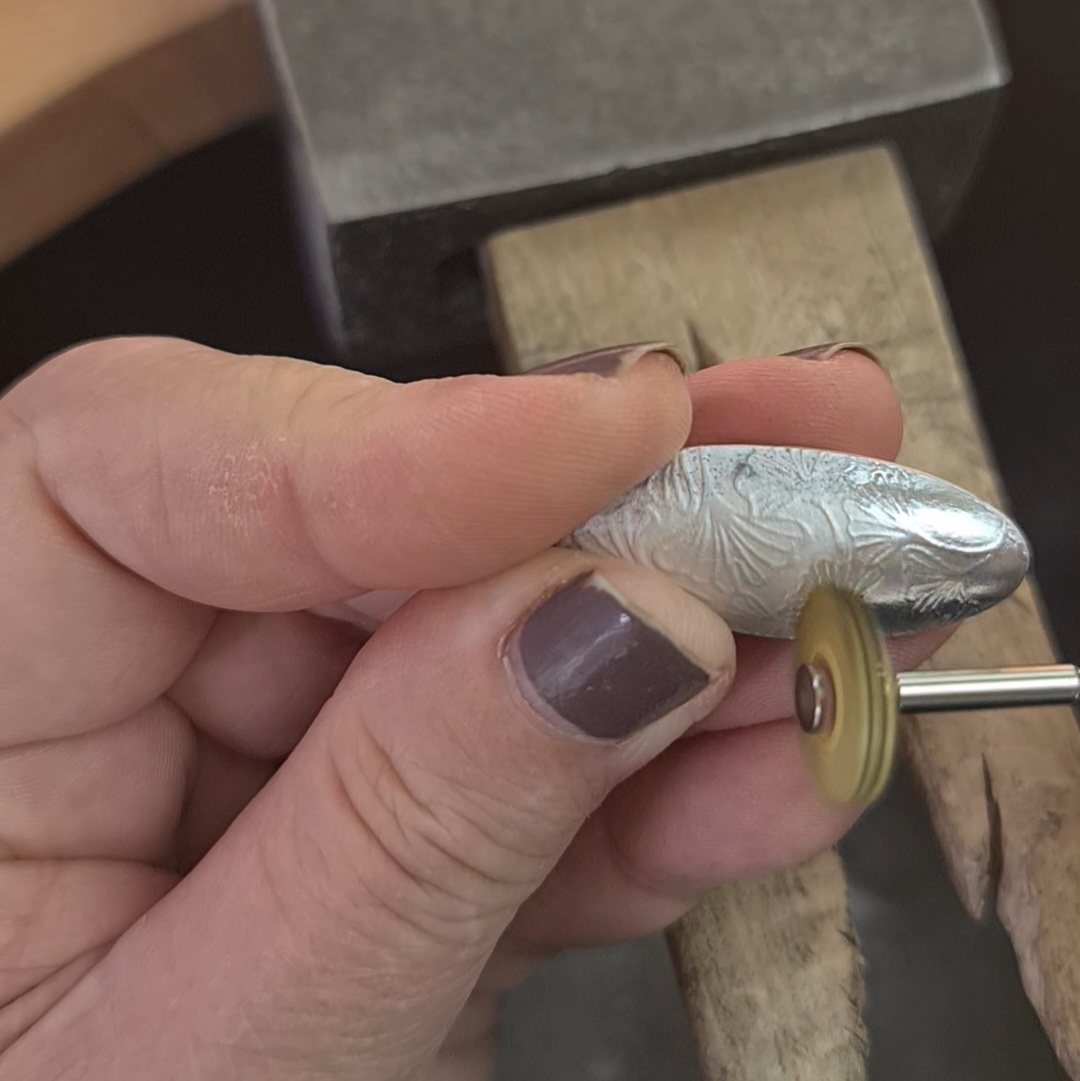
| 16. If necessary, tidy the seam. My favourite tool for this job is a rubber wheel in my pendant drill. | 17. Drill a hole large enough for the silver wire centrally on the back of the pendant, about 1cm from the top. | 18. Add a little easy solder paste over the hole. |
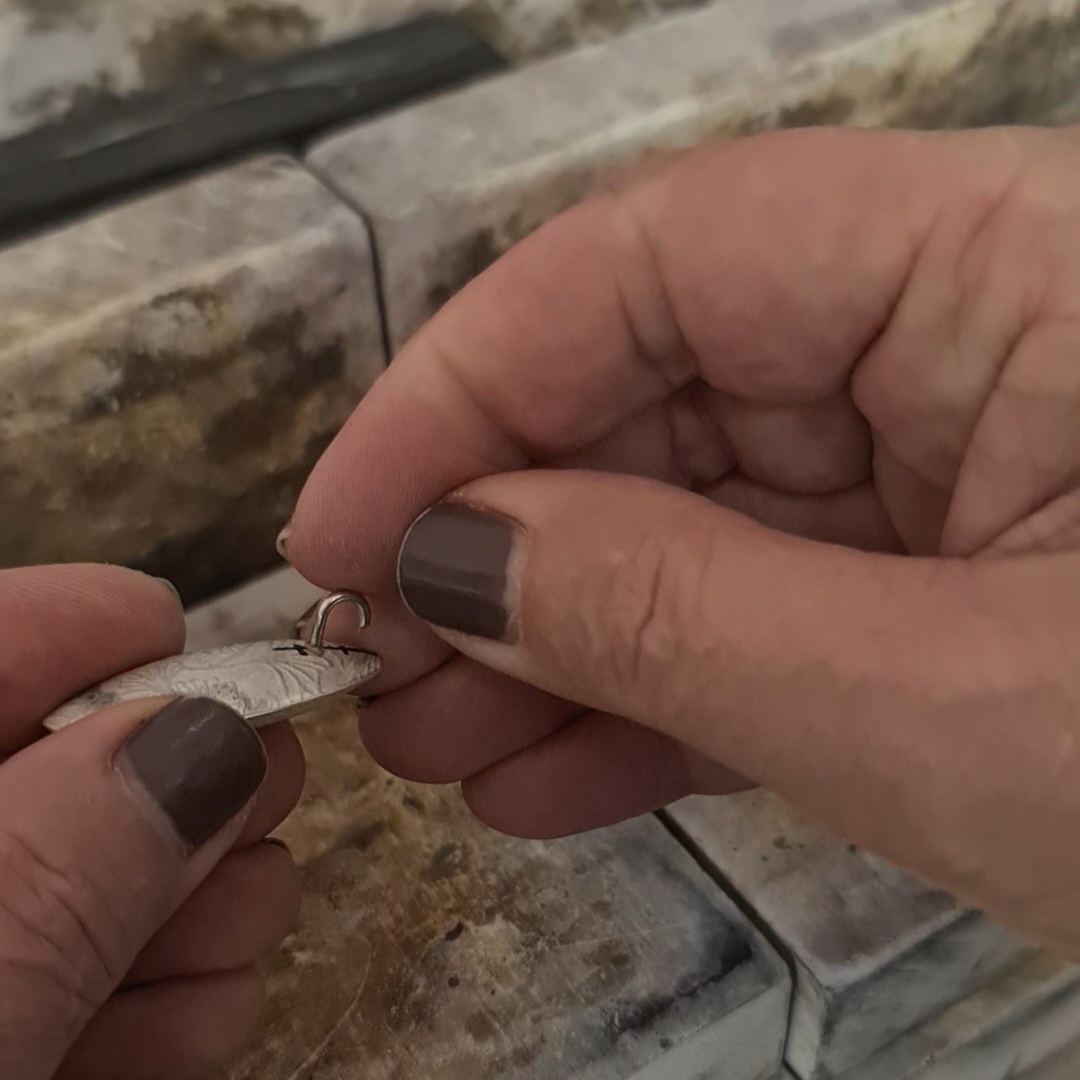 |  |  |
| 19. Bend the wire into an upside-down "J". Push the longer side of the wire through the paste and into the hole. This will push some of the paste into the hole and help create a stronger join. | 20. Adjust the bail so that the shorter side sits neatly on the back of the hollow form, and add a little solder paste here too. Solder the bail in place. Again, let the silver air cool before pickling. | 21. After cleaning in the pickle give your beautiful new pendant a polish. I prefer radial discs for this job. |
If you're looking for more hollow forms inspiration
have a look below
 |  |  |
Dotty Box Earrings | How to use silhouette dies in a bench vise | Hollow Forms and Beads |
Learn how to make hollow boxes -
they're great for pendants too! | Love the look of hollow beads but don't have a hydraulic press?
Learn how to use your bench vise instead! |
Learn four fantastic methods for making
beautiful hollow pendants, beads and more
|
Categories: : hollow forms, jewellery tutorial, tool talk

Joanne Tinley
Tutor and Founder of The Jeweller's Bench
The Jeweller's Bench is run by Joanne Tinley. She has been making her own jewellery for as long as she can remember and left her first career as a school teacher to set up business as a jewellery designer and tutor nearly 20 years ago. She is
self-taught and like many people started with wire and beads. Learning how to solder, however, opened up a whole new world of jewellery making, one that she is keen to share!
