Leafy Oval Earrings Tutorial
 Joanne Tinley

Statement style without the weight! Learn how to make large but light earrings with the hollow box method.
Hollow Box Construction: Making Light Statement Earrings
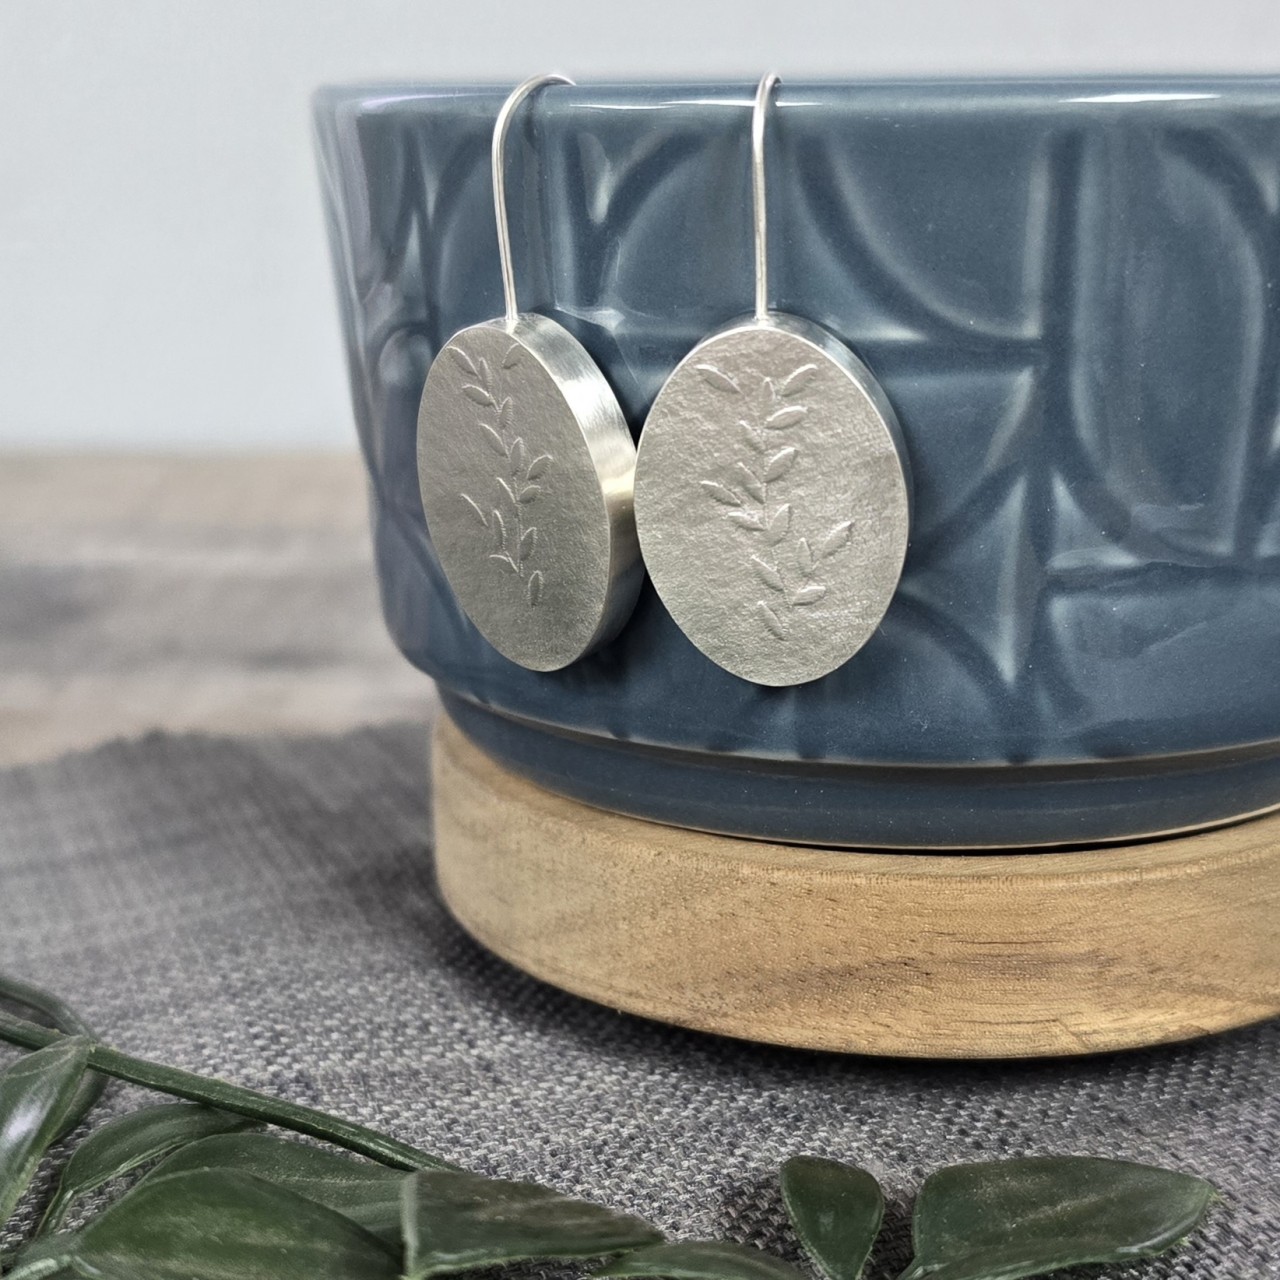
You will need:
- Tree Lattice 1 motifs texture sheet - available from The Jeweller's Bench Shop
- silver - 0.8mm sheet for the fronts of the earrings, 2mm wire for the earrings walls, 0.5mm sheet for the backs of the earrings, 0.8mm for the earwires
- Soldering kit - this blog post shows you all you need
- saw, files, emery paper, oval mandrel, nylon hammer, pendant drill, 0,9mm drill bit and polishing tools, sharpie, ruler, nylon jaw pliers, flat nosed pliers, wire cutters, small round mandrel, planishing hammer
- rolling mill (or give the earrings a hammered texture instead)
A note on getting the oval walls the right size:
You can, of course, make your earrings any shape you'd like! If you'd like to make oval earrings like mine, here's how I worked out how much wire I needed for the walls:
The easiest way to calculate the perimeter of an oval is to add the length and the width together, divide that by 2 and then multiply the total by Pi (that never ending number that starts 3.14).
The length of the motif I used was 22mm and the width was 10mm. I wanted my ovals to be a little bigger than the leafy motifs so I added a few millimetres to each measurement, making them 29mm and 15mm. Adding those together gives 44mm. Dividing that by 2 gives 22mm.
22mm x 3.14 = 69.11mm
I rounded up and cut two pieces of 70mm wire for the walls of the boxes making the oval boxes.
Let's get started!
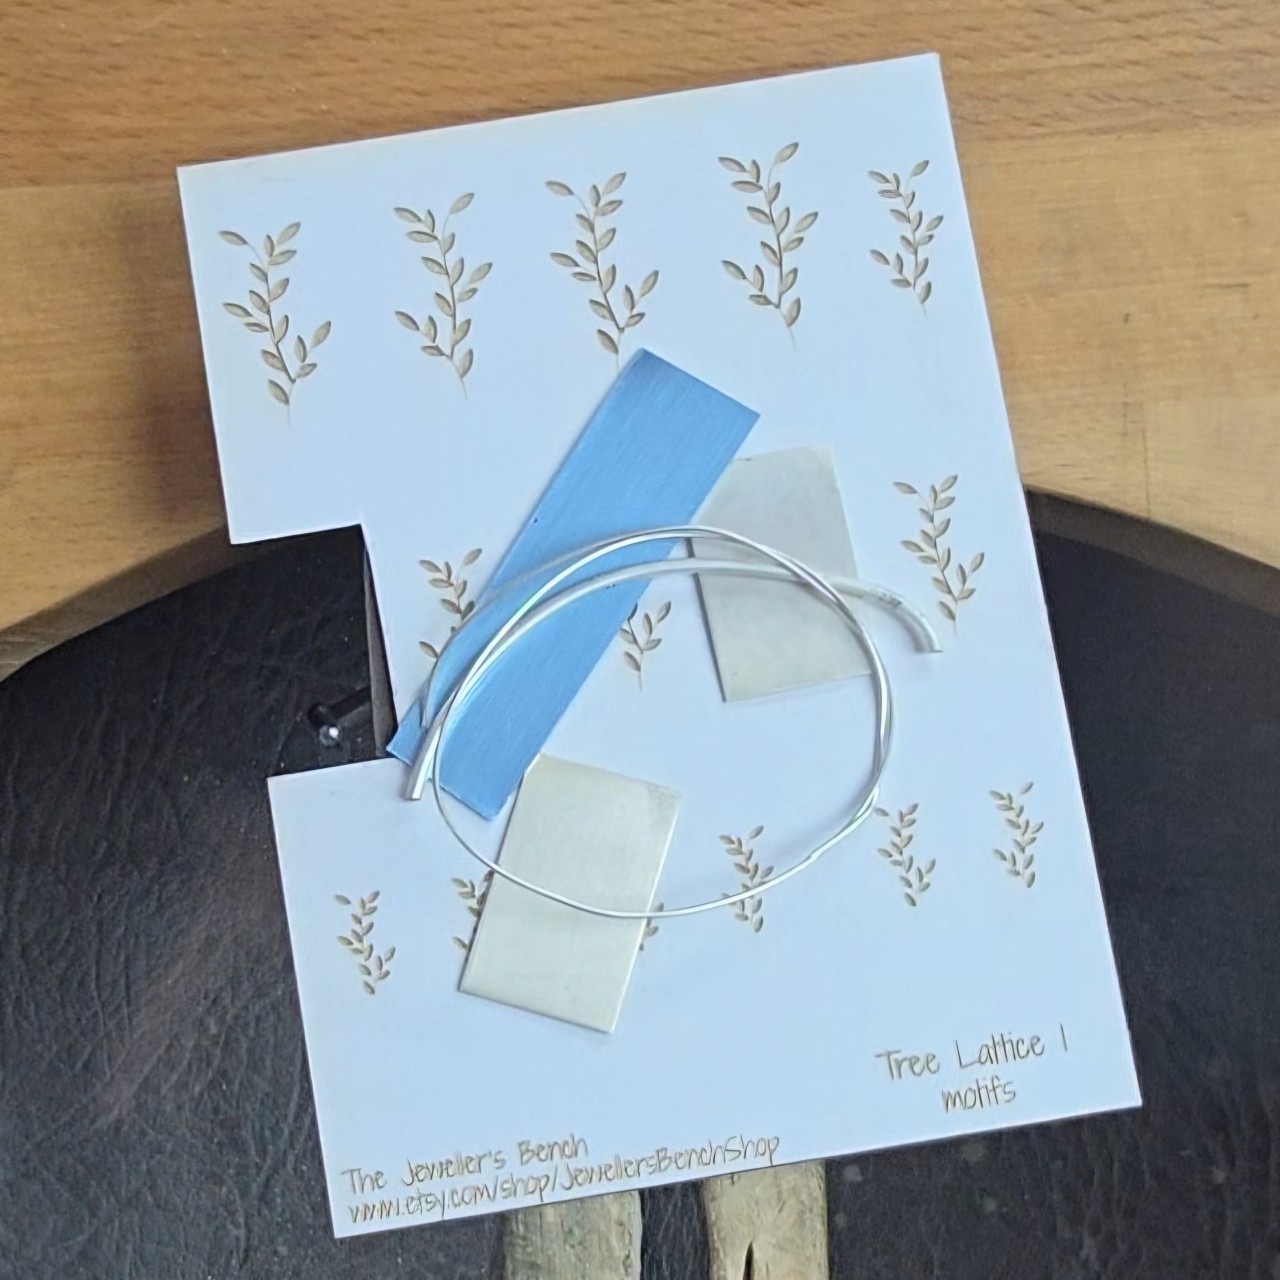 | 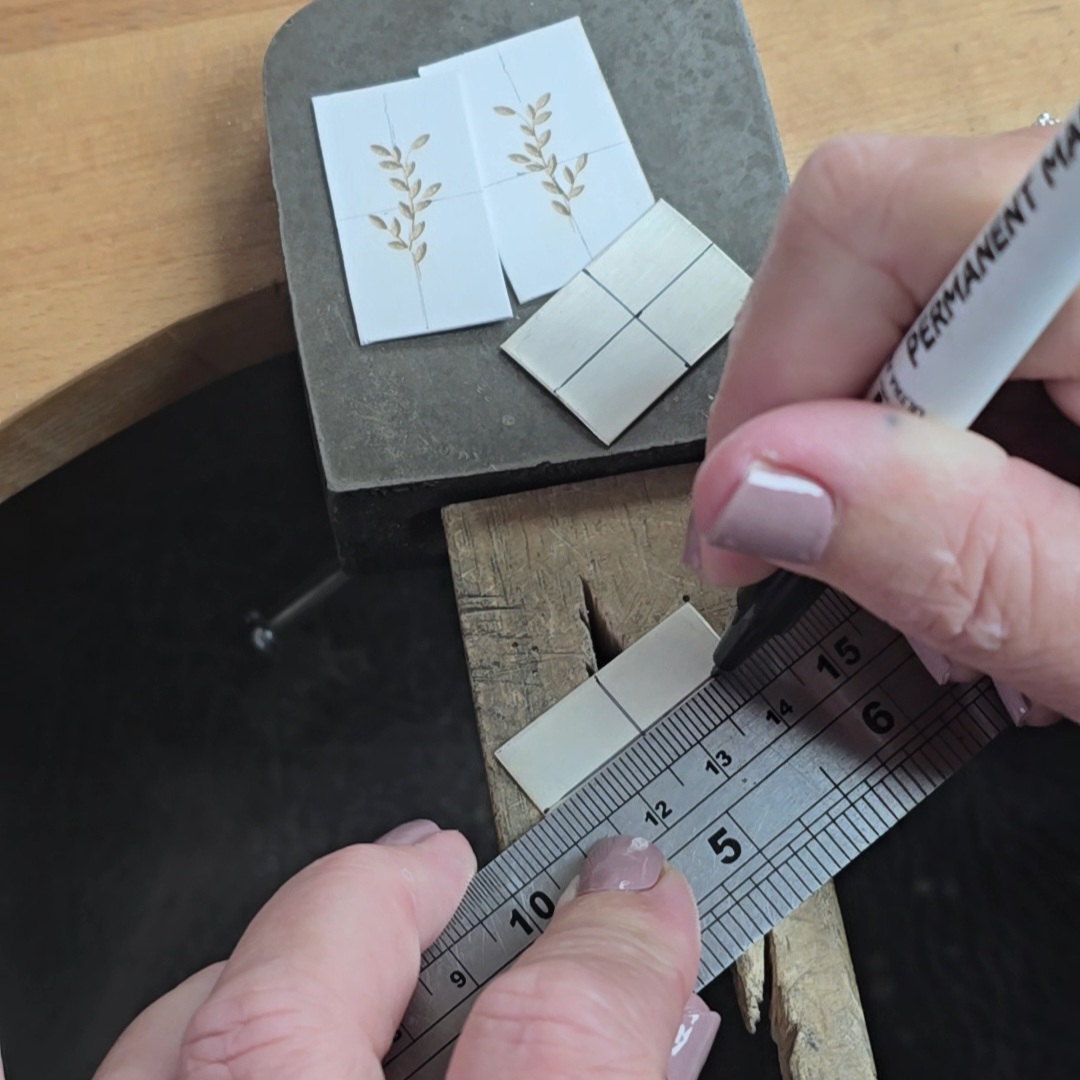 | 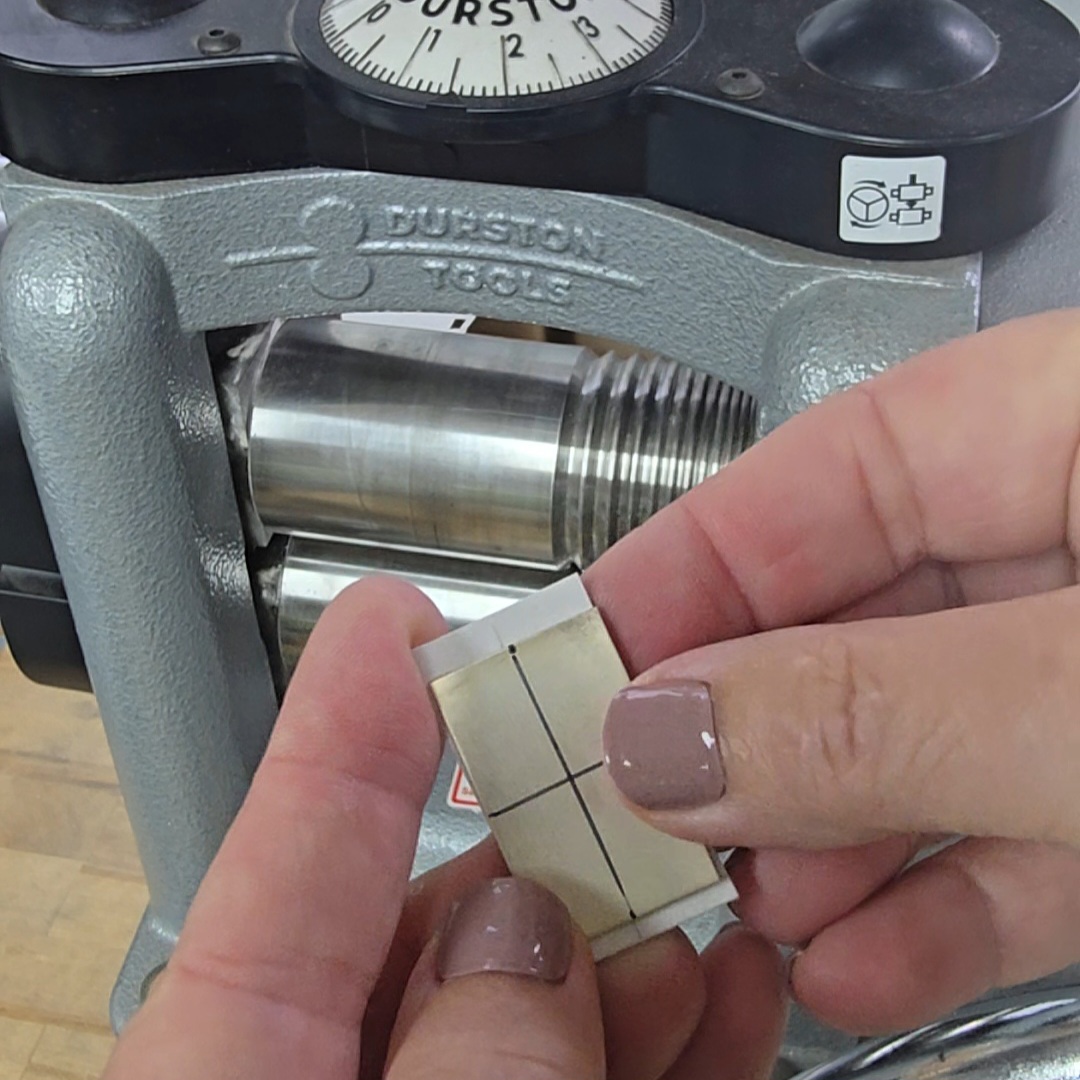 |
1. The Tree Lattice 1 motifs were the inspiration for my earrings design. I wanted something delicate rather than bold as the earrings were going to be quite big already. The texture sheet has motifs in three sizes, and they are perfect for earrings as they come as mirrored pairs. | 2. Cut out a mirrored pair of the middle size of motifs. Mark centre links through each motif, and centre lines on each piece of 0.8mm sheet. | 3. Use the centre lines to position a piece of silver on a piece of texture sheet. Set up your rolling mill to the correct tightness and texture both pieces of 0.8mm silver.
Need help setting up your rolling mill? Click here! |
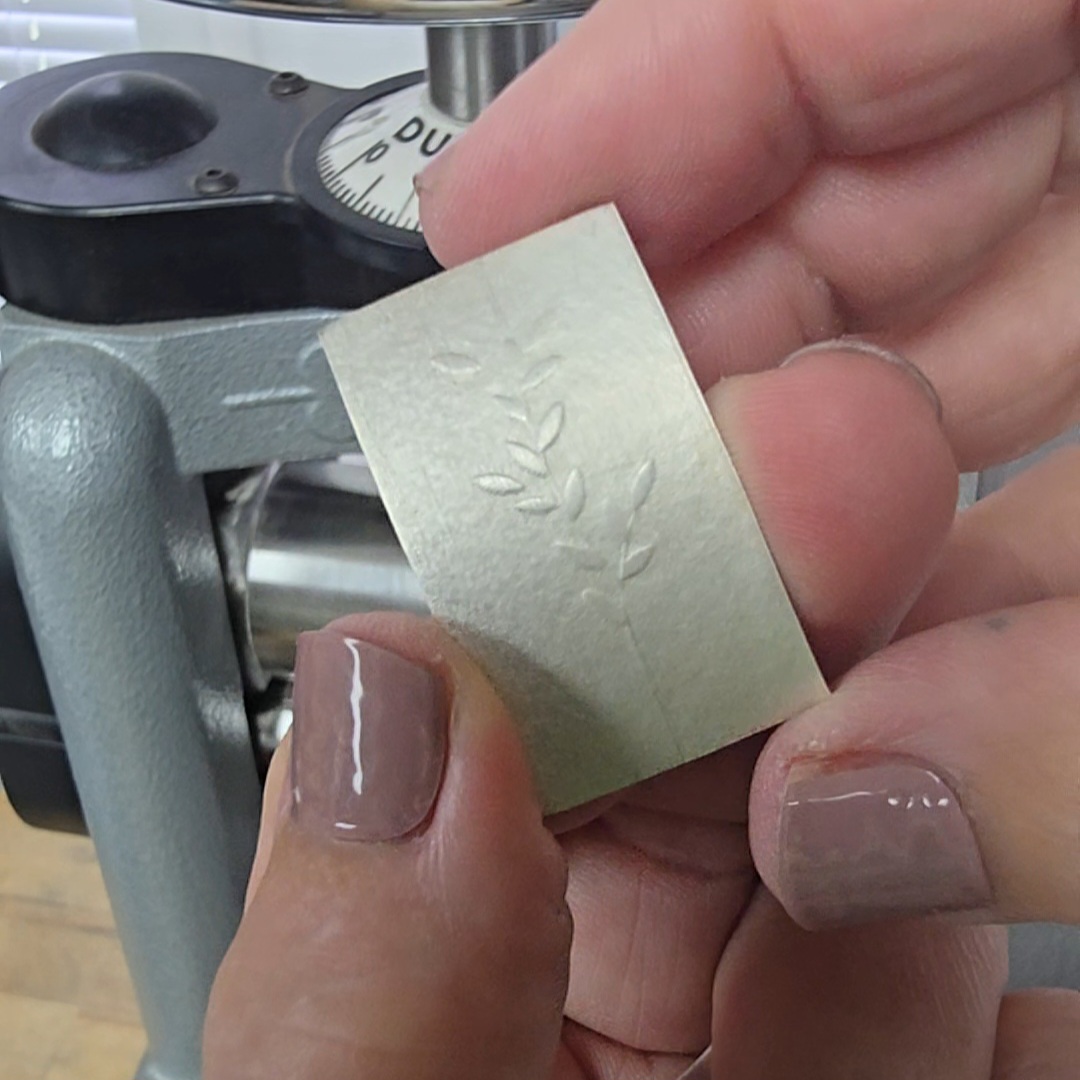 | 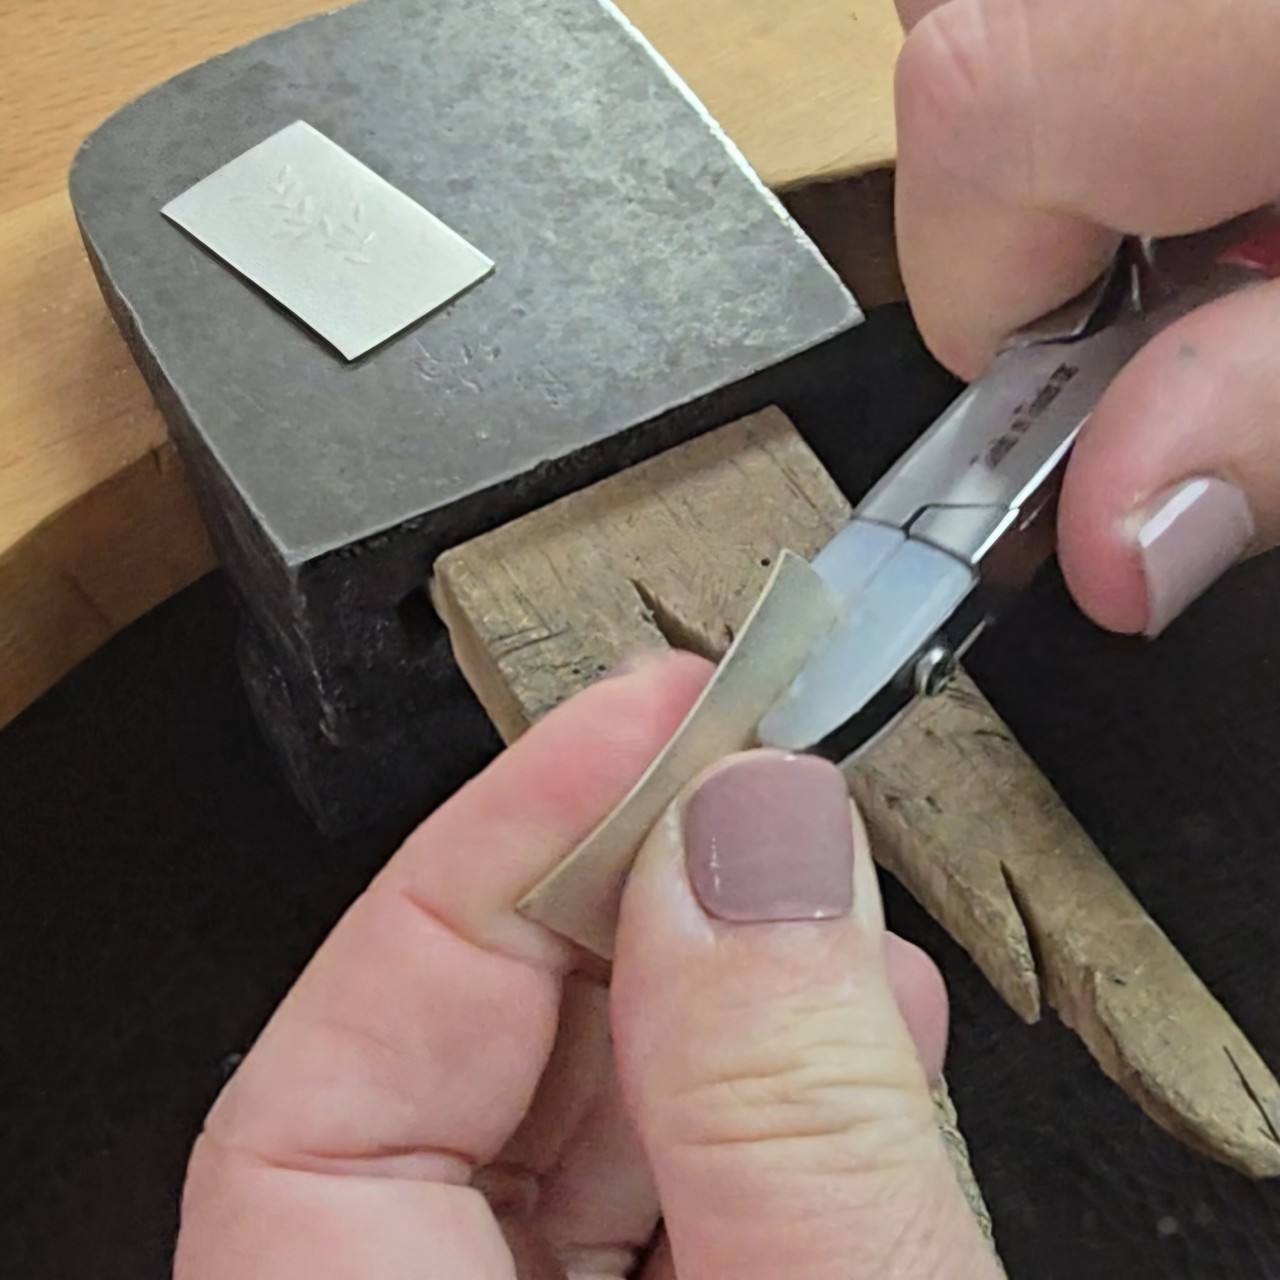 | 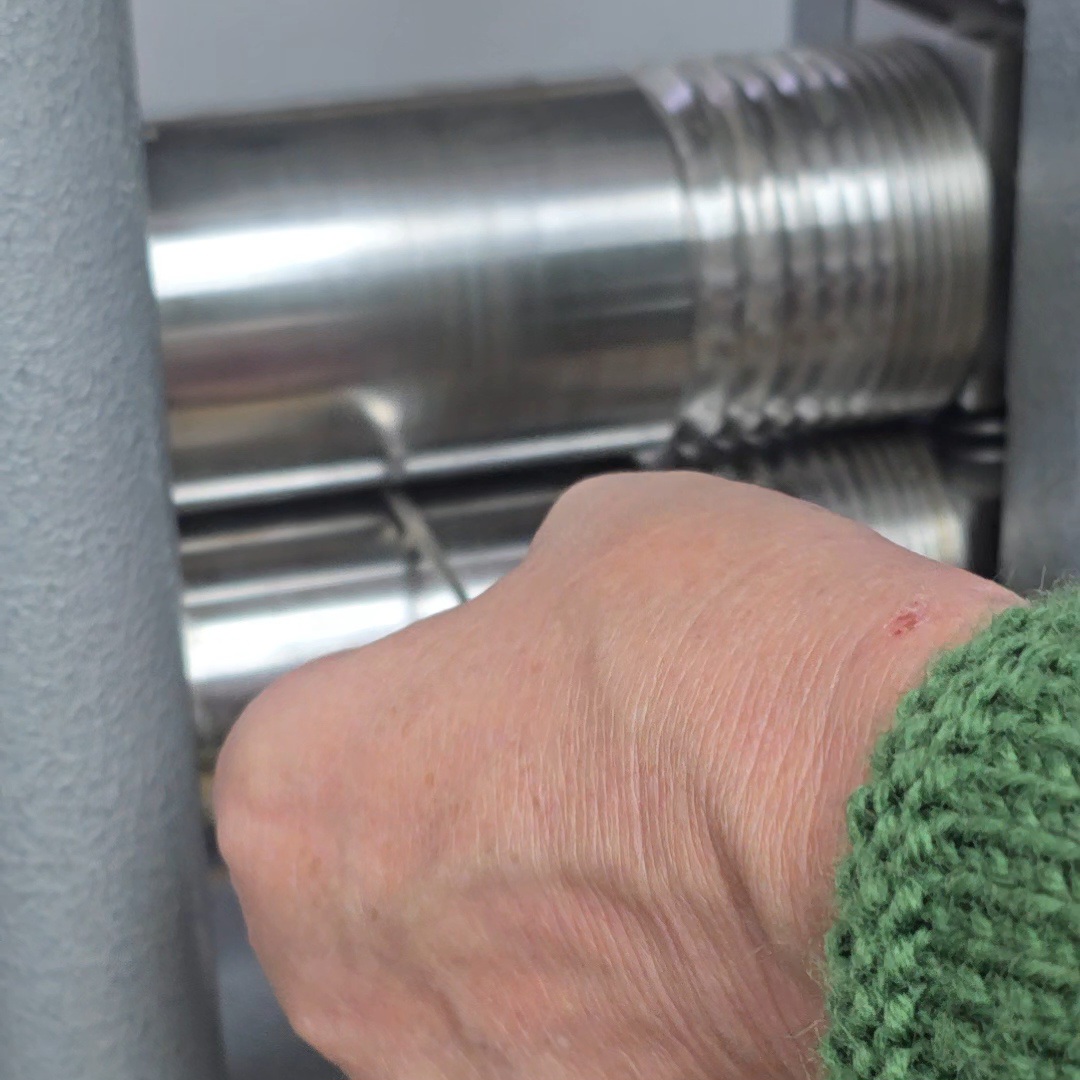 |
4. The beautiful texture! | 5. Use nylon jaw pliers to flatten the pieces of textured silver as they usually come out of the rolling mill with a bend. | 6. Use the rolling mill to flatten the 2mm round wire into a longer piece of rectangular wire. This will become the box walls.
New to reshaping wire with a rolling mill? I've got a video on that too! Click here. |
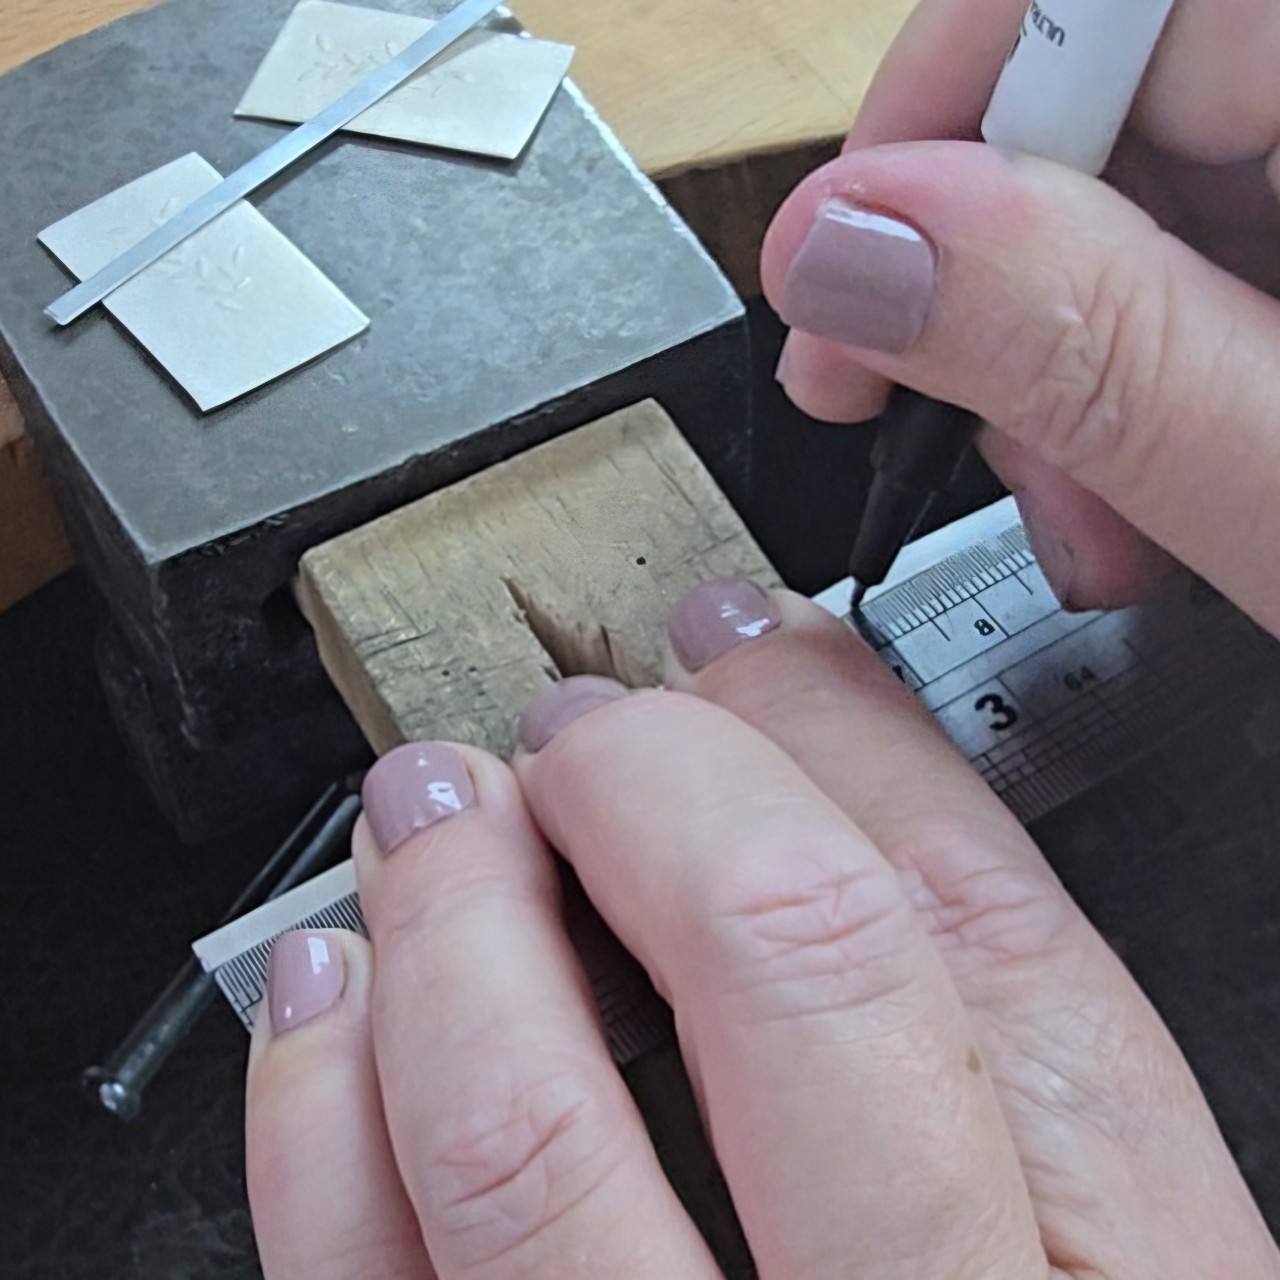 | 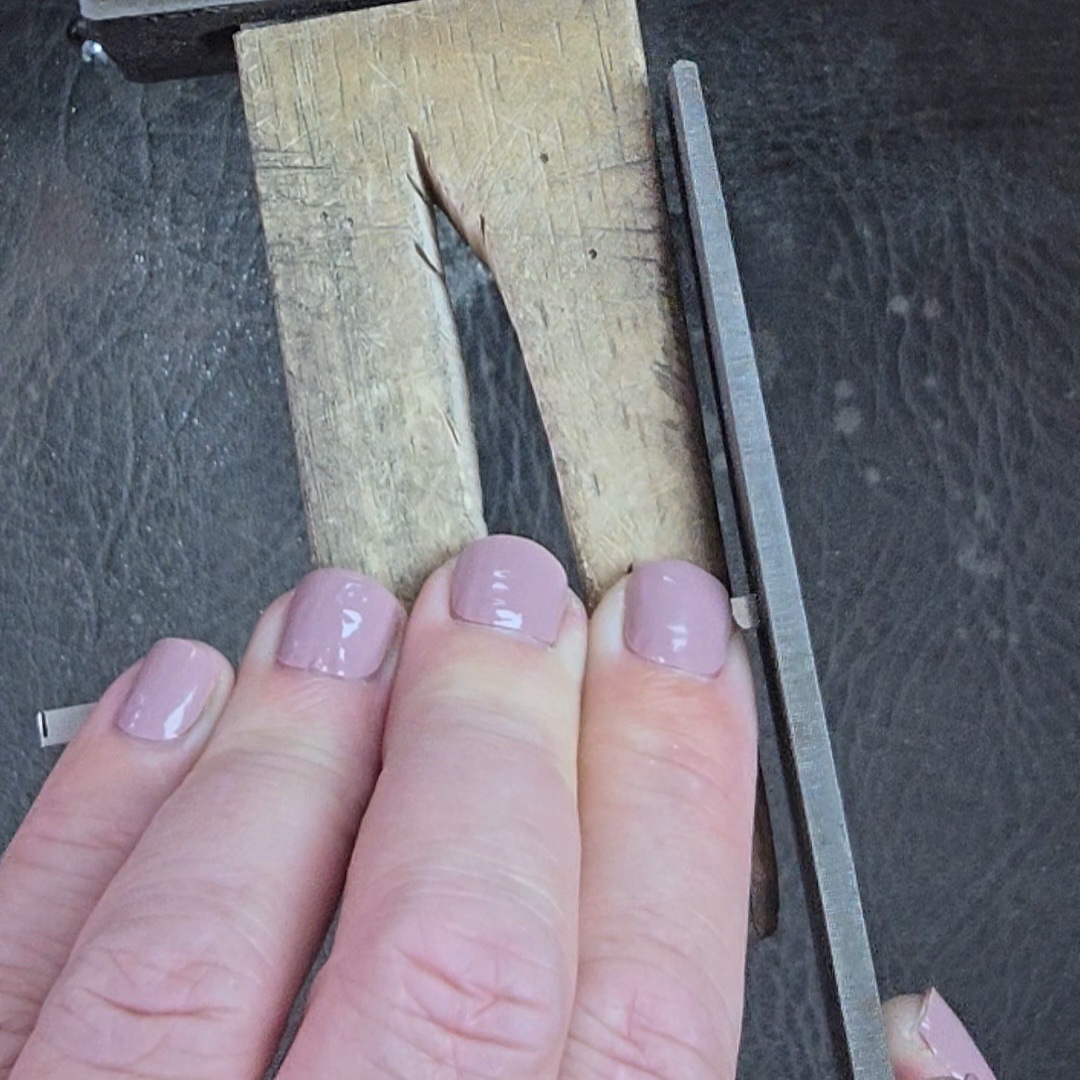 | 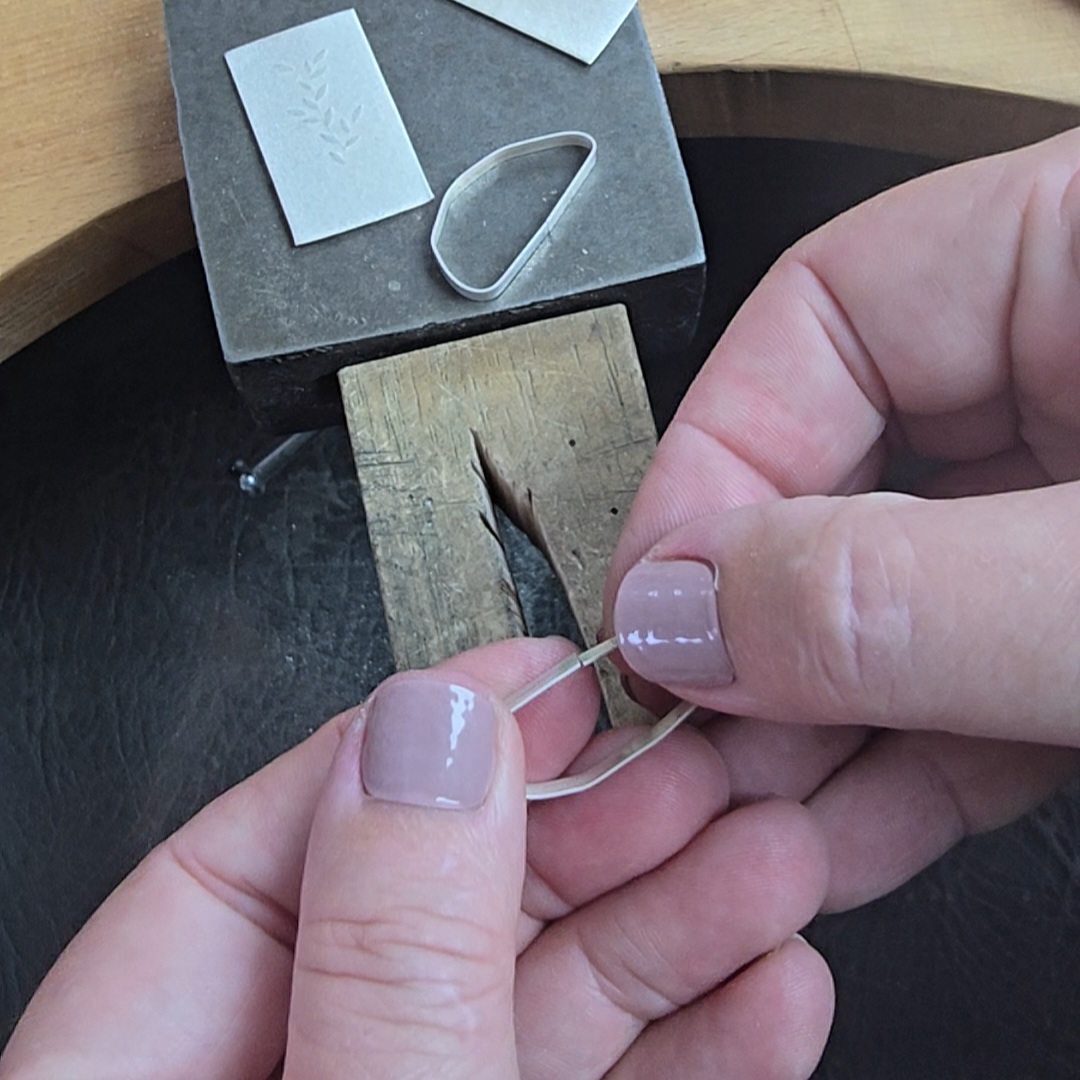 |
7. Mark the newly formed rectangular wire to the lengths needed for the oval box walls. Cut to length. | 8. File the ends of both pieces of wire square. | 9. Fold the lengths of wire round so that the ends meet head on with no gaps. |
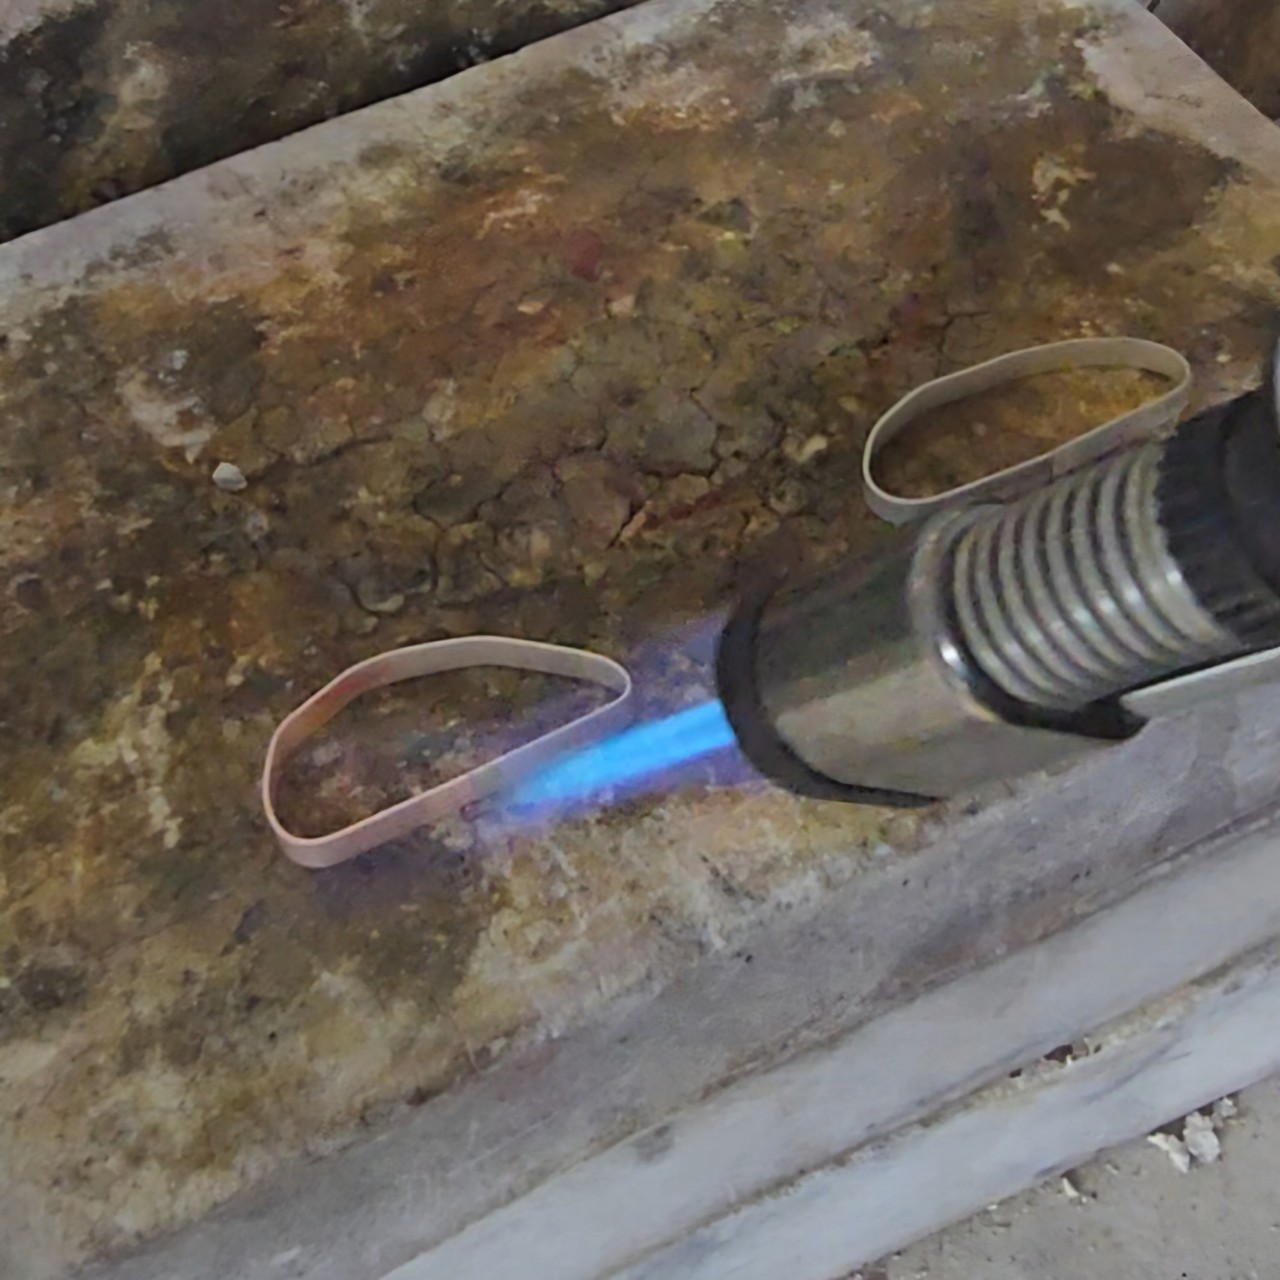 | 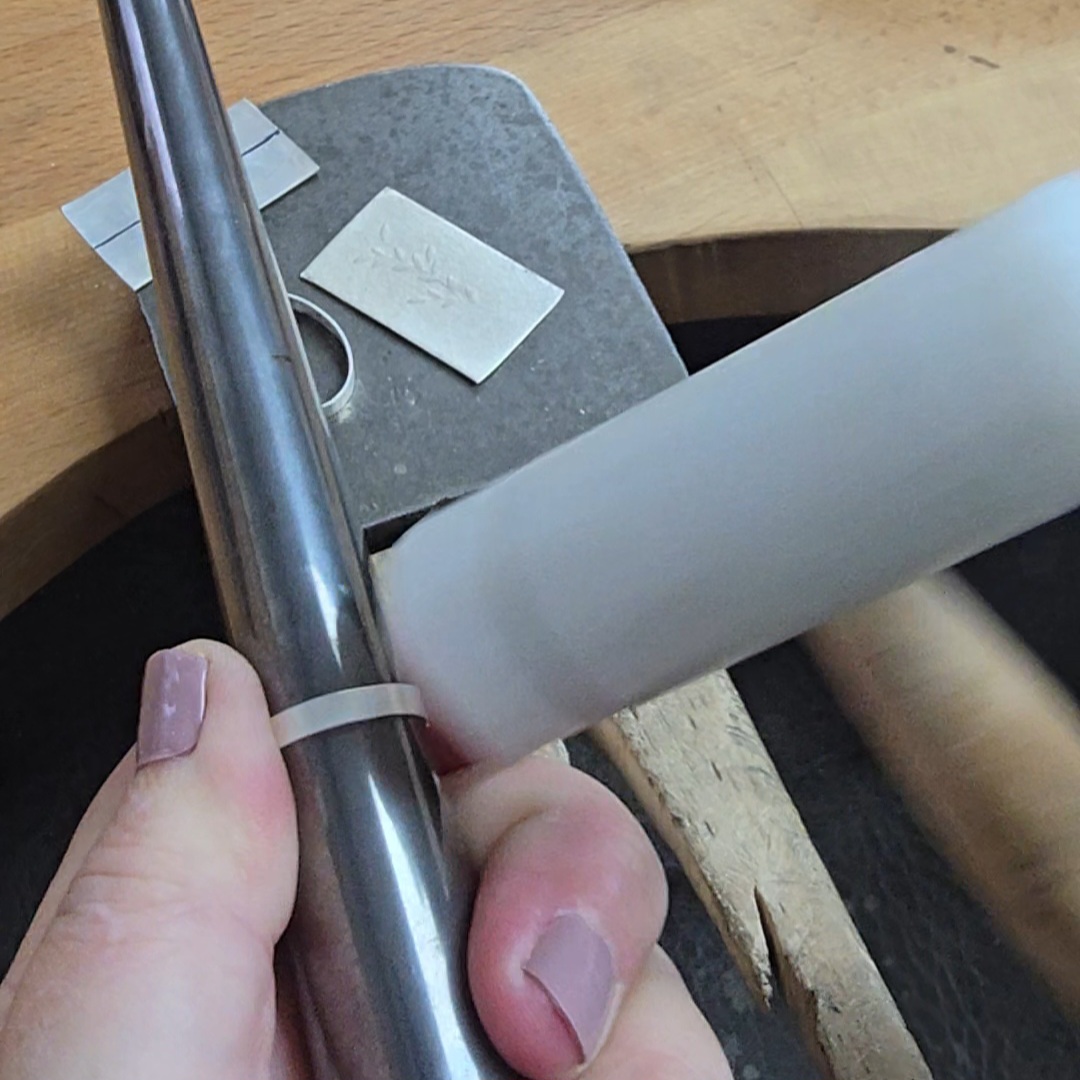 | 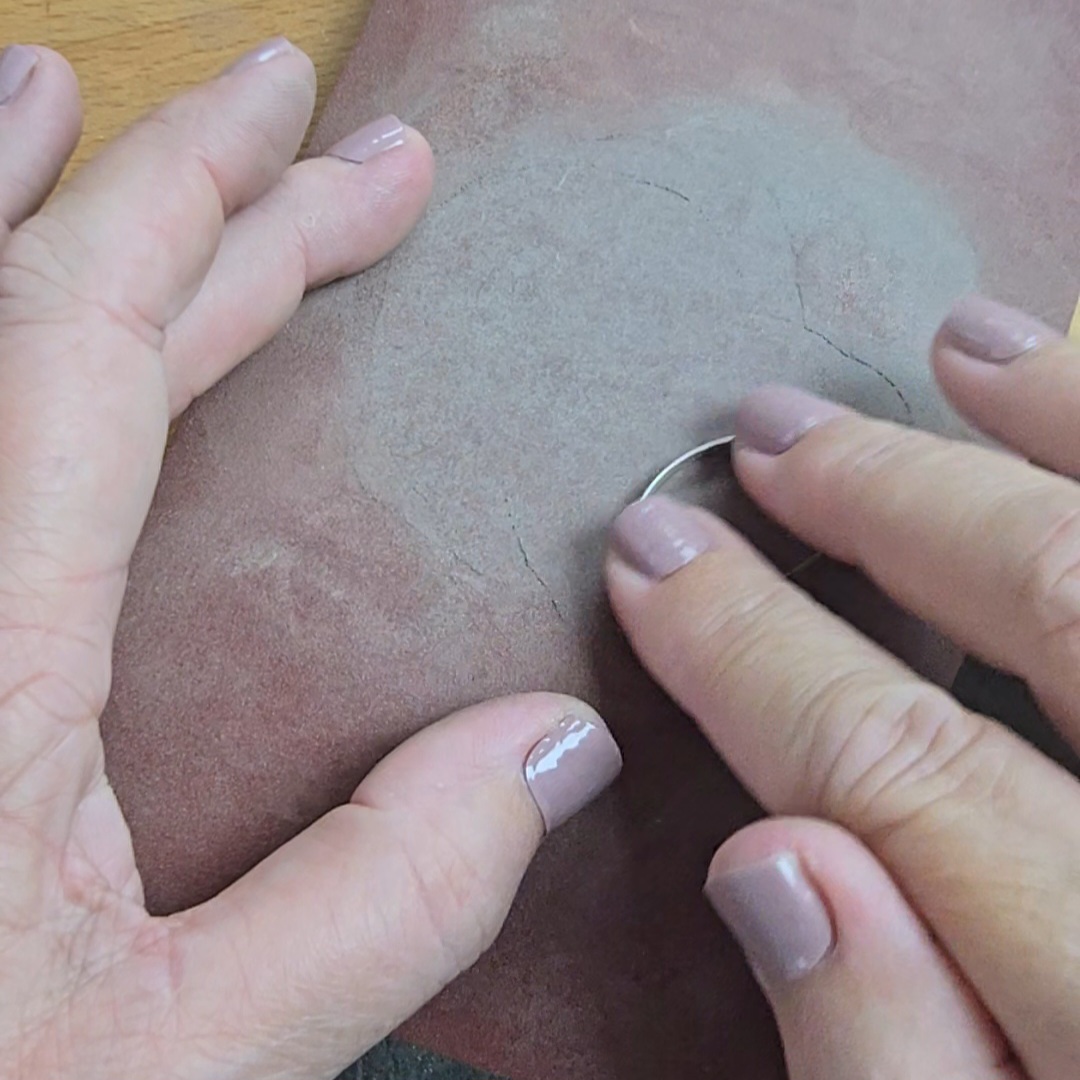 |
10. Solder each wall closed with hard solder. Quench and pickle to clean. | 11. Once clean and dry, shape each wall around an oval mandrel - or whatever shape mandrel you'd like your walls to be! | 12. Sand the top and bottom of each wall flat. You will need to remove the slightly rounded edges that result from flattening round wire. Don't worry about filing the solder joins - you won't see the insides, and you'll file the outsides later. |
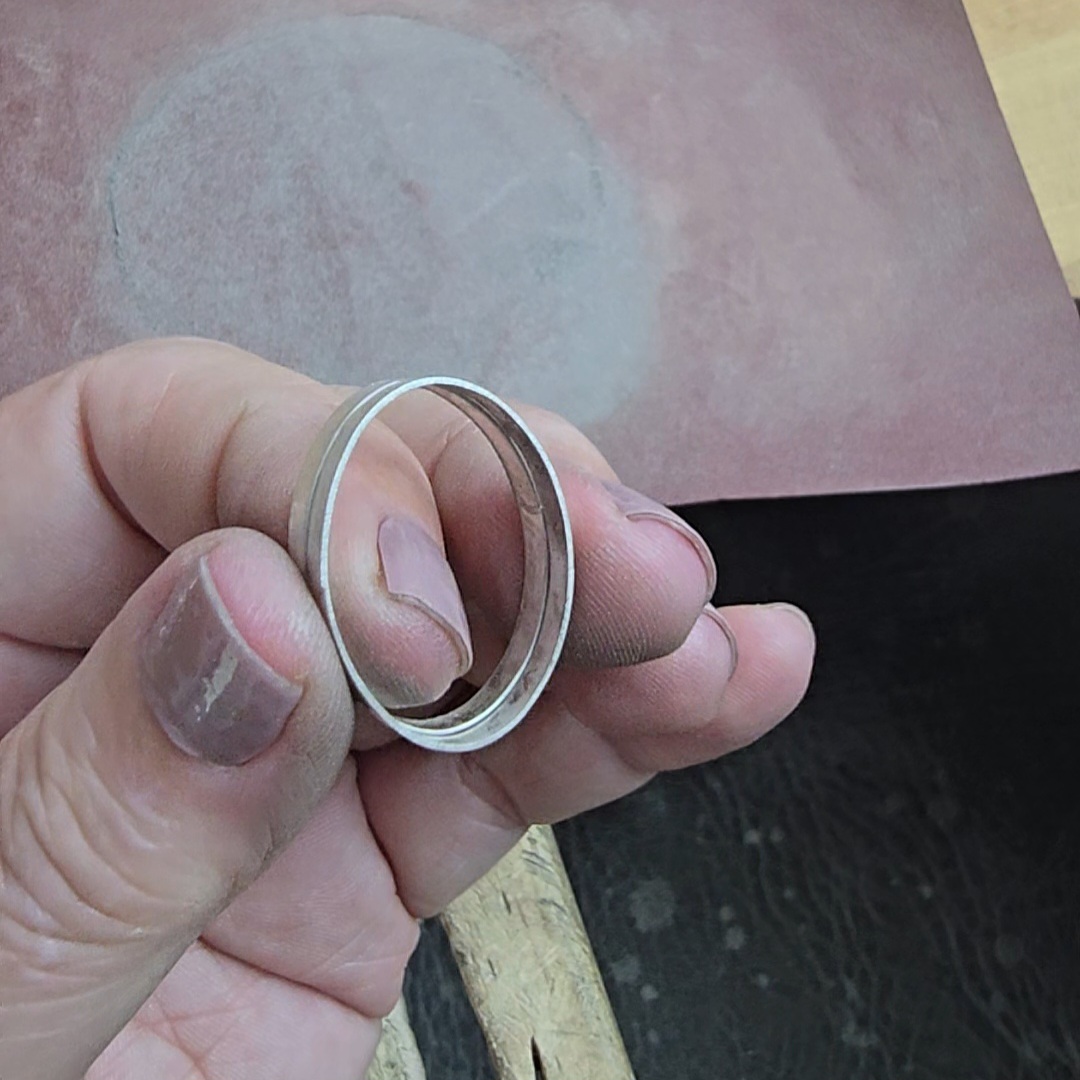 | 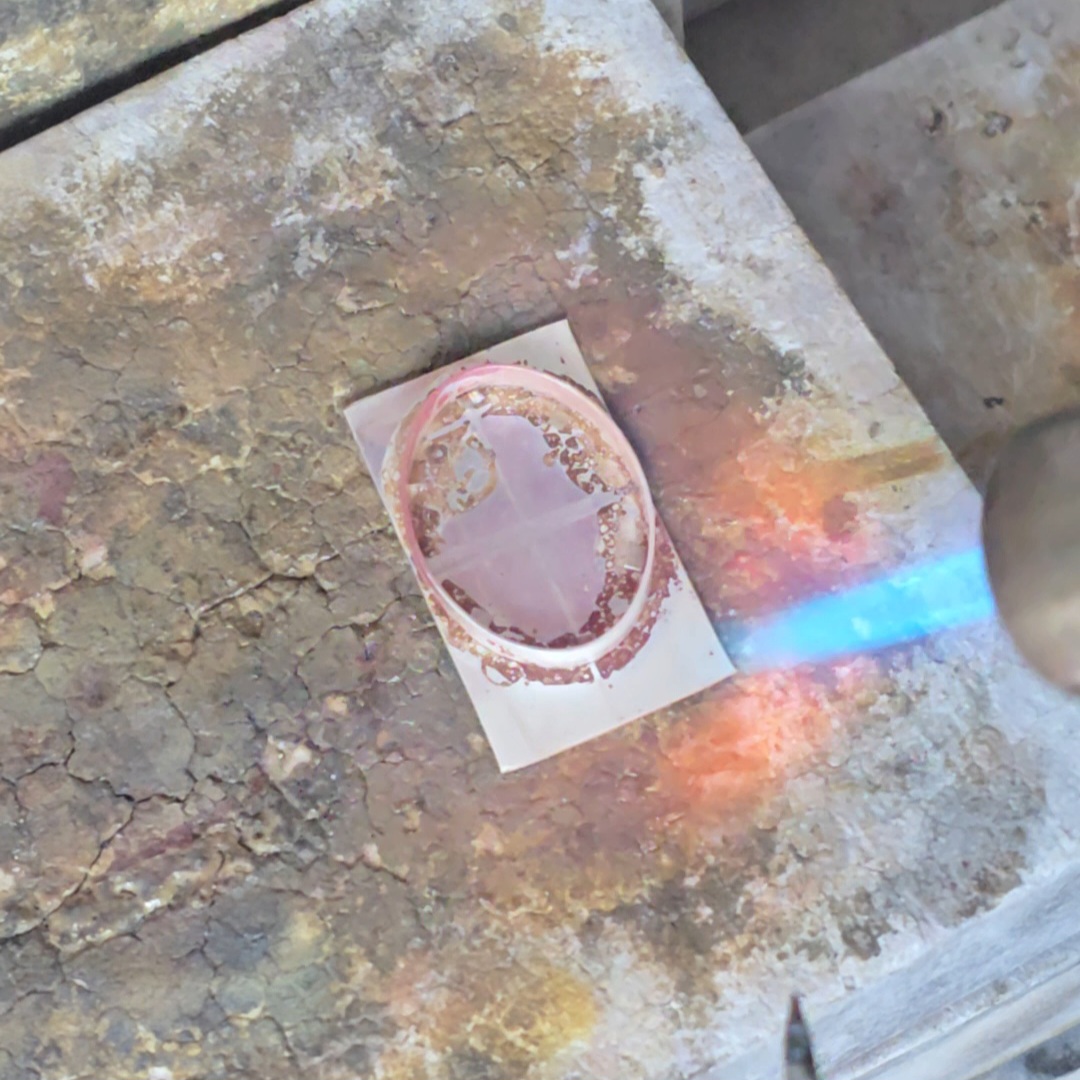 | 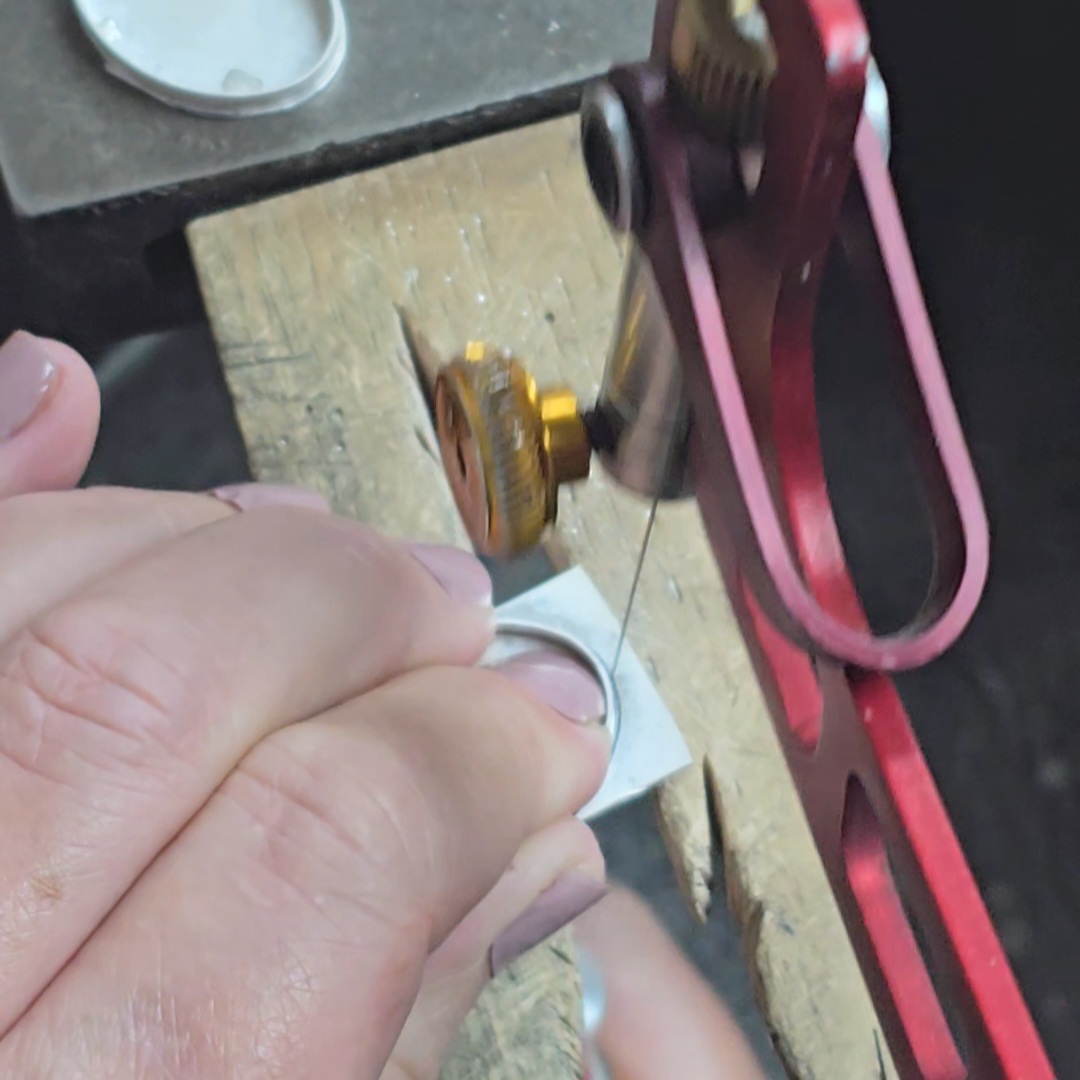 |
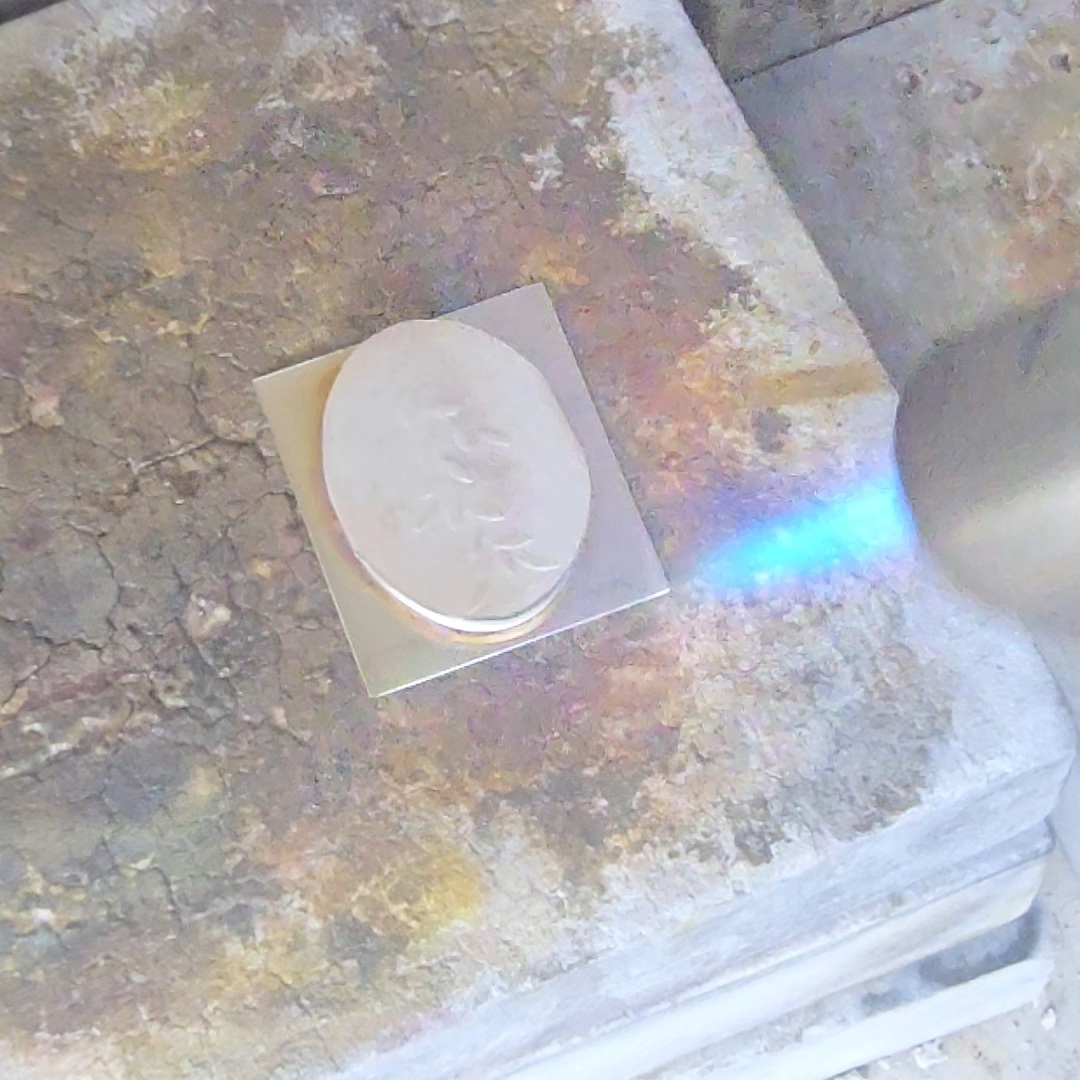
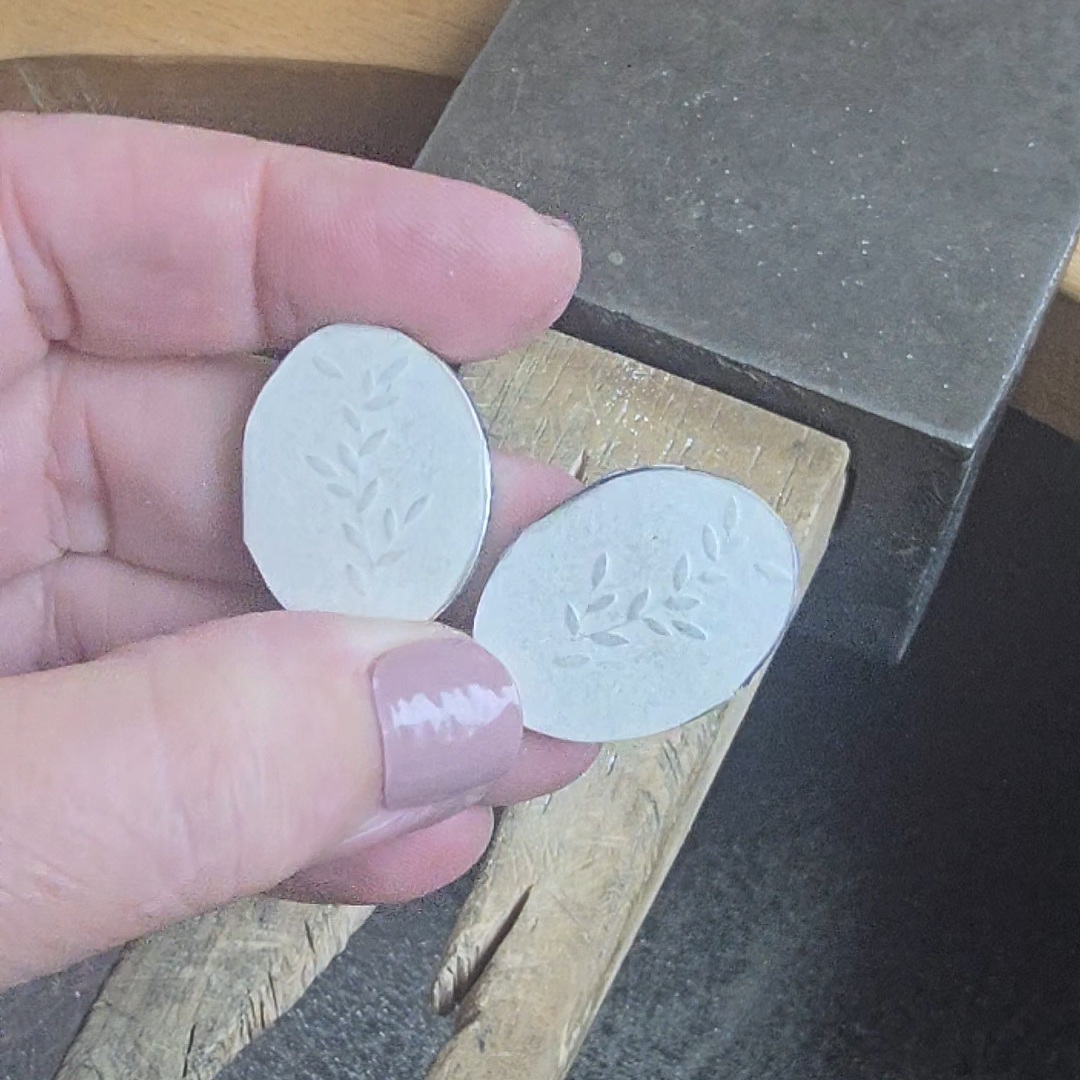
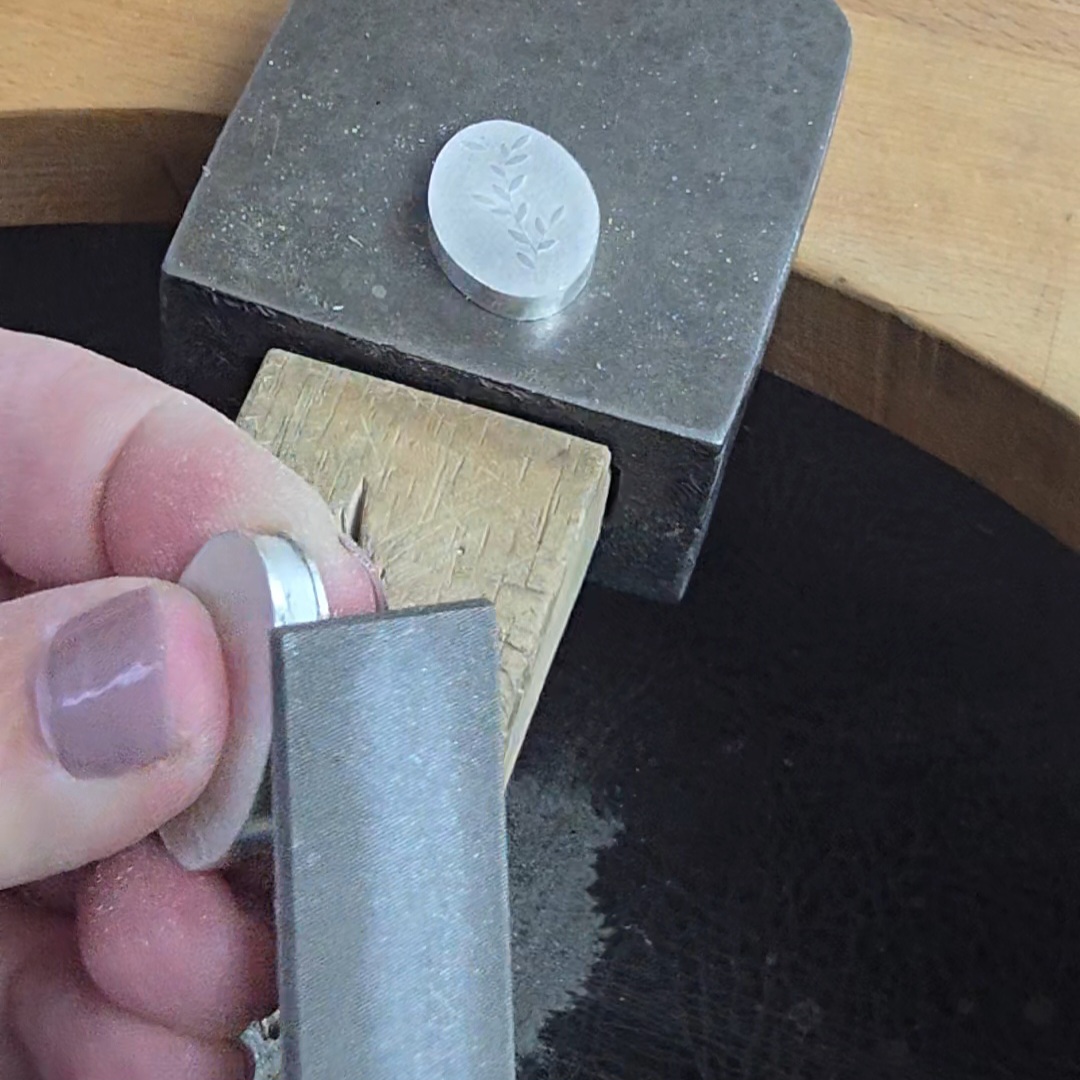
13. Double check that both ovals match up. If one is too small, stretch it a little on the mandrel. If one is too tall, sand it a little more to shorten it. | 14. Use the centre lines you drew on the silver before texturing to position on oval centrally. Solder the wall on to the top of the box with hard solder. Repeat for the second earring. Quench and pickle. | 15. Once the soldering is clean and dry saw off the excess silver from around the outside of the walls. |
 |  |  |
16. Position a box top on a piece of 0.5mm sheet as shown and solder together with medium solder. You can either apply solder paste around the inside of the wall, or apply small pallions on the sheet around the outside of the wall. Let the boxes air cool before pickling as quenching can cool them too suddenly. Speedily cooling and contracting air can draw in the top and bottom of the boxes.
New to soldering hollow forms? Click here for safety tips. | 17. Once the boxes are clean and dry saw off the excess silver. | 18. File to remove the last of the silver. You will also file and neaten the outside solder join on the wall at the same time. |
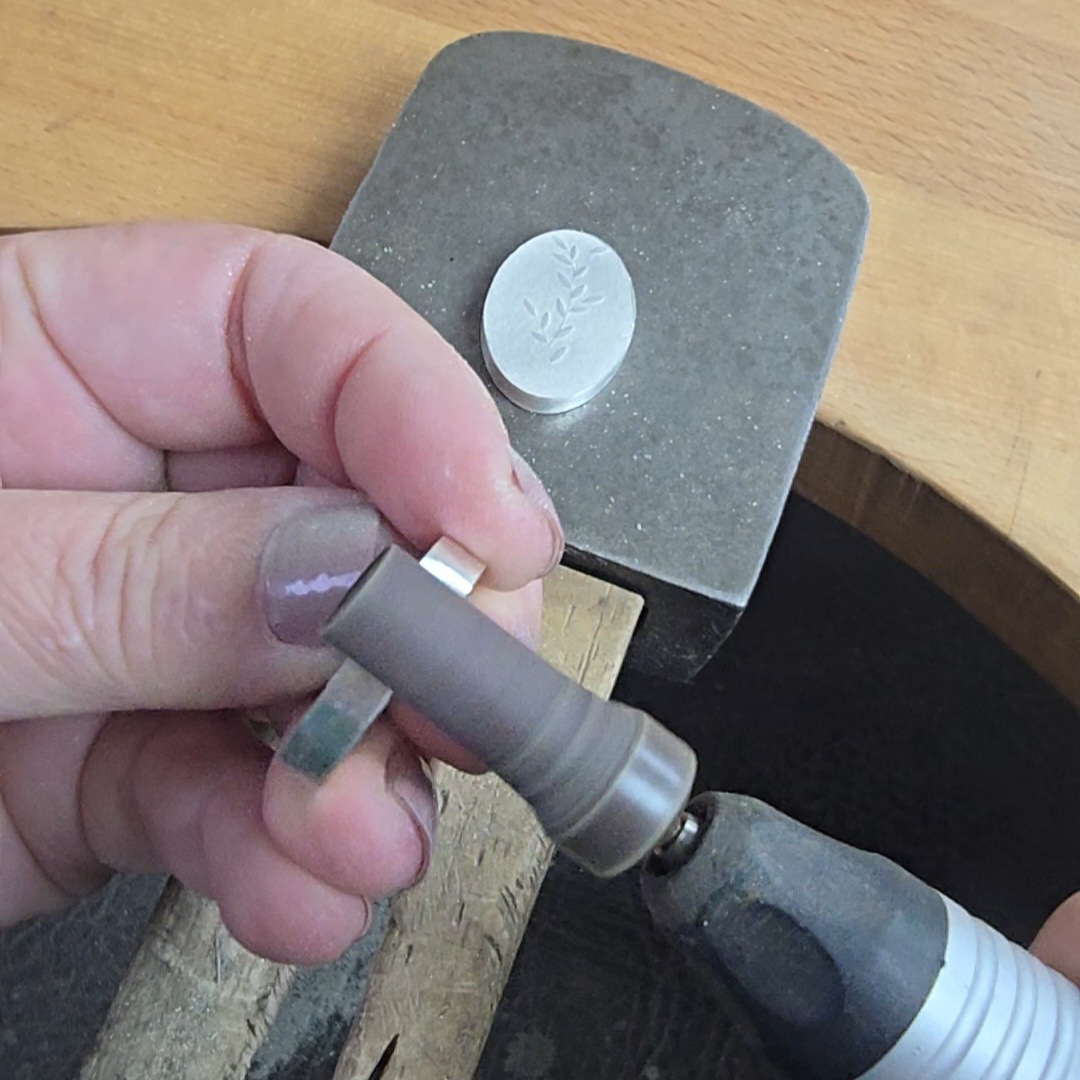 | 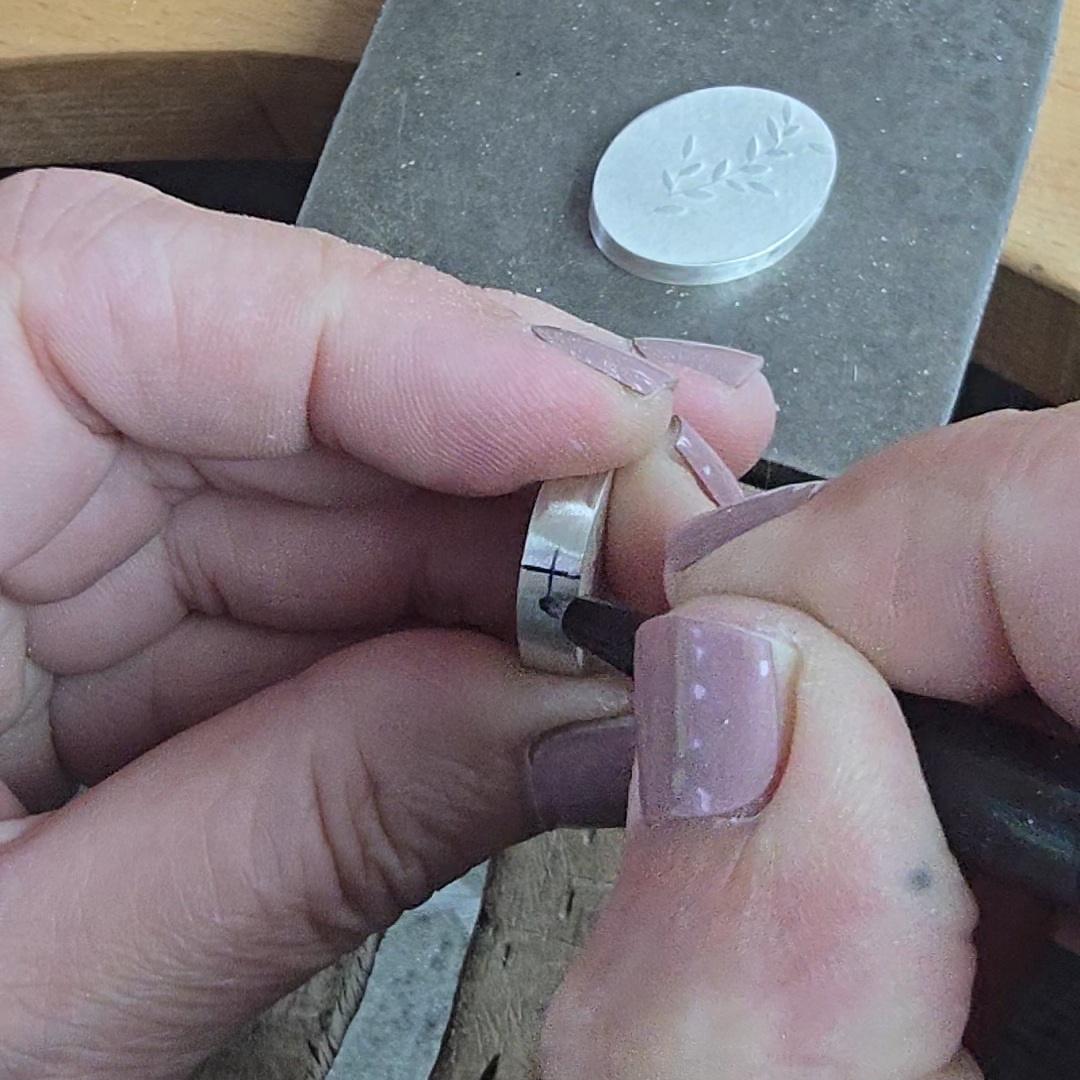 | 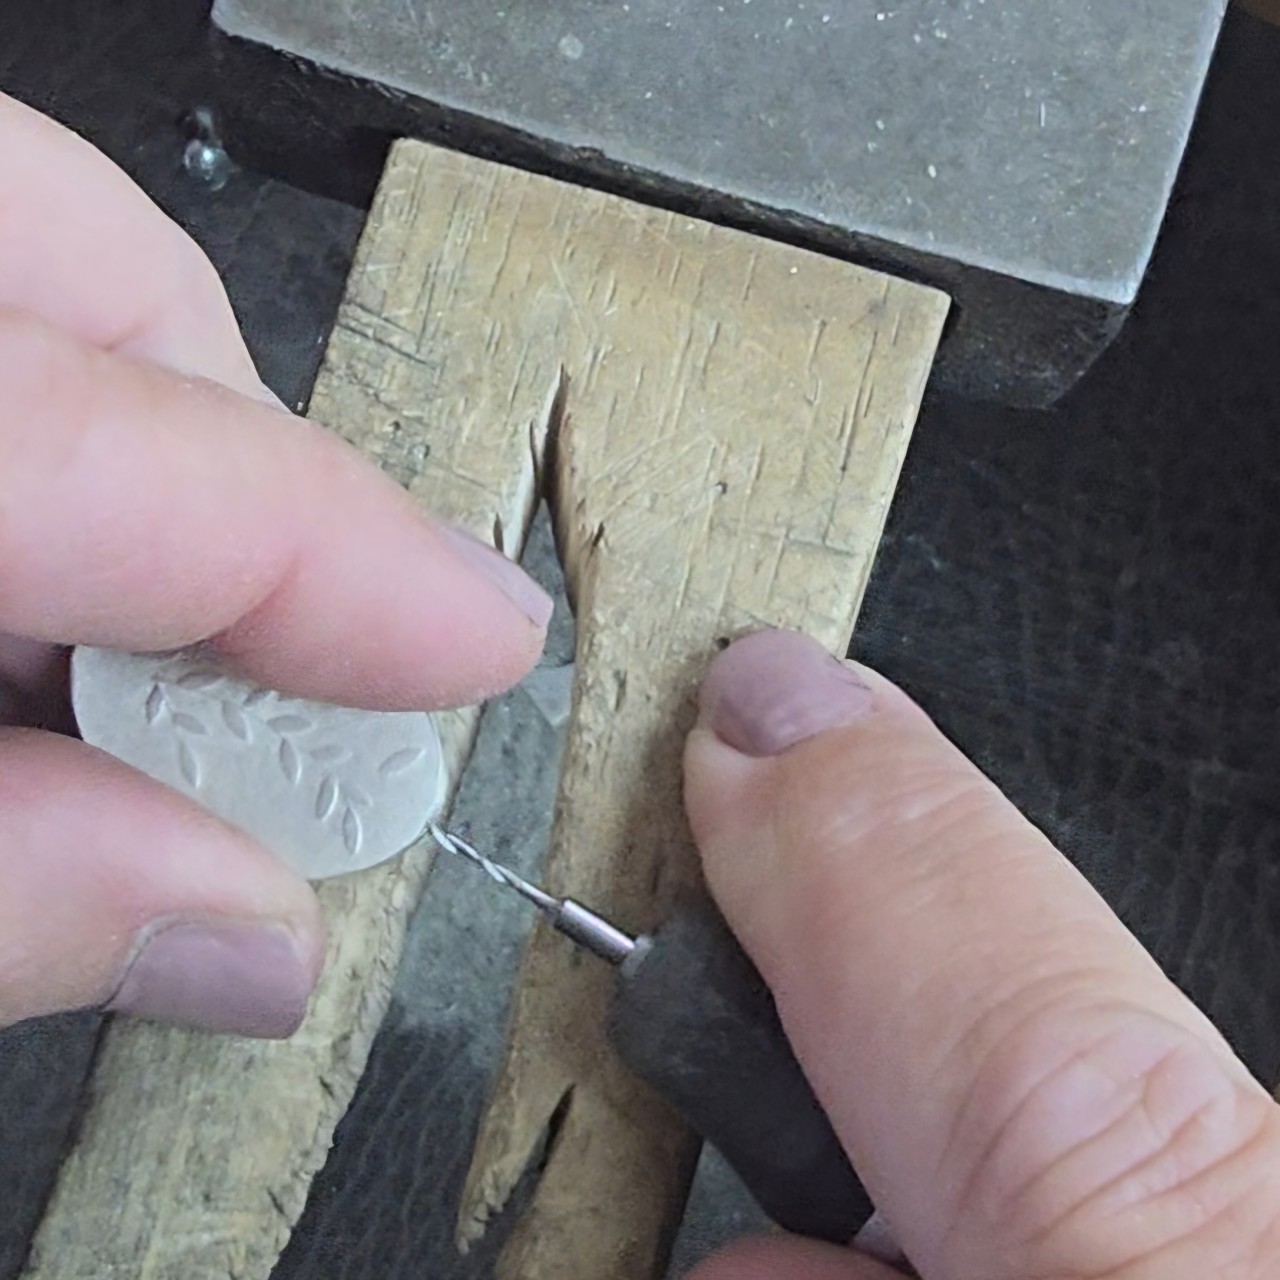 |
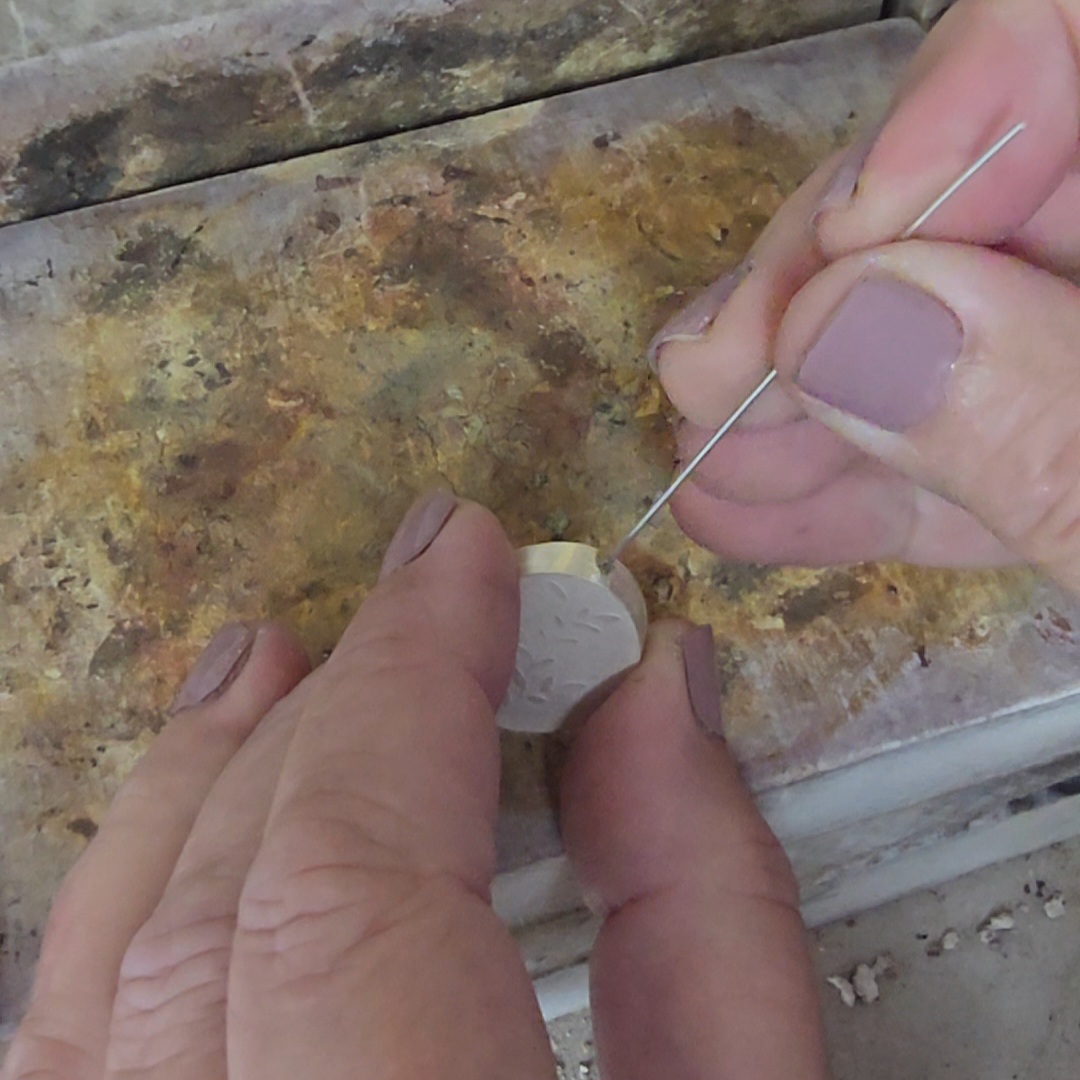
19. Sand the walls to remove the file marks and create a lovely smooth surface. | 20. Mark a point at the top of each box, centrally on the wall. | 21. Use a 0.9mm drill bit to drill a hole at each mark. |
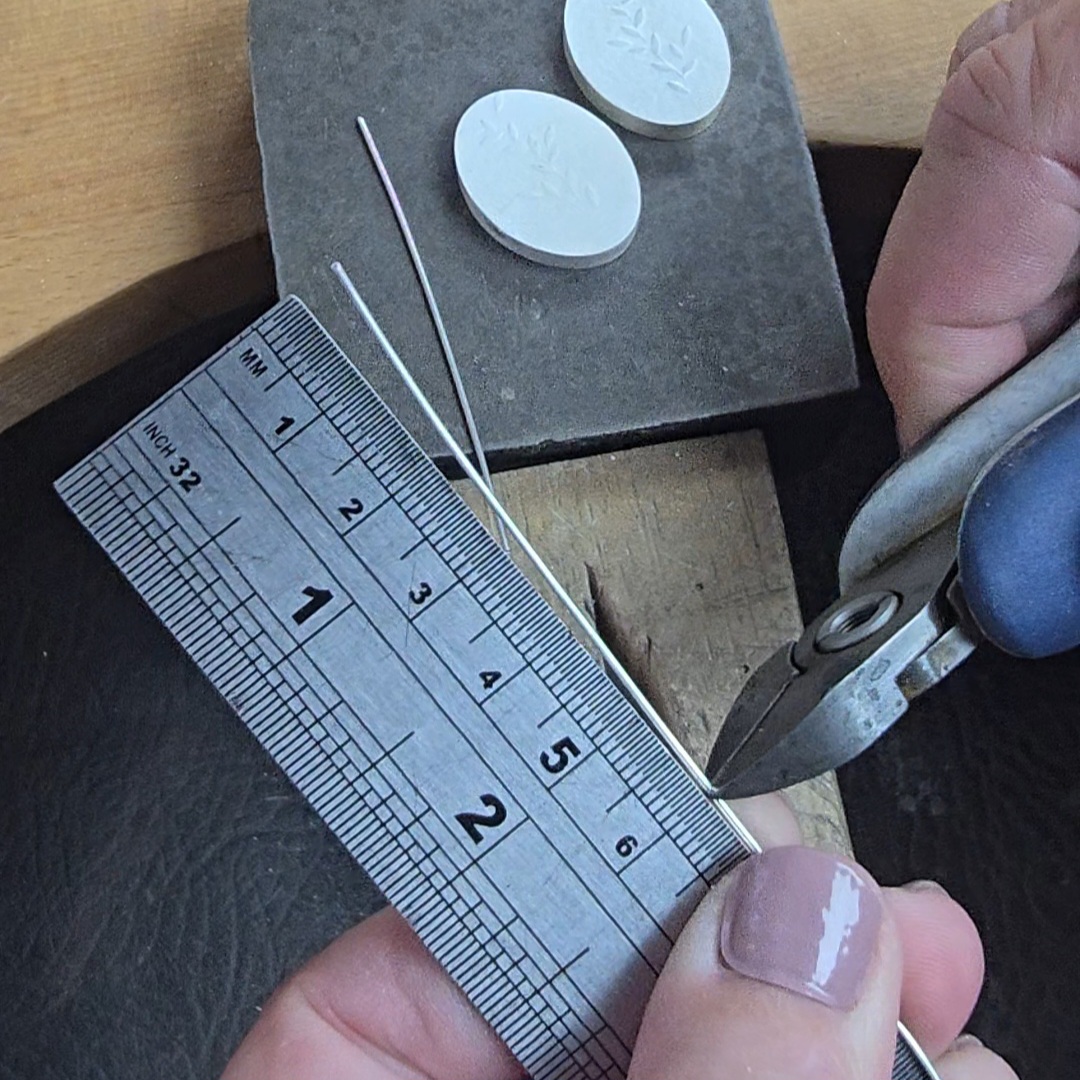 |  | 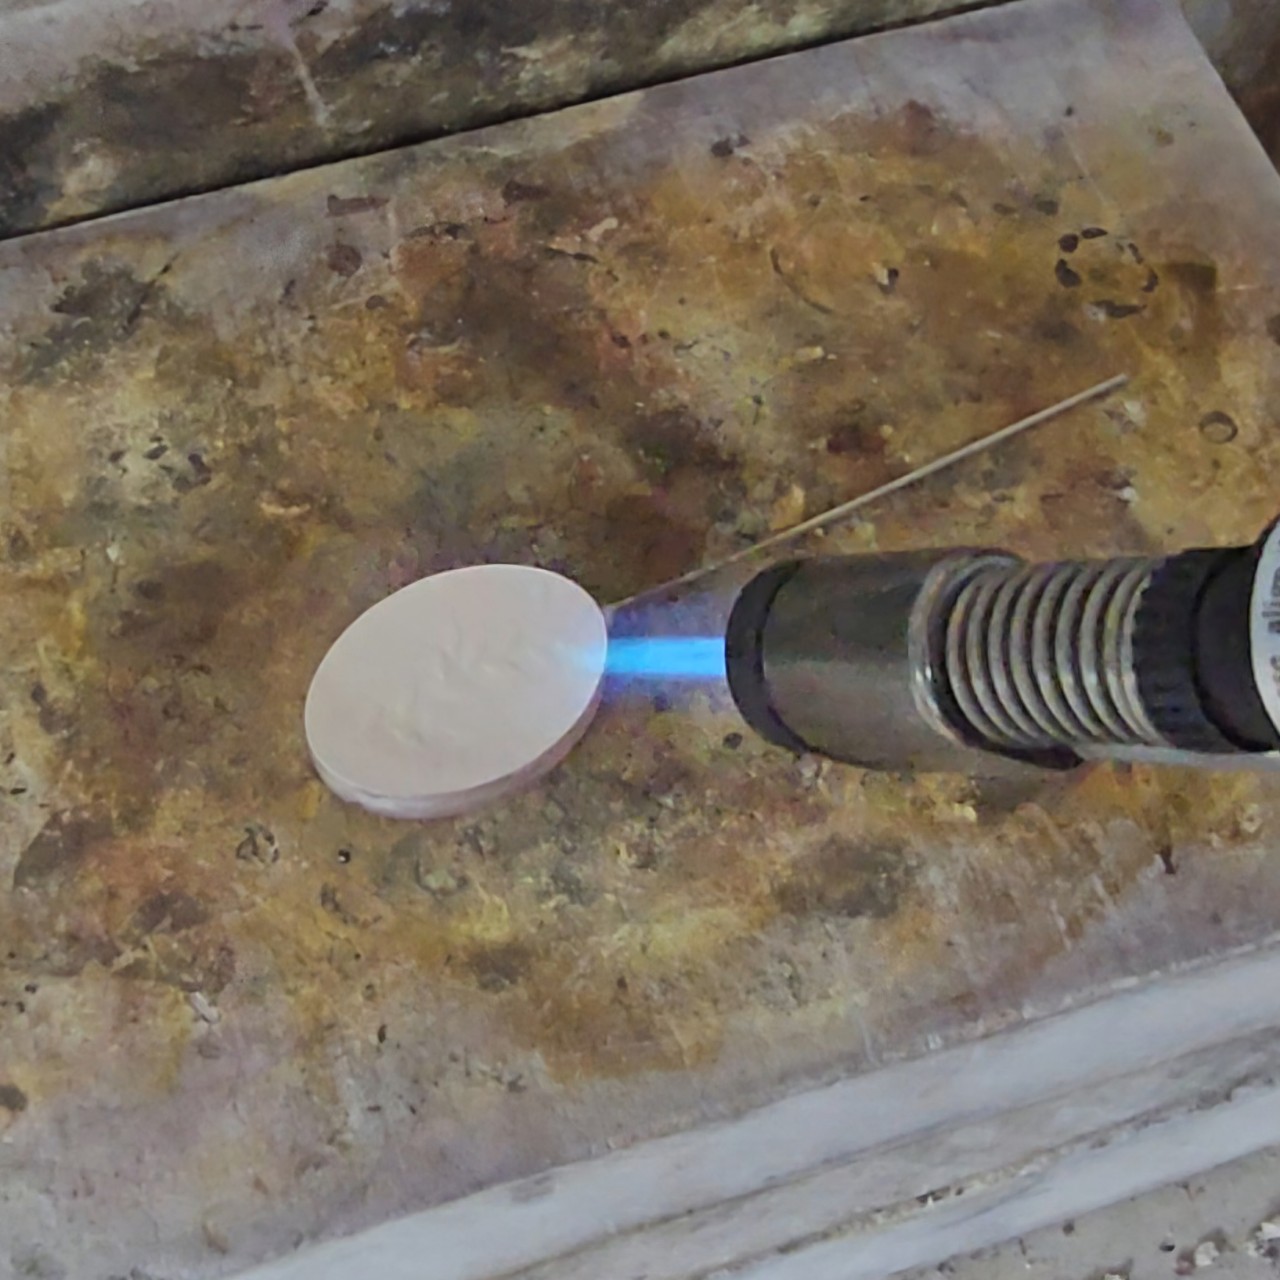 |
22. Cut two 6cm pieces of 0.8mm for the earwires. | 23. Apply a little easy solder paste on top of the hole in each earring. Push an earwire a little way into each hole. As the wire passes through the solder paste a little of the paste will be pushed into the hole. This will help make a stronger solder join. | 24. Heat to melt the easy solder. Focus the heat on the oval box to avoid over-heating and melting the smaller earwire. Again, allow the earrings to air cool before pickling so that you don't damage the boxes. |
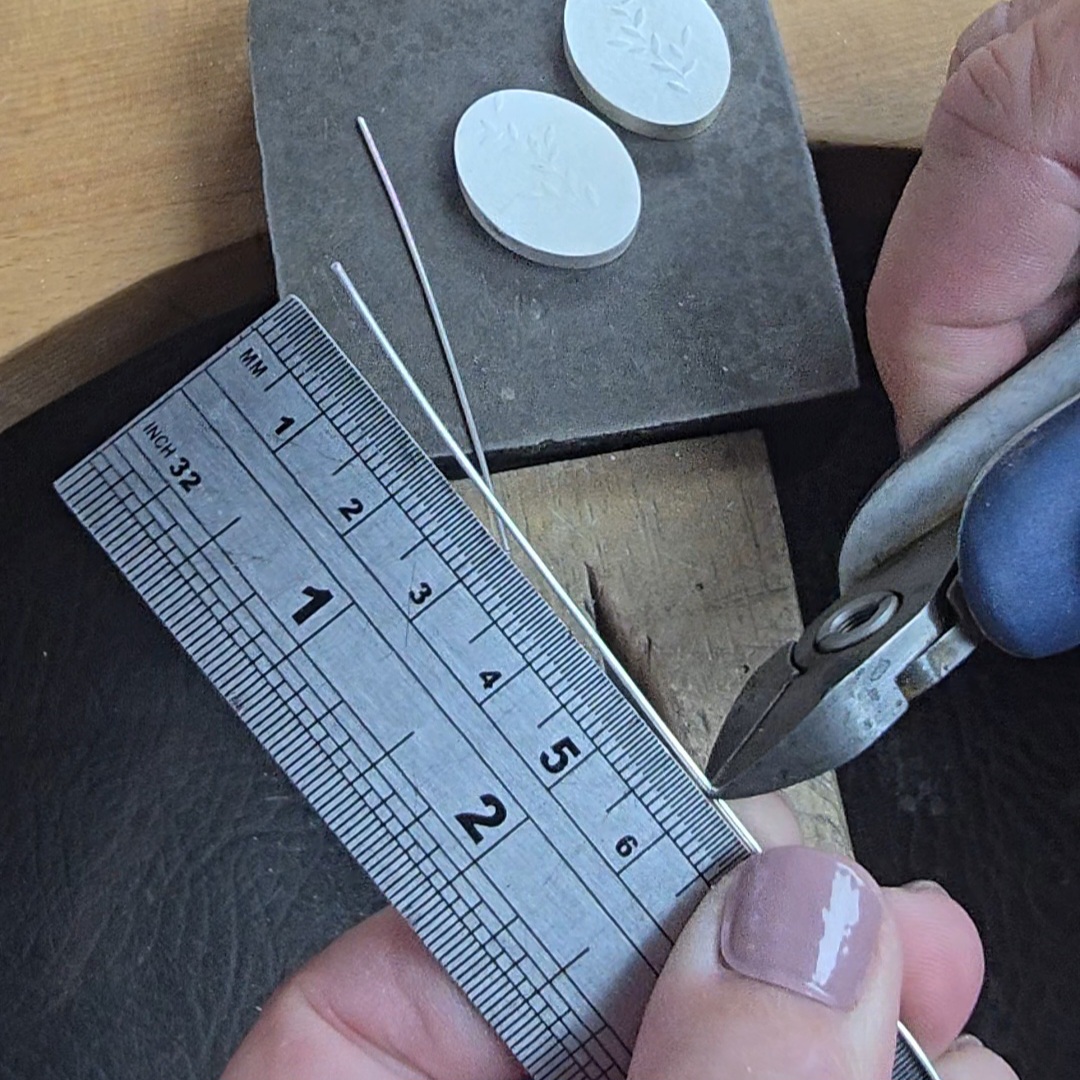 | 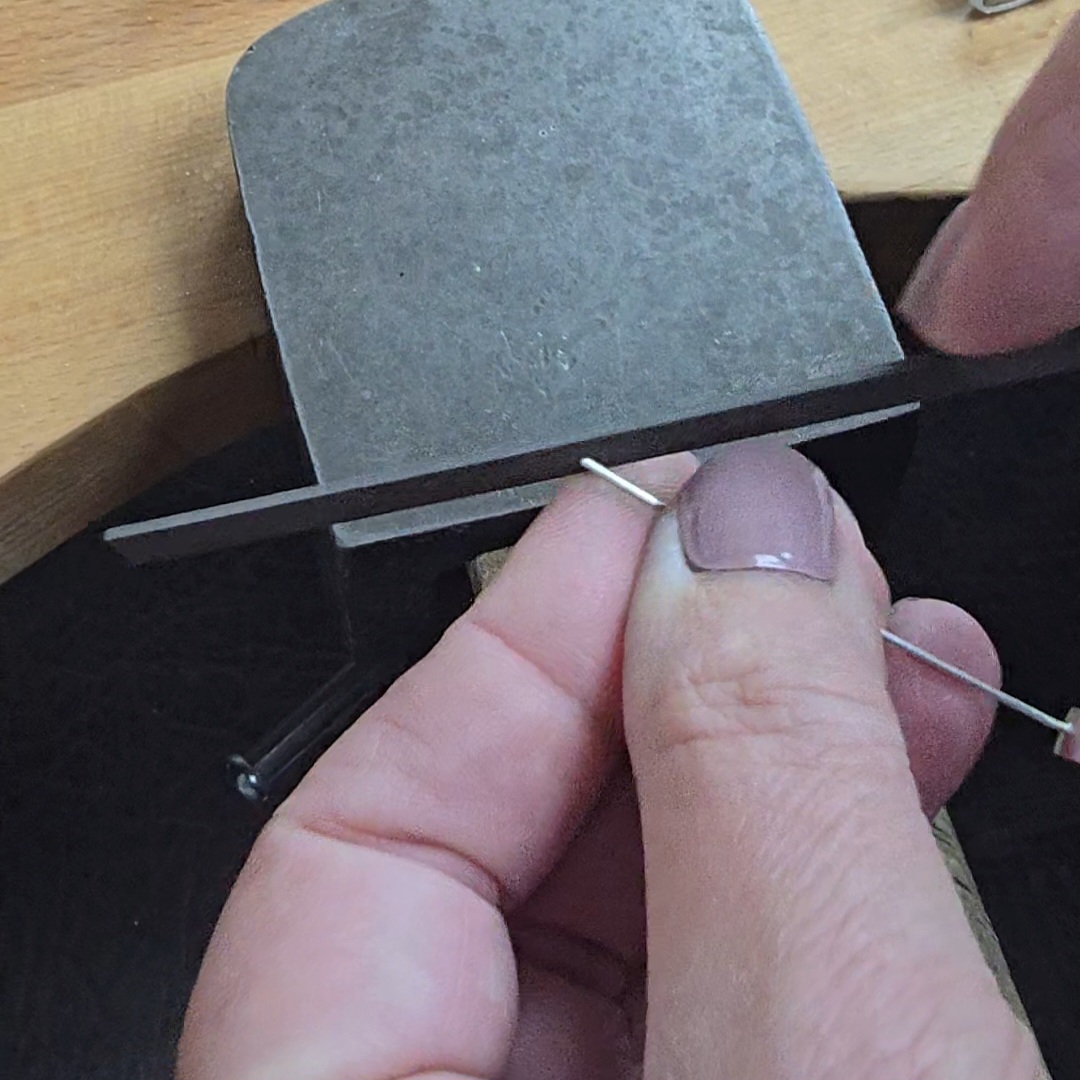 | 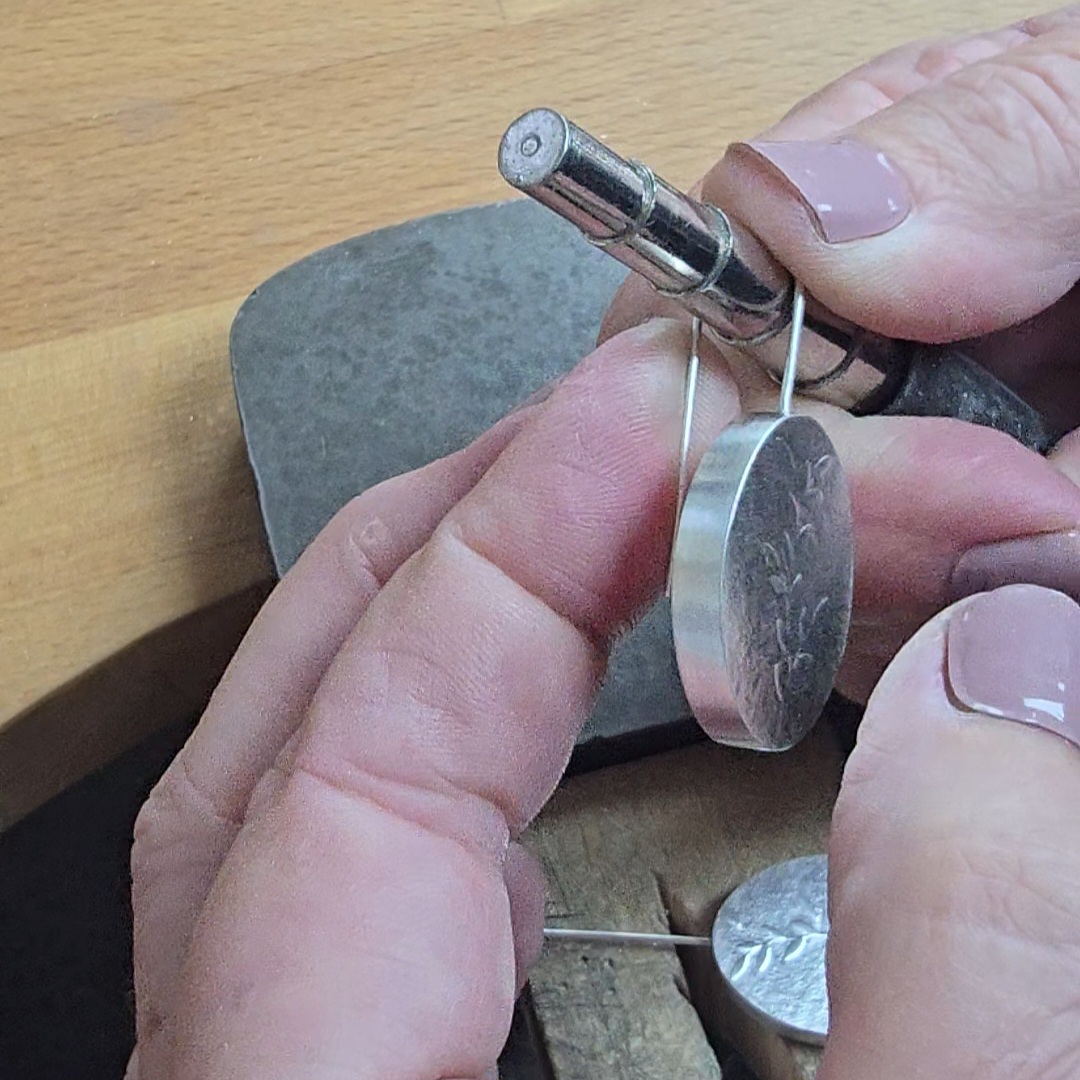 |
25. Time to finish the earwires. First, straighten them with nylon jaw pliers and check that they are the same. Trim the longer one if necessary. | 26. File the ends of earwires so that they are smooth and comfortable. | 27. Bend the wires into shape around a small mandrel |
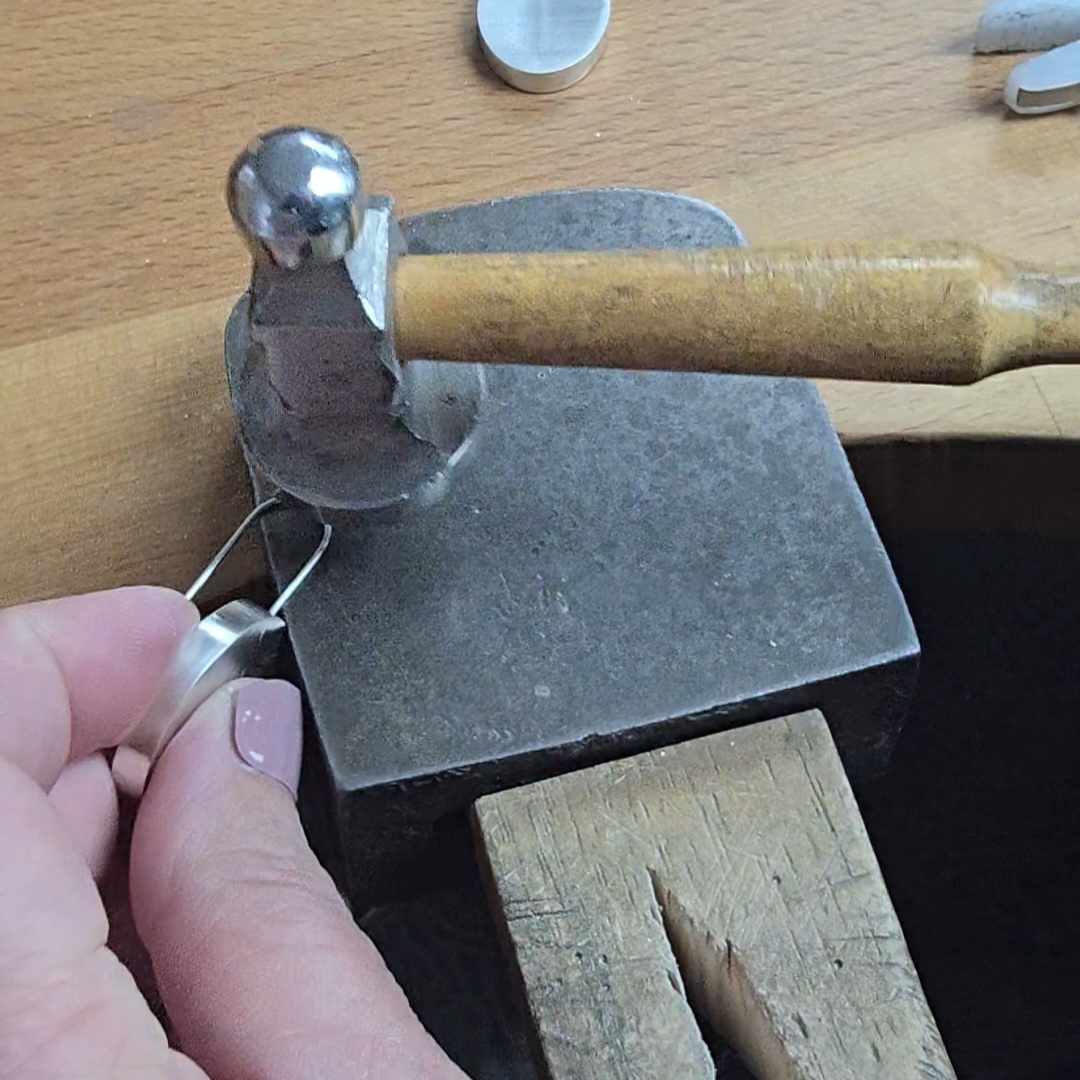 | 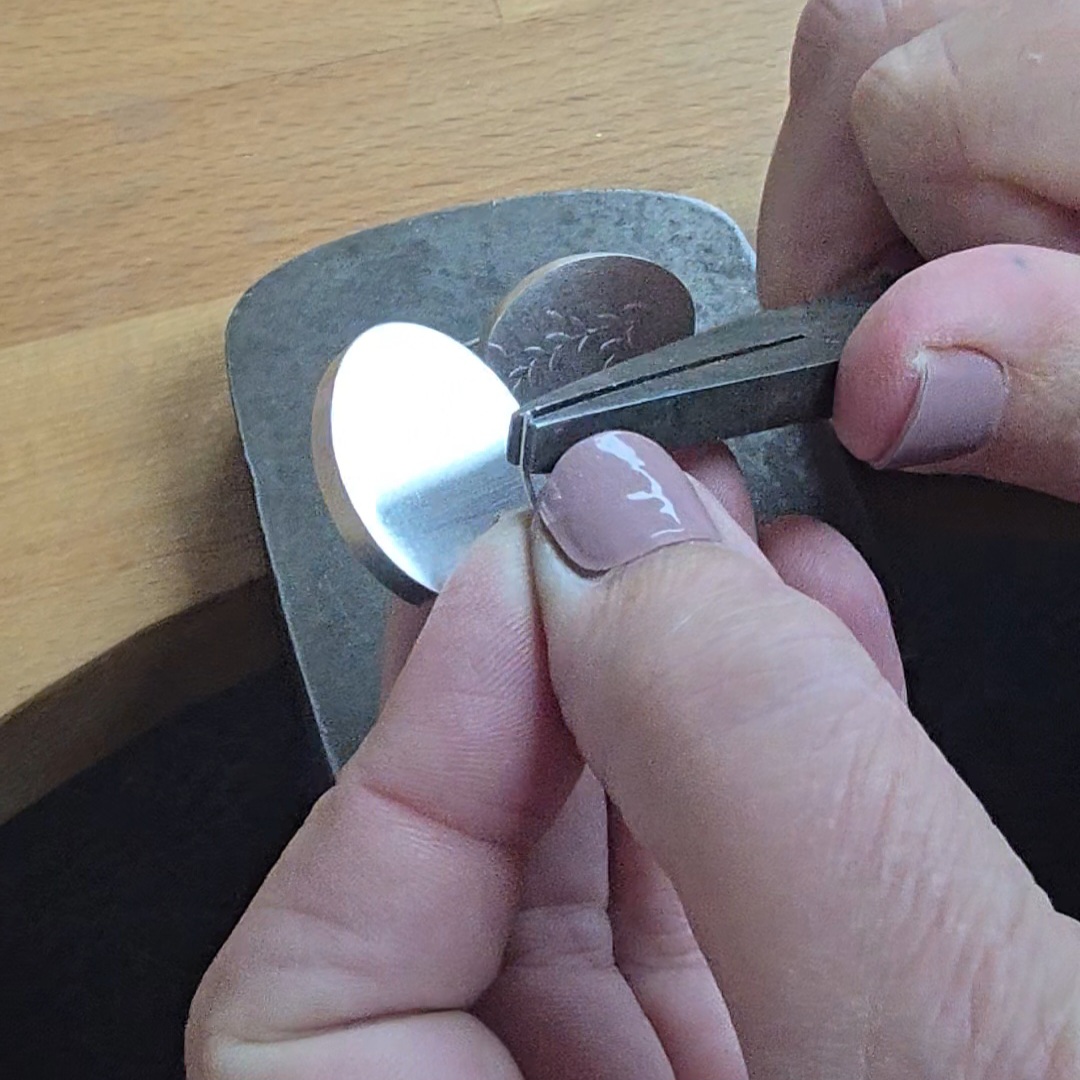 | 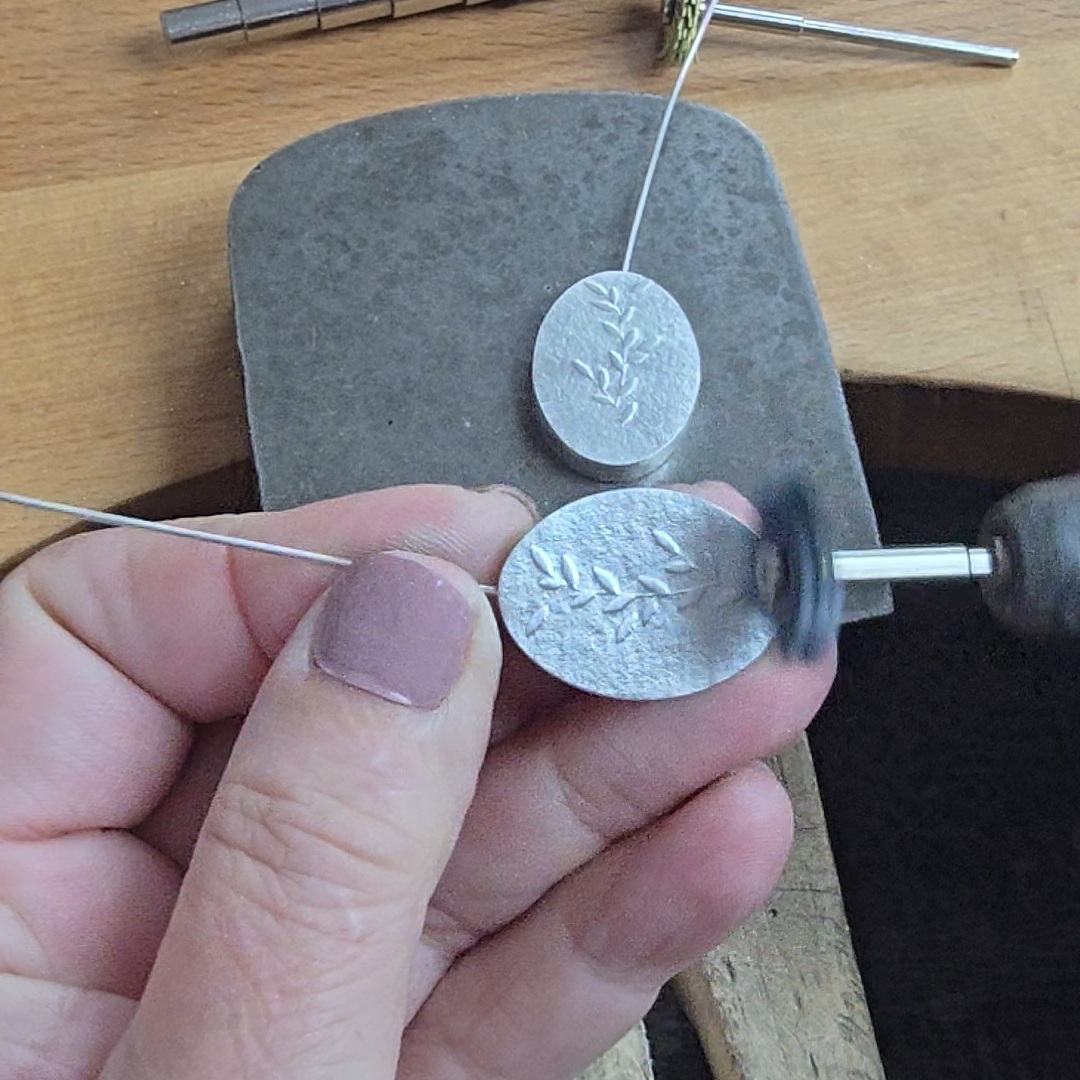 |
| 28. Hammer the front of each earwire. This strengthens the earwires so that they are less likely to be pulled out of shape. | 29. Use a pair of flat nosed pliers to "flick" out the ends of the earwires for a more professional and finished look. | 30. Polish your new earrings and wear somewhere you can show them off! |
Want to learn this technique in more detail?
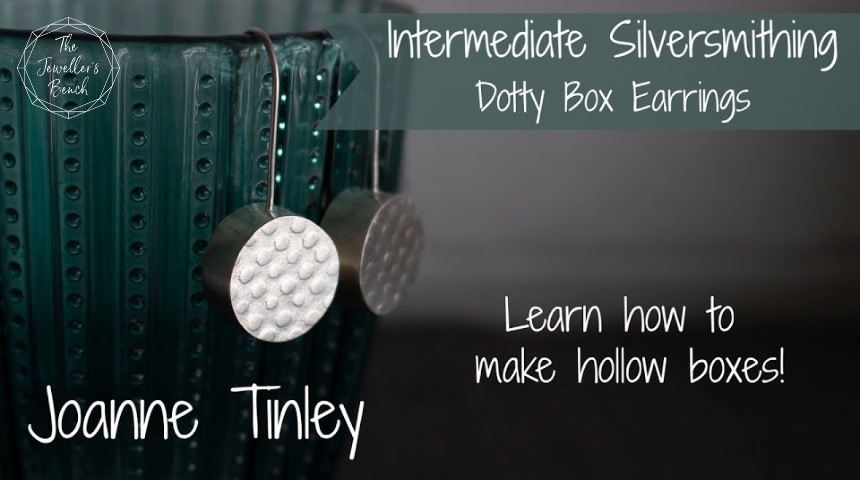
The Dotty Box Earringsvideo class is part of The Jeweller's Bench Membership.
Access all the classes The Jeweller's Bench has to offer for just £15 per month
Details here
Categories: : jewellery making tips, jewellery tutorial

Joanne Tinley
Tutor and Founder of The Jeweller's Bench
The Jeweller's Bench is run by Joanne Tinley. She has been making her own jewellery for as long as she can remember and left her first career as a school teacher to set up business as a jewellery designer and tutor nearly 20 years ago. She is
self-taught and like many people started with wire and beads. Learning how to solder, however, opened up a whole new world of jewellery making, one that she is keen to share!