How to easily add chains to Box Bead pendants
 Joanne Tinley
No more trying to blindly thread a chain through the pendant!
I love making hollow beads pendants with the chain running through the bead. It makes the bead look as though its floating on the chain. It also means that the bead can be easily worn as a double-sided pendant, which is especially lovely if I've put a different texture on each side.
However I most definitely do not love trying to thread a chain from one side of the pendant through to the hole on the other side! The hole seems to hide from the chain.
This, then, is my foolproof method of getting the chain through both holes, first time. There probably are other ways but this works for me and uses things I already had in the studio. It takes a little preparation before and after soldering but believe me, its worth it to avoid the frustration of trying to blindly thread that chain!
This tutorial assumes that you already know how to make a hollow box bead. If that's something that's still on your list to learn I've got a Dotty Box Earrings video class here and a Hollow Forms ebook here.
Ready? Let's go!
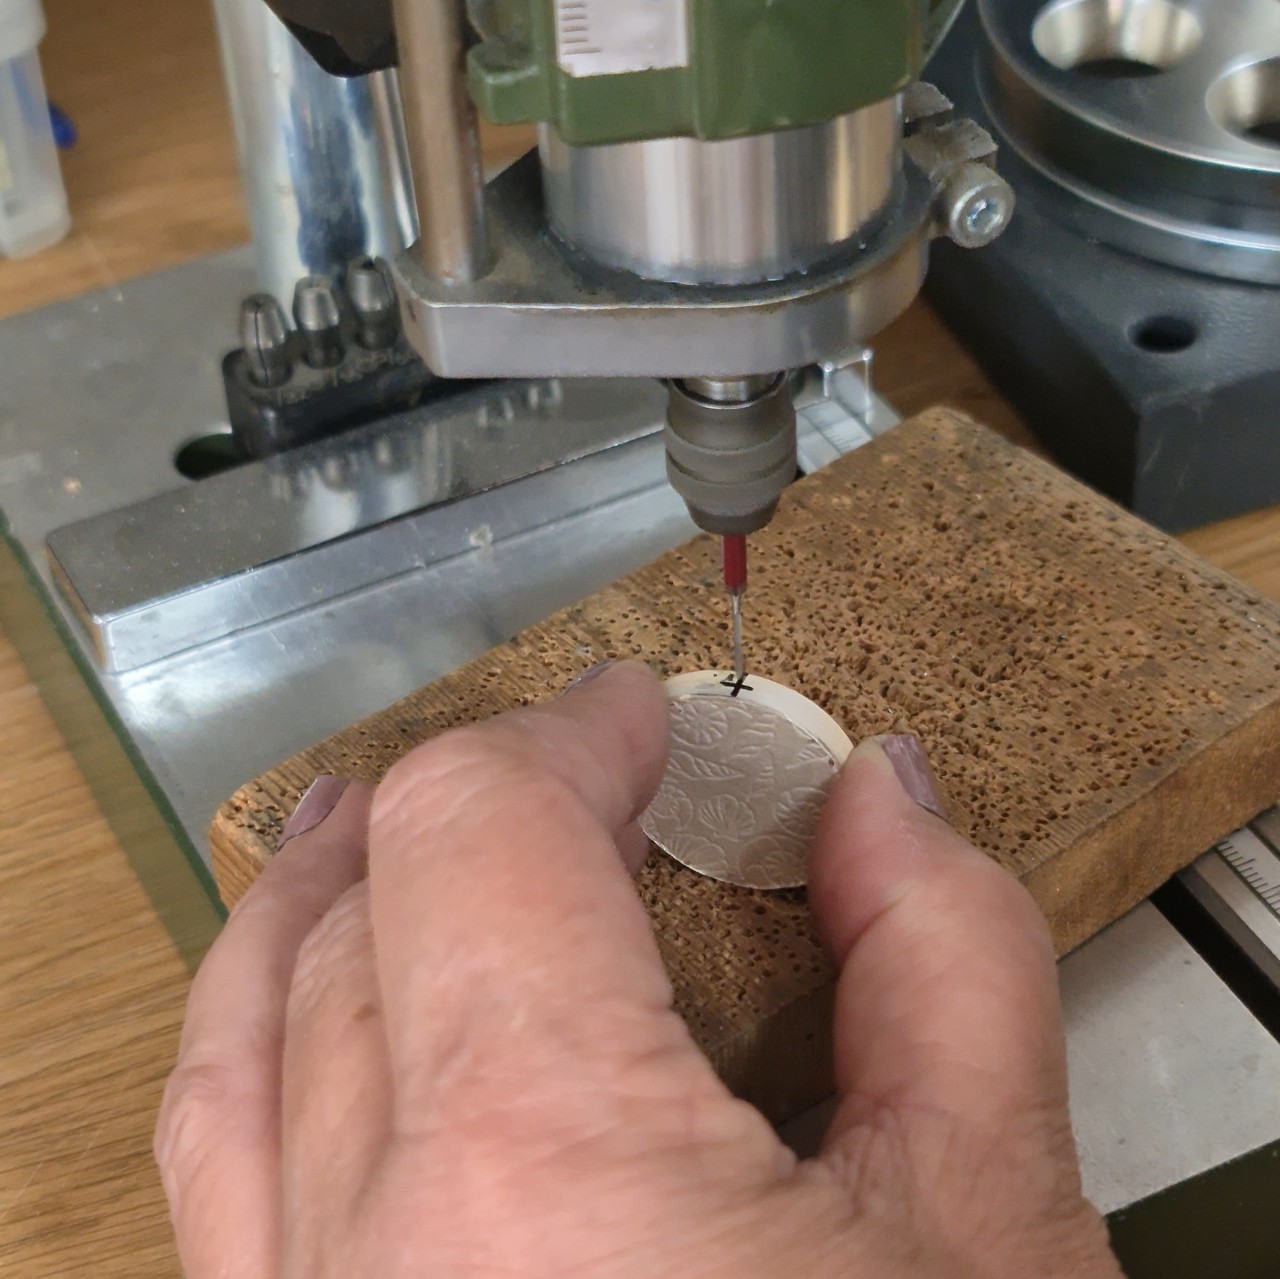 |  |  |
1. Make the first half of the bead by soldering the walls to the base. Drill two holes in the walls for the chain to thread through. |
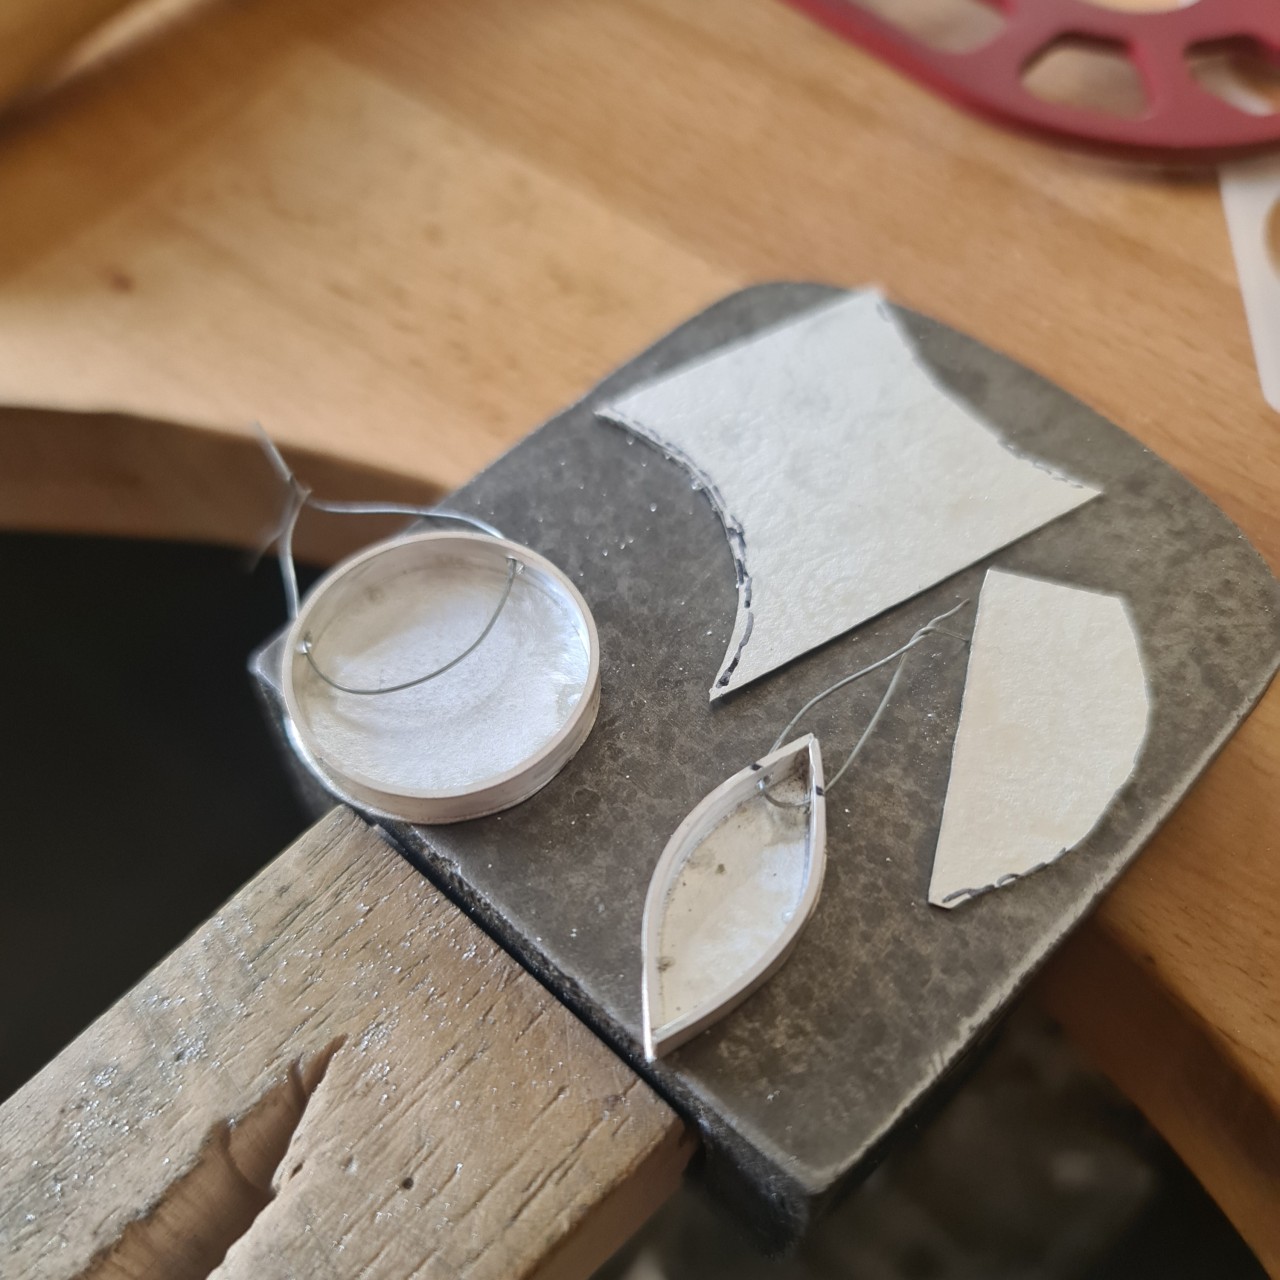
2. Thread a length of binding wire through the hole - easy at this stage as you can see inside the bead. You could use any thin wire but binding wire is cheap and has a high melting temperature. I've used brass and copper wire before and had trouble with solder! |
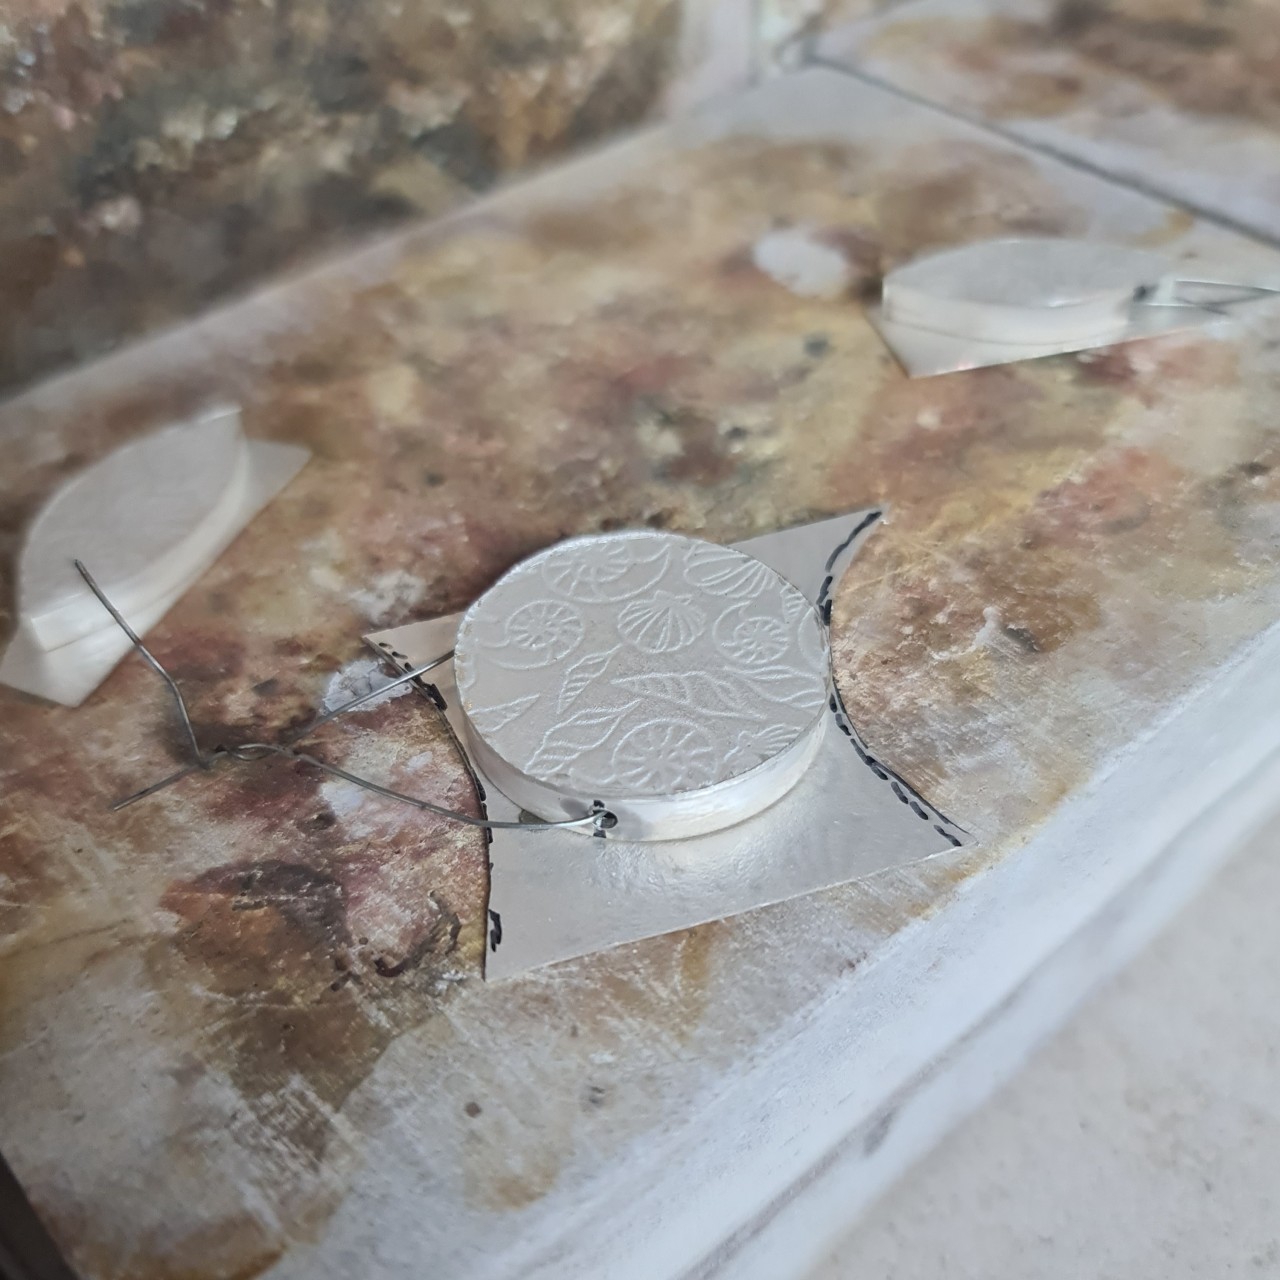
3. Solder the top of the bead on. |
 |  |  |
|
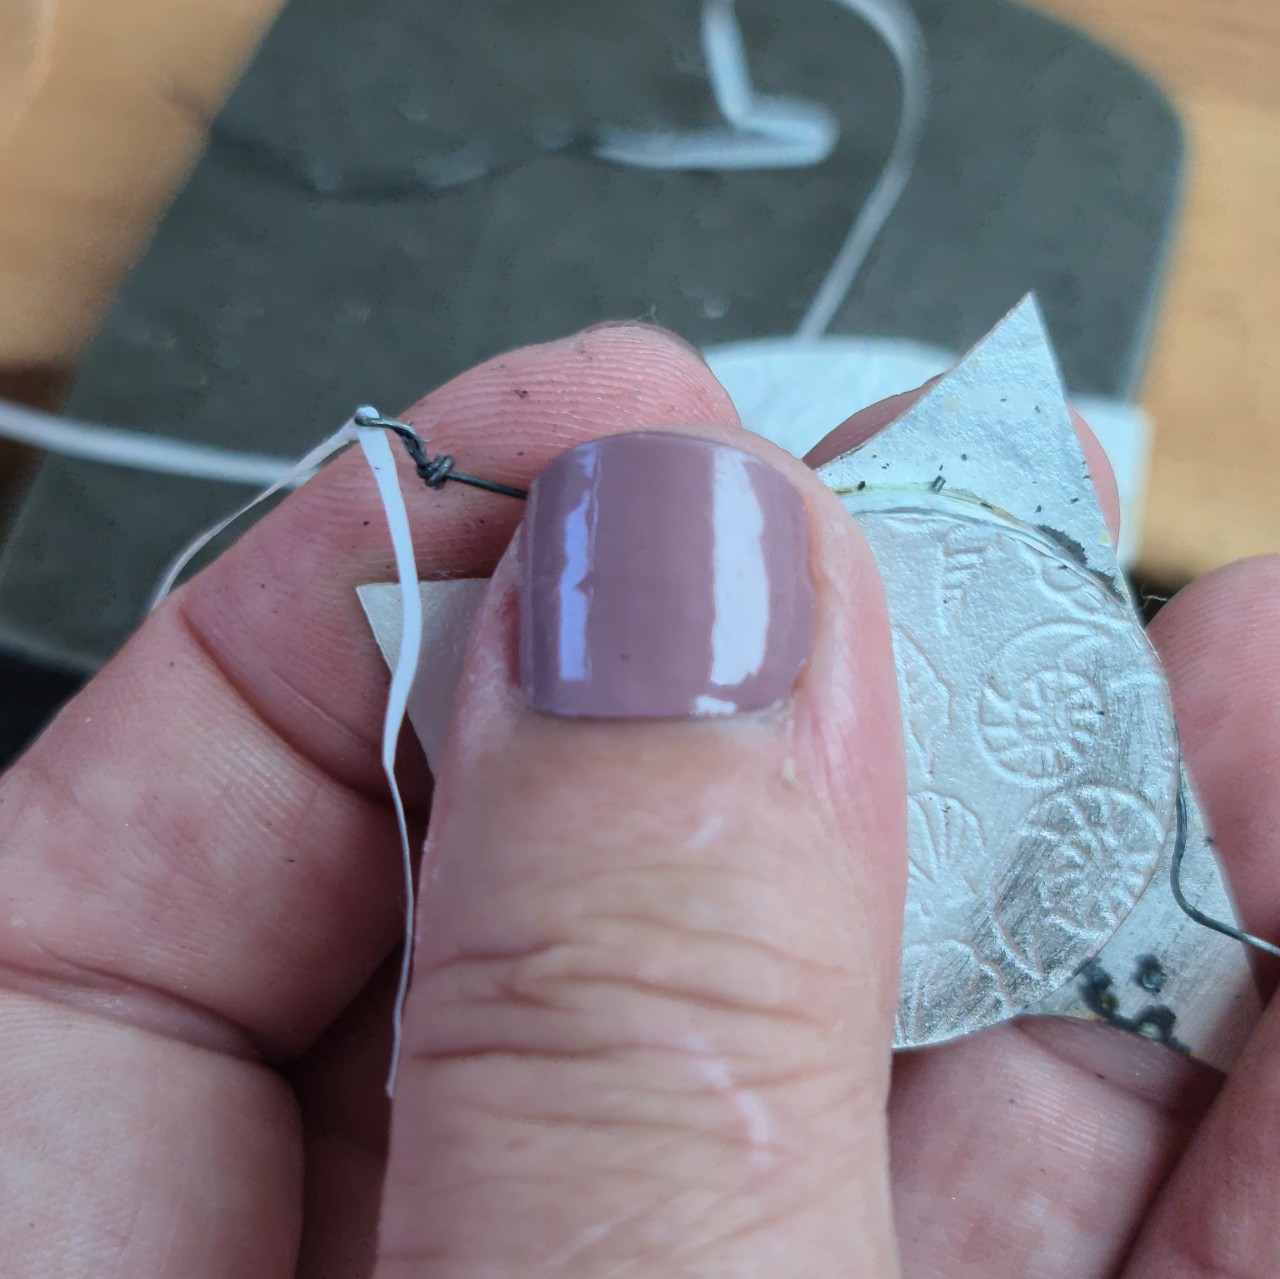
4. Important! You must not put binding wire in the pickle. I replace it with dental tape. Tie the end of the tape to a loop at the end of the wire and pull it through. Tie the ends of the tape together so it doesn't slide out. |
5. Now you can pickle to clean your silver and the file, sand, polish etc. Remember to keep the tape safely out of the way of your pendant drill. |
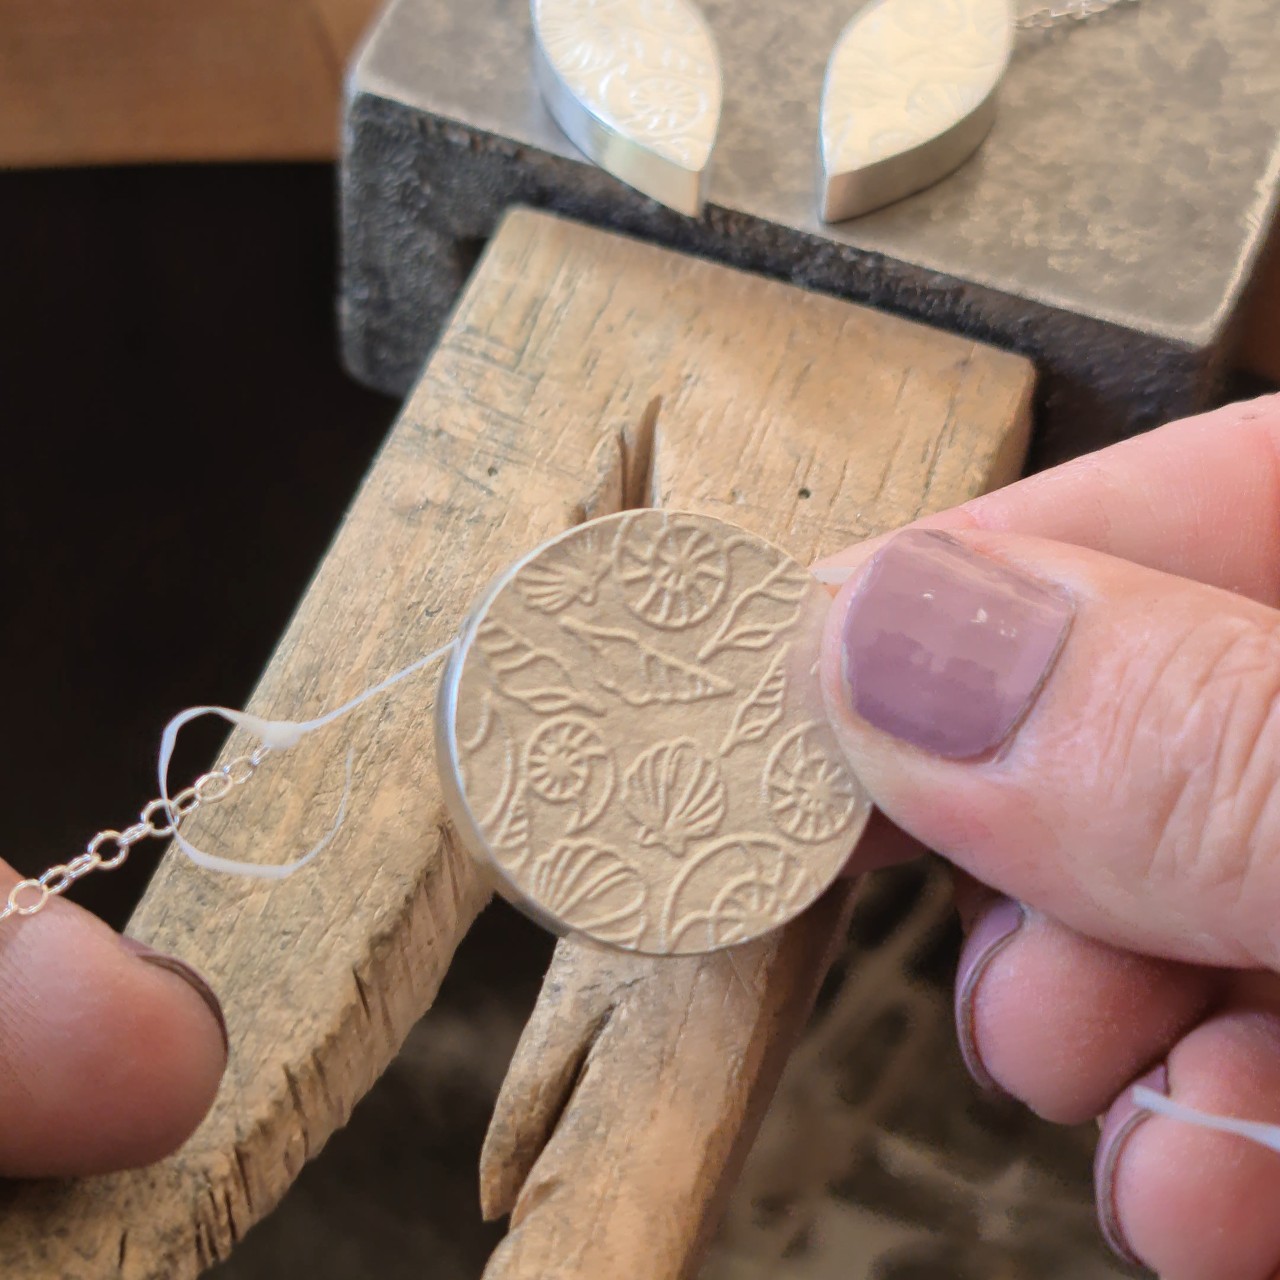
6. Once your pendant is finished, untie the ends of the tape, tie one end to the end loop in the chain and gently pull it through. |
And there you have it... one beautiful box bead pendant floating on a chain!
6878dd210cf30_lg.png)
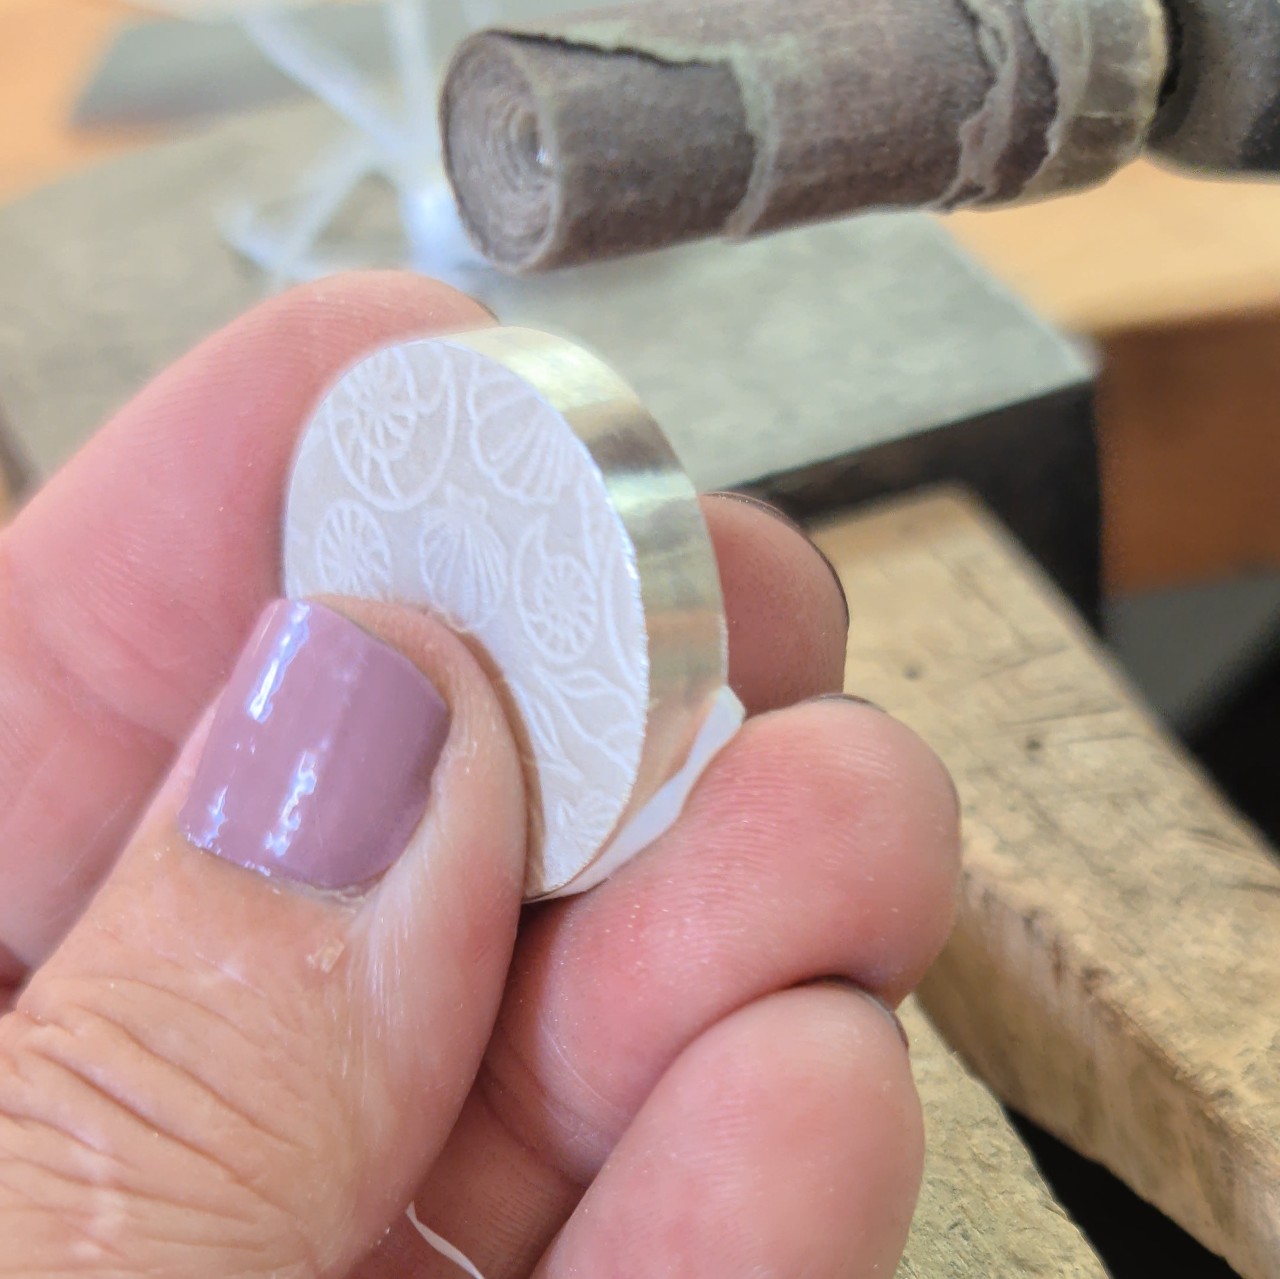
This one has the same pattern (Shells medium here in The Jeweller's Bench Shop) on both sides, the positive pattern with the shells raised on the silver on one side and the negative pattern with the shells embossed on the other. Two different looks in one pendant!
If you're looking for more tips to make your jewellery making easier? Look below...
 | 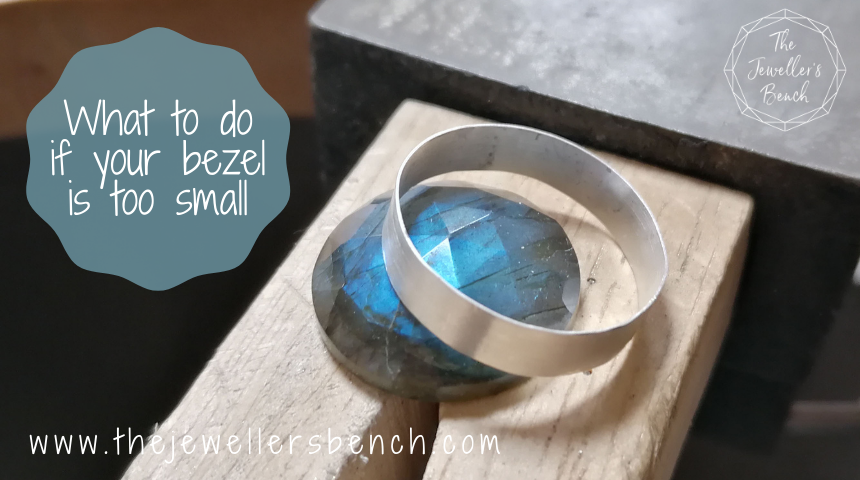 |  |
Help! I can't get my rings to solder! | What to do if your bezel is too small for your stone | Silver Rings jewellery tutorial ebook |
| Learning to solder is like riding a bike – it takes practice but once you’re confident with it you’re off! Read the tips I sent a student.... | You've soldered your bezel - only to find that it's now too small! Don't worry, we've all done it.... and I'm going to show you an easy way to |
Learn how to make three beautiful ring designs, no previous experience needed! |
Categories: : jewellery making tips, jewellery tutorial, problem solving

Joanne Tinley
Tutor and Founder of The Jeweller's Bench
The Jeweller's Bench is run by Joanne Tinley. She has been making her own jewellery for as long as she can remember and left her first career as a school teacher to set up business as a jewellery designer and tutor nearly 20 years ago. She is
self-taught and like many people started with wire and beads. Learning how to solder, however, opened up a whole new world of jewellery making, one that she is keen to share!
