5 great tips to get the solder flowing where you want it to go!
 Joanne Tinley
Here are some tips to help you get that solder flowing in the right place.....
I love it when the solder flows - and even better when it flows exactly where you want it to! It is such a great feeling, seeing the liquid silvery flash of solder flowing across a join!
The last thing that you want is for the solder to flow away from your join. You then have to start the soldering again, usually adding more solder, and even worse the solder may have joined two pieces together that you wanted to stay separate!
Here are some tips to help you get that solder flowing in the right place.....

1. Check the basics first - make sure that your metal is clean, that you've applied flux and that you are heating your metal up evenly. The whole of your work needs to be heated up to soldering temperature, not just the join.
If you concentrate on the join and forget the rest of your work, the rest of the metal will keep drawing heat away from your solder join. Ignore the rest of your metal and you risk overheating your solder join. Even if the solder does eventually flow you will probably have to clear up some ugly fire stain (click here to find out more about that and how to deal with it!) - so, heat your metal up evenly!

2. Remember that solder always flows to the hottest part of your work, so make sure that you heat across a join evenly. After heating the whole of your work take the flame back to your solder join and brush the flame back and forth across it evenly - heat one side more than the other and you could end up with a join that hasn't soldered shut as the solder has flowed to one side and not through the join!
The Hammered Chain Bracelet class is a great one for helping you practise your soldering skills, learn to recognise when the solder is flowing towards one side of the join - and most importantly learn how to put it right!

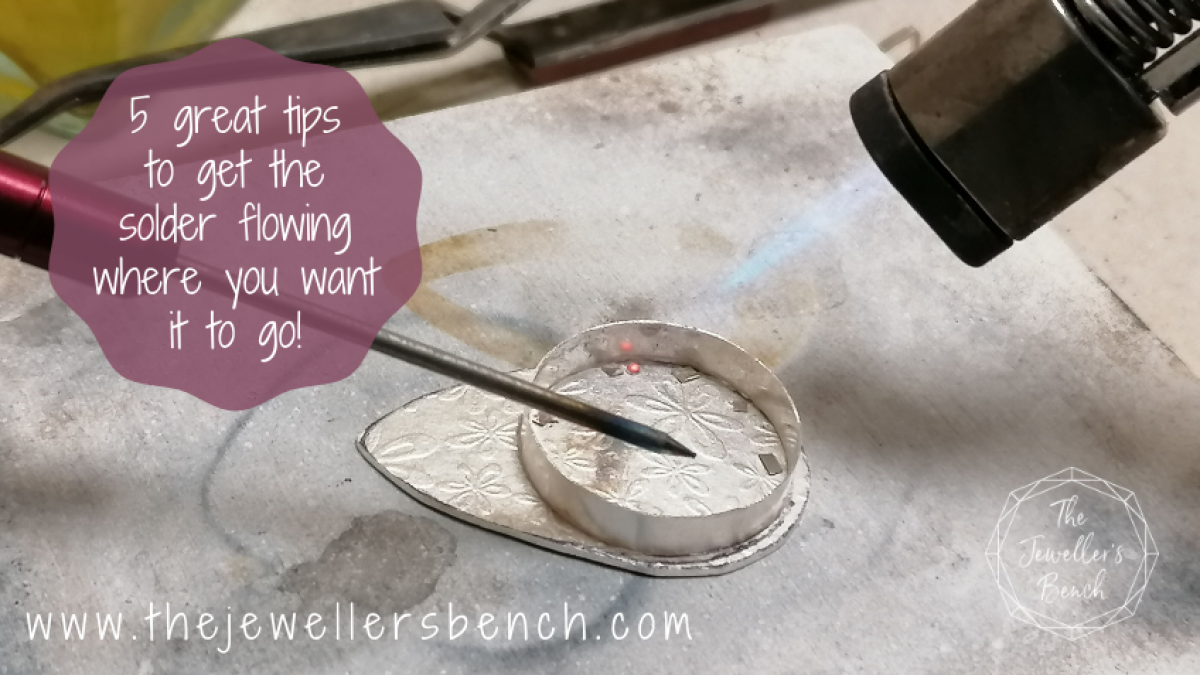
3. Which leads me to.... with practice you can use the heat of the flame to draw the solder where you want it to flow - a very useful skill to master! When your solder has started to flow, for example around a bezel wall, use your flame to heat up the area you want the solder to flow towards, and it will follow your flame! In this photo the solder I've placed inside the bezel setting has started to flow. I'm now focusing the flame on the outside of the bezel wall, at the join between the bezel and the silver backing, to encourage the solder to flow out and around the join.
This is also a great way of encouraging solder back towards a join if you realise that you've heated up one side of a bangle or ring join more than the other - focus the heat on the other side of the join to try and get the solder to flow back to where it is needed.

4. But what about when you don't want your solder to flow in a particular direction? You might have two joins close to each other, one that has to be soldered and one that needs to be left open. How to do you protect the one that mustn't be soldered closed?
Using the heat of the flame to draw the solder away from the join that must be left open is important, but there's another tip to make life easier. Do you remember the first tip, make sure that your metal is clean? Well, make part of it dirty! Solder will not flow onto dirty metal, so if you deliberately make the area around a join that must be left open dirty the solder cannot flow on to it.
In this photo I'm soldering a couple of silver balls back into position as they didn't take the first time (well, we all have our moments!). I've applied a little rouge to the joins I want to protect to deliberately dirty them - read this to find out more about using rouge to protect solder joins!

5. And the last tip for now is to practice! Believe me, soldering goes wrong for everyone at some point, but the trick is to learn from it. Did you heat too much on one side than the other? Did you forget to clean your silver? Was your solder join neat enough?
Every time you make a mistake you will learn from it. Practise enough and you will find yourself following the tips above automatically and you'll be soldering with confidence!
The classes and blog posts below are perfect for helping you to practise and perfect your soldering skills.... click on the links to find out more!
(and use code TJB15 to get 15% off classes!)
 |  | 6a294325d49f8_lg.png) |
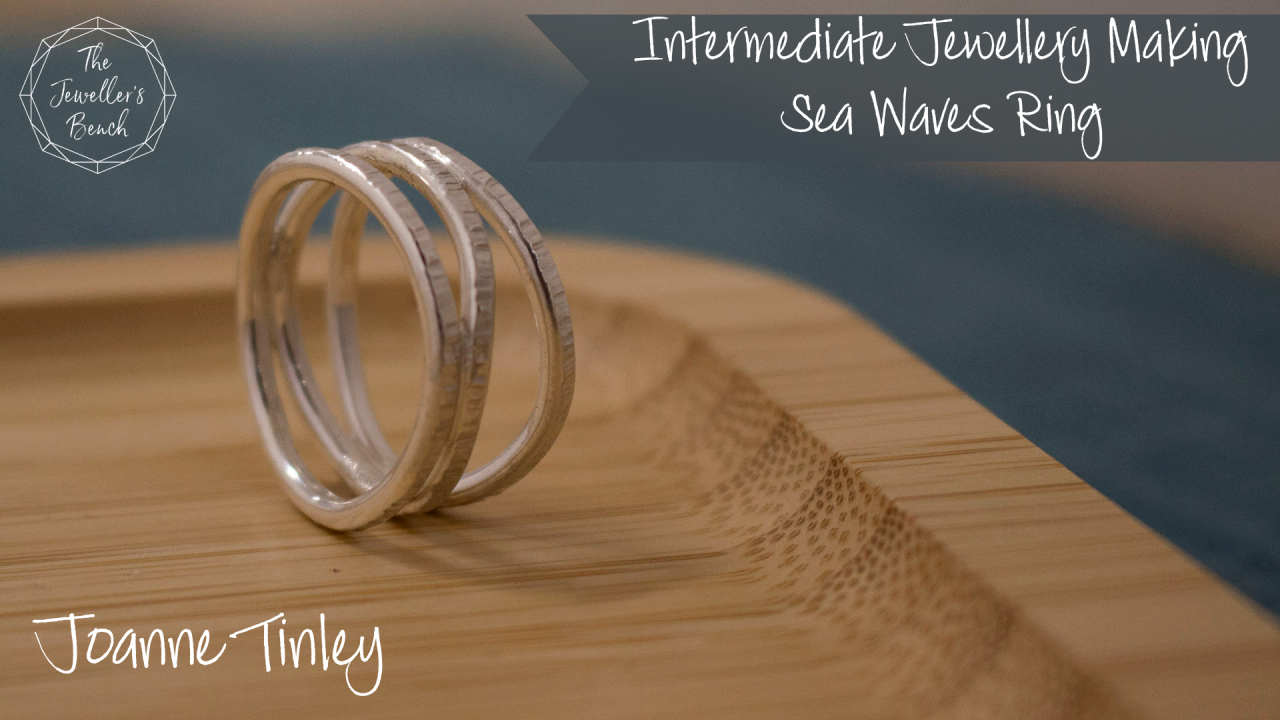
Why are there different solders and how do I use them? | Sea Waves Ring | The Jeweller's Bench Membership |
| Learning to solder silver (and copper and gold!) opens up a whole new exciting world of jewellery making, but sometimes all the different terms can be a bit daunting when you're first getting started! Read on and I will explain it all! | Start with a Simple Hammered Ring, make two more and learn how to stack them together to create a beautiful wide curvy ring! | Choose from monthly or annual membership and access all of The Jeweller's Bench classes |
Categories: : getting started, how to, jewellery making tips, jewellery tutorial, problem solving, soldering

Joanne Tinley
Tutor and Founder of The Jeweller's Bench
The Jeweller's Bench is run by Joanne Tinley. She has been making her own jewellery for as long as she can remember and left her first career as a school teacher to set up business as a jewellery designer and tutor nearly 20 years ago. She is
self-taught and like many people started with wire and beads. Learning how to solder, however, opened up a whole new world of jewellery making, one that she is keen to share!
