-
Sea Waves Ring - create a fun, wavy ring!
19 Lessons-
StartIntroduction
-
StartEquipment
-
StartSoldering Equipment
-
StartMaterials
-
StartPreparing The Wire
-
StartSoldering
-
StartSoldering Troubleshooting
-
StartFiling And Sanding
-
StartAnnealing
-
StartFlattening The Rings
-
StartTexturing
-
StartResizing The Rings
-
StartShaping The Rings
-
StartSoldering The Ring Stack
-
StartAfter Soldering
-
StartBonus - silicon wheels
-
StartFinal Thoughts
-
StartLength of material required to make a basic ring
-
StartIntermediate Silversmithing Equipment List
-
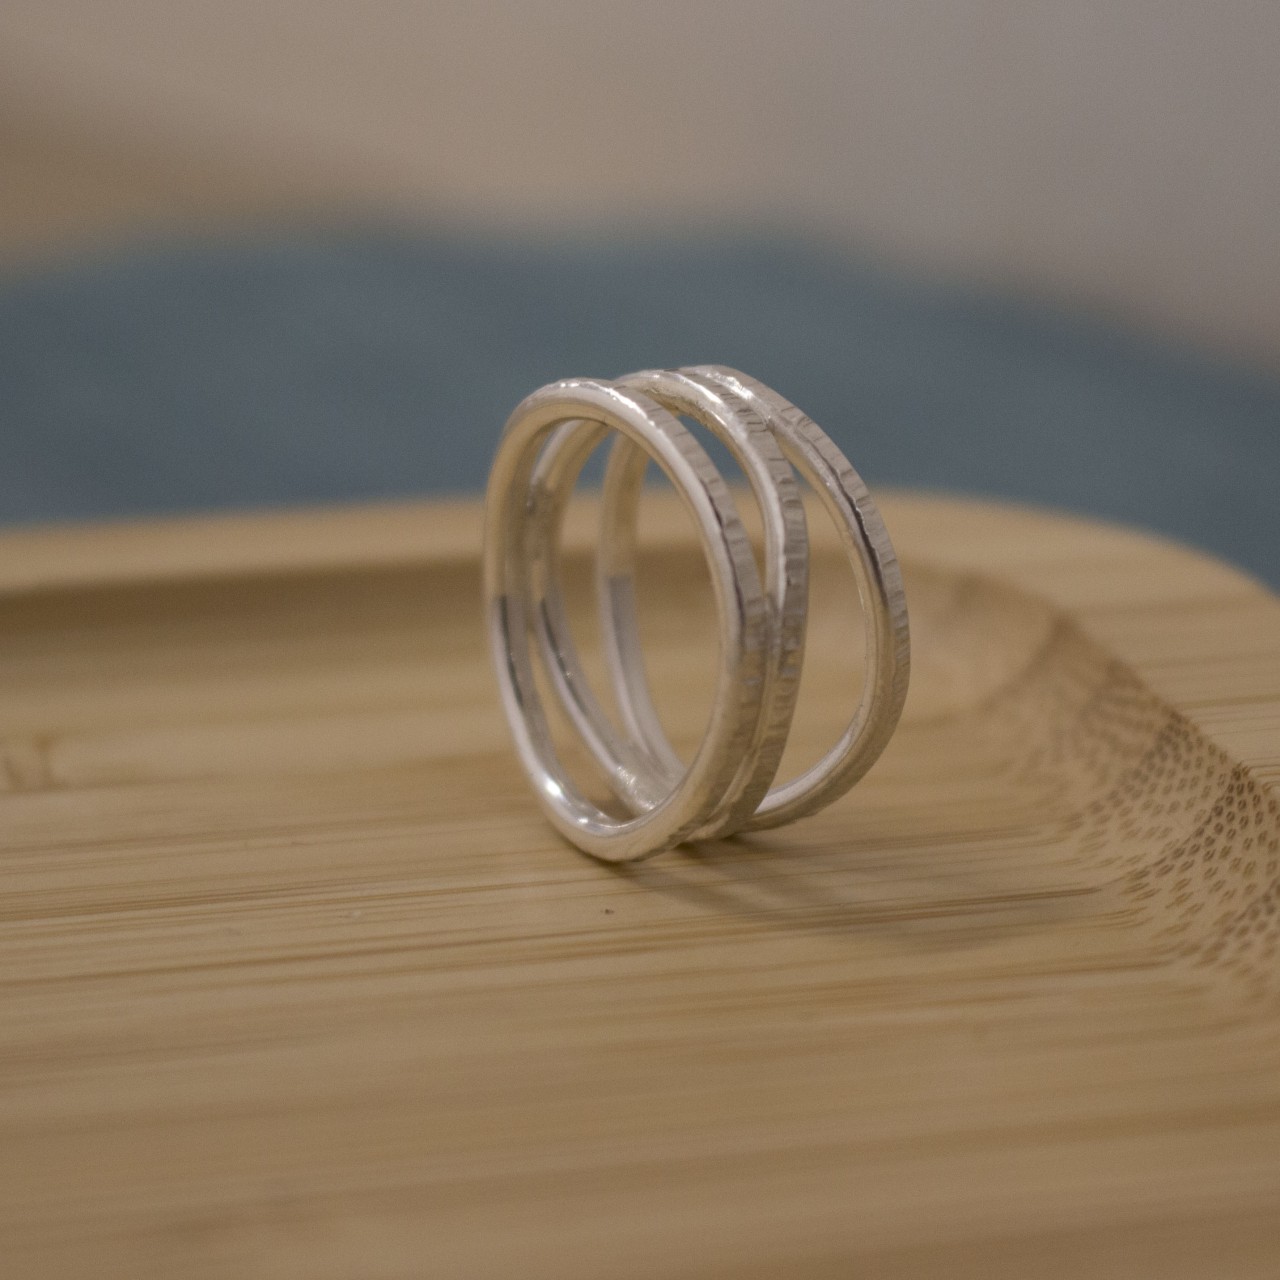
Sea Waves Ring
Start with three simple hammered rings and combine them in a fun, wavy ring!
About the Class
The Sea Waves Ring takes three simple hammered rings and transforms them into a flowing wave design, creating a beautiful wide ring that is surprisingly comfortable to wear. As each ring is shaped by hand, no two finished pieces are ever exactly the same.
In this class, you’ll learn how to shape and form the rings so they sit together comfortably while still keeping their organic, wave-like movement. Along the way, we’ll look at tips for achieving an even hammered texture, shaping the rings neatly, and creating a design that feels balanced and comfortable to wear.
This project is a lovely way to build confidence with ring making techniques while creating a piece that looks much more complicated than it really is.
All equipment and material requirements are discussed in the class, and downloadable lists are included. An understanding of the techniques covered in the Simple Hammered Rings class is assumed.
The Sea Waves Ring class is part of the Jeweller's Bench Membership - click here for more details.
If you’d like extra support while working through the class, you’re very welcome to join us in The Jeweller’s Bench Café Facebook group, where you can ask questions, share your progress, and see what other students are making along the way.
You will need:
Materials:
1.5mm to 2mm round or square wire (class example uses 2mm round sterling silver wire)
Equipment: (all the jewellery making kit listed here can be used for many different projects)
* Soldering kit - see here for more details
* Ring sizers
* Ring triblet
* Sharpie
* Masking tape
* Jeweller’s saw and saw blade
* Bench peg
* Nylon hammer
*Hammer(s) for texturing - a cross pein hammer was used in the class example
* Wood block
* Leather cushion (or folded tea towel)
* Half-round file
* Emery paper
* Nylon jaw pliers
An explanation of all the tools and materials that you need is included in the videos, and a downloadable equipment and materials list is available with the class.
1 hr 18 mins long, 17 lessons

Course Curriculum
"Awesome class, the bonus video is really added value. thanks!"
Mirella A.
"A lovely design, made achievable by Joanne sharing some glitches and top tips for how to recover from something that could be disheartening without the extra knowledge."
Dawn G.
"This class exceeded my expectations!"
Jo P.
Legal Disclaimer: Every effort has been made to show safe working practices and to discuss health and safety aspects of jewellery making, but in the end I cannot take responsibility for how the tutorial information is used and how safely you work. Take the effort to set up your work area safely right from the start!
All Rights Reserved. No part of this course may be reproduced or shared without express, written consent from the author.

Joanne Tinley
Tutor and Founder of The Jeweller's Bench
The Jeweller's Bench is run by Joanne Tinley. She has been making her own jewellery for as long as she can remember and left her first career as a school teacher to set up business as a jewellery designer and tutor nearly 20 years ago. She is
self-taught and like many people started with wire and beads. Learning how to solder, however, opened up a whole new world of jewellery making, one that she is keen to share!

Reviews