-
Twisted Wave Rings
14 Lessons-
Startintro
-
Startmaterials
-
Startequipment
-
Startsoldering equipment
-
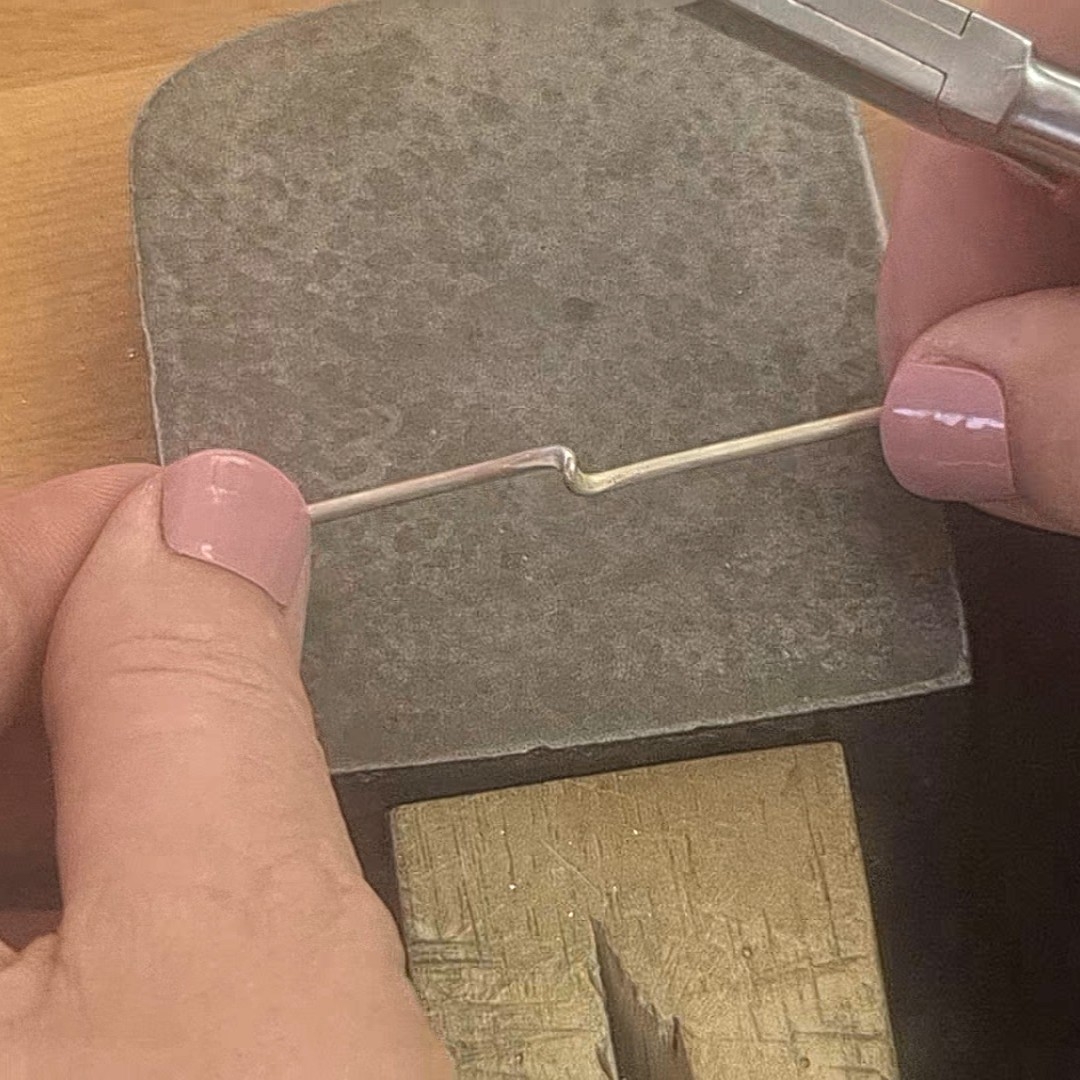
Startpreparing the wire
-
Startbending the wire
-
Startannealing
-
Startunfolding the wire
-
Startforming the ring
-
Startsoldering
-
Starttidying and reshaping
-
Startfinal thoughts
-
Startlength of material to make a basic ring
-
Startstandard jewellery making equipment list
-
This course is not open for enrollment
Twisted Wave Rings
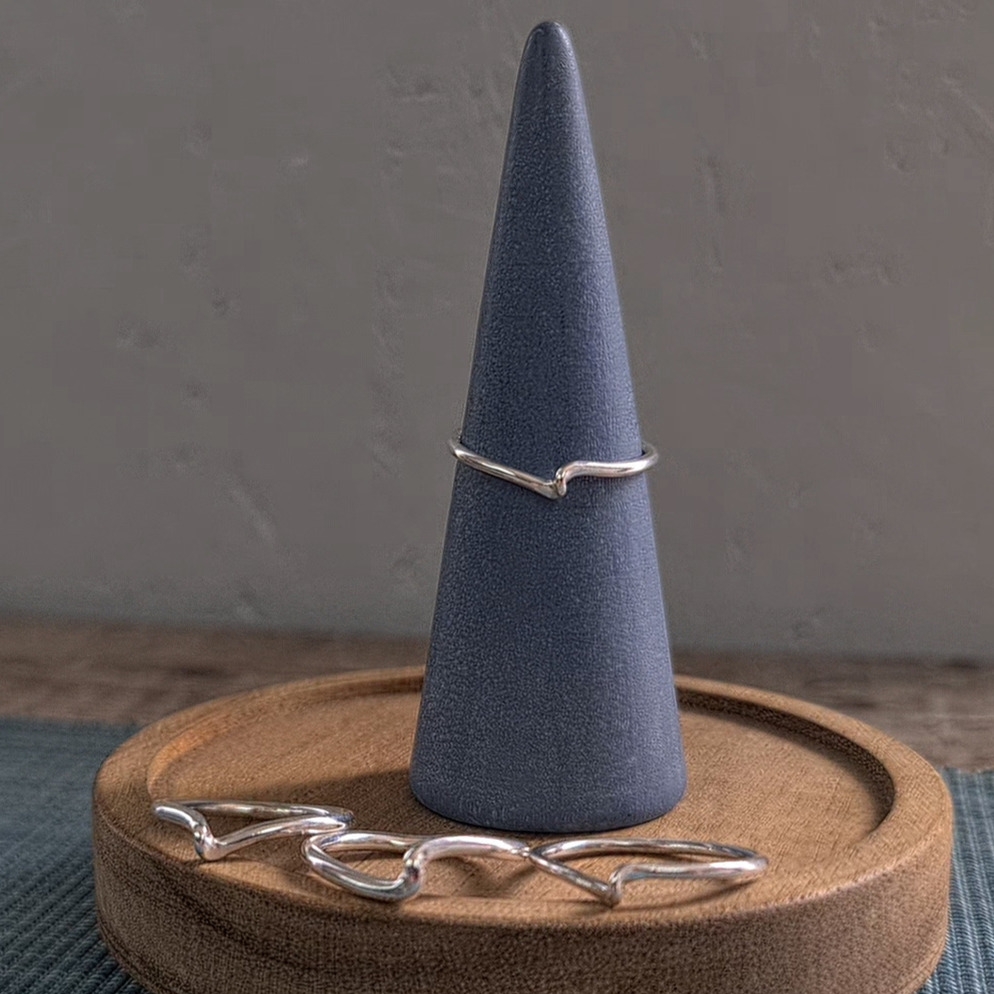
Learn how to make this lovely adaptable design, then stack them together or add stones
About the Class
The Twisted Wave Ring is a simple but wonderfully versatile design that can be adapted in many different ways as your confidence grows.
In this class, you'll learn how to create a flowing wave pattern from silver wire, resulting in an elegant ring that is comfortable to wear and beautiful on its own. Once you've mastered the basic design, you'll discover just how adaptable it can be. Wear a single ring for a simple, understated look, stack several together, or use the design as the starting point for more creative projects.
The wave shape also lends itself beautifully to further embellishment. Multiple rings can be combined, and the spaces between the curves provide wonderful opportunities for adding decorative elements such as stone settings.
Downloadable class notes include a full equipment list, guidance on suitable wire sizes and shapes, and a ring size chart to help you create rings that fit comfortably and accurately.
The Beautiful Bangles class is part of the Jeweller's Bench Membership - click here for more details.
If you need any extra help as you work your way through the classes do join us over on The Jeweller's Bench Café group over on Facebook - the perfect place to ask for advice and to show off what you've been making.
You will need:
Materials:
The class example was made using 1.8mm wire, however 1.5mm and 2mm wire will create beautiful rings too.
Equipment: (all the jewellery making kit listed here can be used for many different projects)
* Soldering kit - see here for more details
* Ring sizers
* Steel wheatsheaf stick or steel ring mandrel
* Ruler
* Sharpie
*Jeweller’s saw
* Bench peg
* Masking tape
* 6" Half round file and emery paper for tidying the join, or your favourite abrasive tool in your pendant drill
* Flat nosed and nylon jaw pliers
* Nylon and planishing hammers
* Steel block and leather cushion (or folded tea towel)
* For polishing - a tumble polisher or elbow grease and a silver polishing cloth.
An explanation of all the tools and materials that you need is included in the videos, and a downloadable equipment and materials list is available with the class.
Don’t worry if you don’t have the same materials in stock that I have used in the class example – experiment with what you have available. Beautiful rings can be made with a range of wire gauges left over from other projects.
40 minutes long, 14 lessons
Course Curriculum
"Clear, informative and as a beginner, I think I can actually give this a go!"
Nina R.
"Another great class from Joanne, thank you!"
Tish E.
"Very thorough, informative, and well-paced. Thank you!"
Anna L.

Joanne Tinley
Tutor and Founder of The Jeweller's Bench
The Jeweller's Bench is run by Joanne Tinley. She has been making her own jewellery for as long as she can remember and left her first career as a school teacher to set up business as a jewellery designer and tutor nearly 20 years ago. She is
self-taught and like many people started with wire and beads. Learning how to solder, however, opened up a whole new world of jewellery making, one that she is keen to share!
Legal Disclaimer: Every effort has been made to show safe working practices and to discuss health and safety aspects of jewellery making, but in the end I cannot take responsibility for how the tutorial information is used and how safely you work. Take the effort to set up your work area safely right from the start!
All Rights Reserved. No part of this course may be reproduced or shared without express, written consent from the author.

Reviews