-
Spinner Rings
22 Lessons-
Startintroduction
-
Startsoldering equipment
-
Startequipment
-
Startmaterials
-
Startpreparing the main ring
-
Startfiling the main ring
-
Starttexturing the main ring
-
Startsoldering the main ring
-
Startshaping the main ring
-
Starttidying the solder join
-
Startannealing
-
Startlast bit of texturing
-
Startfiling the waves
-
Startpreparing the spinners
-
Startsoldering the spinners
-
Startfinishing the spinners
-
Startannealing before shaping
-
Startanticlastic shaping
-
Startpolishing
-
Startfinal thoughts
-
Startlength of material to make a basic ring
-
Startstandard jewellery making equipment list
-
This course is not open for enrollment
Spinner Rings
Make a beautifully tactile spinning ring
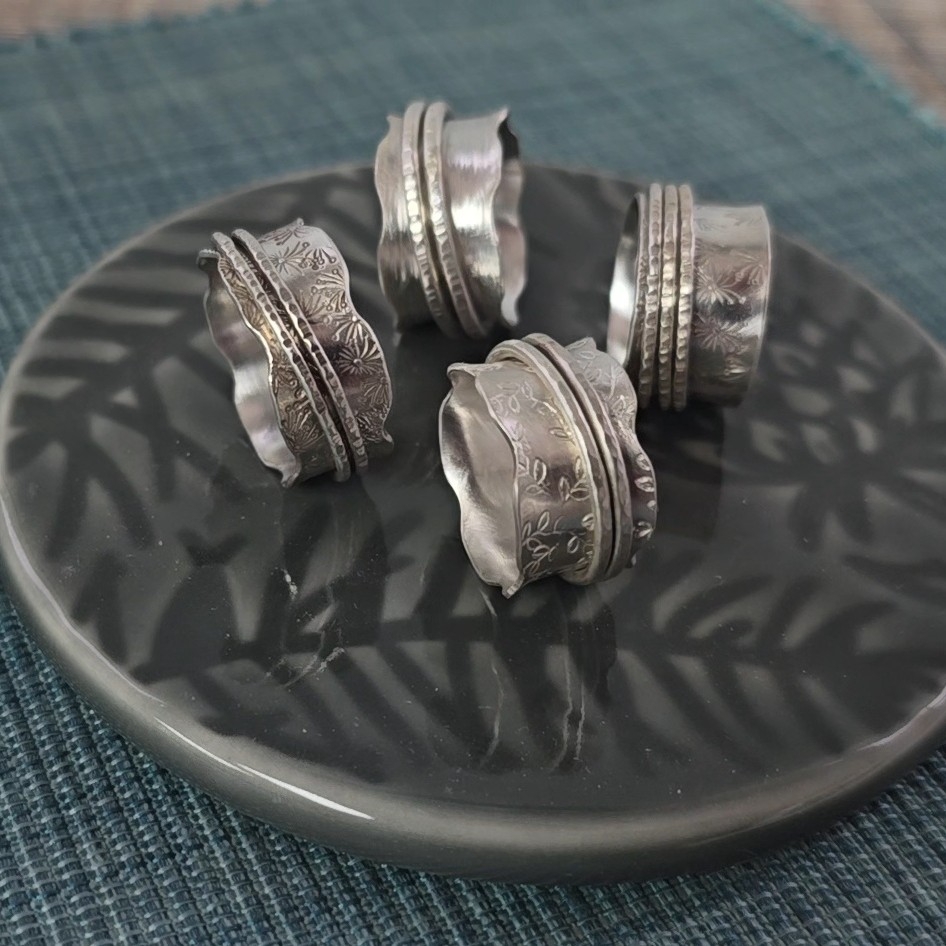
About the Class
Spinner rings are beautiful, tactile pieces of jewellery, designed with one or more outer rings that move and spin around a wider band. They are wonderfully playful to wear and make a striking statement while still being comfortable enough for everyday use.
In this class, you'll learn how to create a spinner ring from start to finish, combining a variety of jewellery making techniques as you build the wide ring band and add the spinning outer rings. Along the way, you'll practise measuring, soldering, shaping, texturing, and finishing - all skills you'll use in every future project.
One of the things I love most about spinner rings is how easily they can be personalised. Different textures, wire shapes, and combinations of spinning rings can completely change the look of the finished piece, allowing you to create a design that feels uniquely yours!
The Spinner Rings class is part of the Jeweller's Bench Membership - click here for more details.
If you need any extra help as you work your way through the classes do join us over on The Jeweller's Bench Café group over on Facebook - the perfect place to ask for advice and to show off what you've been making.
You will need:
Materials:
For the base ring, silver sheet of 9mm to 15mm wide works nicely, and between 0.7mm and 0.9mm thick. For the spinners, you could use round wire between 1.2mm and 1.8mm, similar sized square wire, or rectangular wire.
The class example was made using 12mm wide 0.7mm silver sheet and 1.5mm round wire.
Equipment: (all the jewellery making kit listed here can be used for many different projects)
* Soldering kit - see here for more details
* Wide ring sizers
* Steel wheatsheaf stick or steel ring mandrel
* Ruler
* Sharpie
*Jeweller’s saw
* Bench peg
* Flat and rounded needle files to create the waves (not needed if you prefer flat edges)
* 6" flat and half round files and emery paper
* engineers square
* doming punch
* Nylon jaw pliers and wire cutters
* Nylon , texturing, and old heavy hammers
* Texturing stamp (optional)
* Bench block and leather cushion (or folded tea towel!)
* For polishing - a tumble polisher or elbow grease and a silver polishing cloth or (my preference) a pendant drill and radial discs.
An explanation of all the tools and materials that you need is included in the videos, and a downloadable equipment and materials list is available with the class.
Don’t worry if you don’t have the same materials in stock that I have used in the class example – experiment with what you have available. Beautiful rings can be made with a range of wire gauges left over from other projects.
2 hours, 12 minutes long, 22 lessons
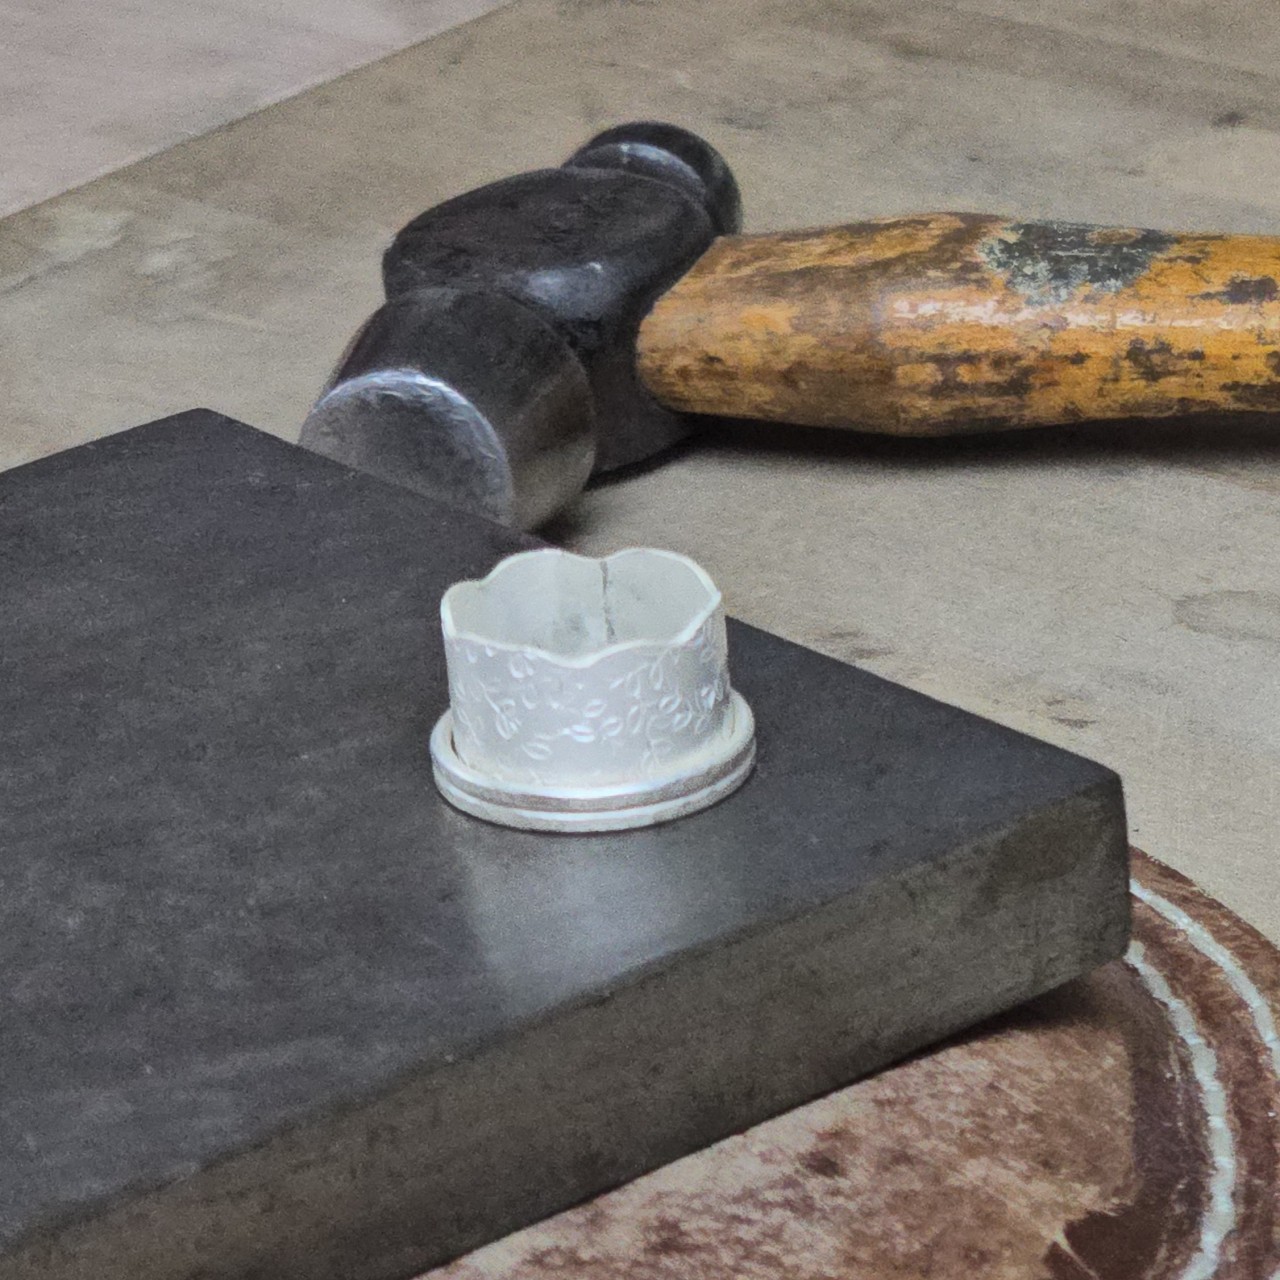
Course Curriculum
Reviews

Joanne Tinley
Tutor and Founder of The Jeweller's Bench
The Jeweller's Bench is run by Joanne Tinley. She has been making her own jewellery for as long as she can remember and left her first career as a school teacher to set up business as a jewellery designer and tutor nearly 20 years ago. She is
self-taught and like many people started with wire and beads. Learning how to solder, however, opened up a whole new world of jewellery making, one that she is keen to share!
Legal Disclaimer: Every effort has been made to show safe working practices and to discuss health and safety aspects of jewellery making, but in the end I cannot take responsibility for how the tutorial information is used and how safely you work. Take the effort to set up your work area safely right from the start!
All Rights Reserved. No part of this course may be reproduced or shared without express, written consent from the author.

Reviews