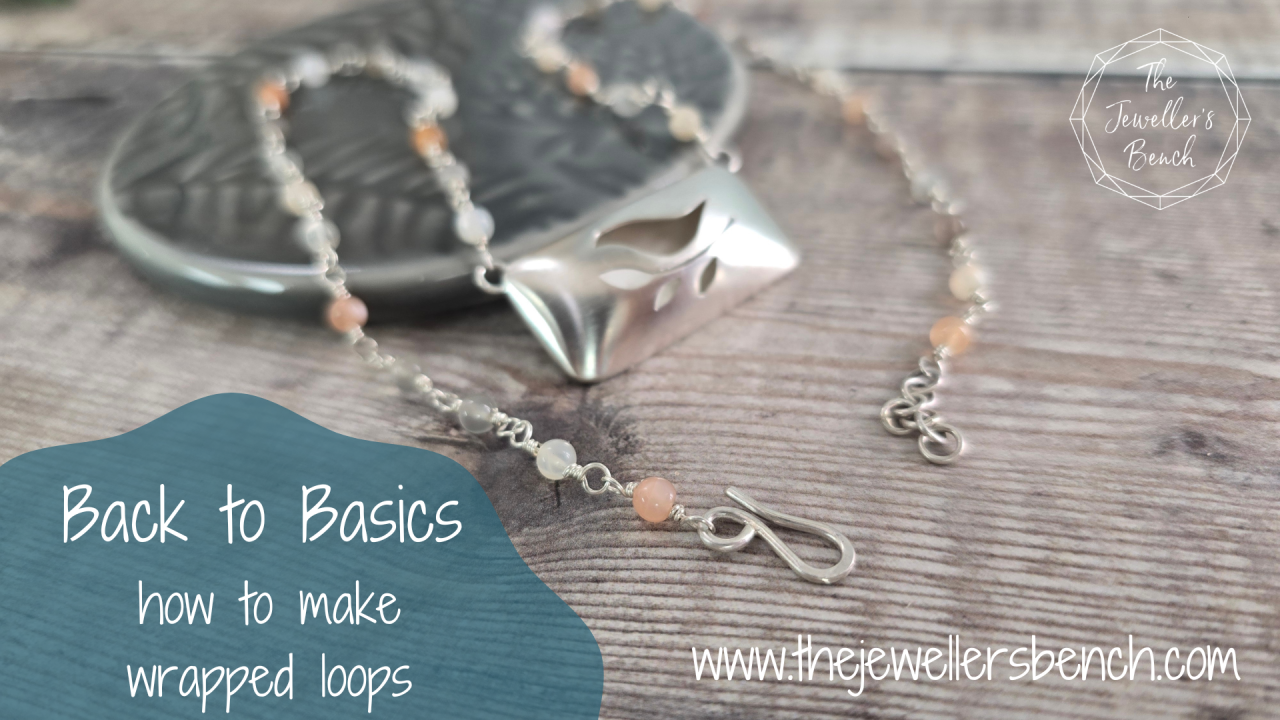
Back to Basics - how to make wrapped loops
A free video tutorial teaching you how to make wrapped loops, perfect for necklaces and bracelets
About the Tutorial
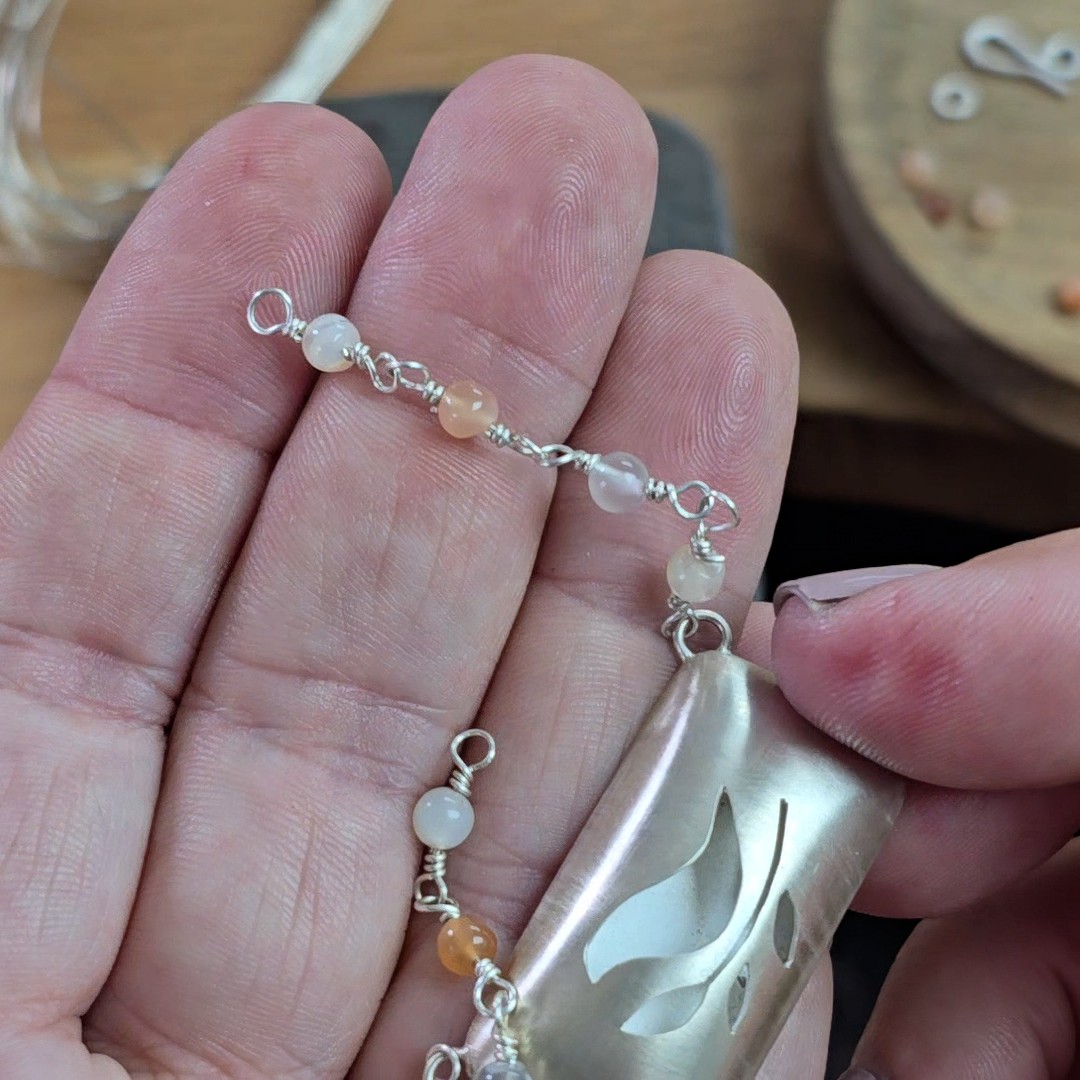
Wrapped loops are one of those small jewellery-making techniques that you'll find yourself using again and again.
They're perfect for attaching beads, pendants and charms securely, while giving your jewellery a neat, professional finish.
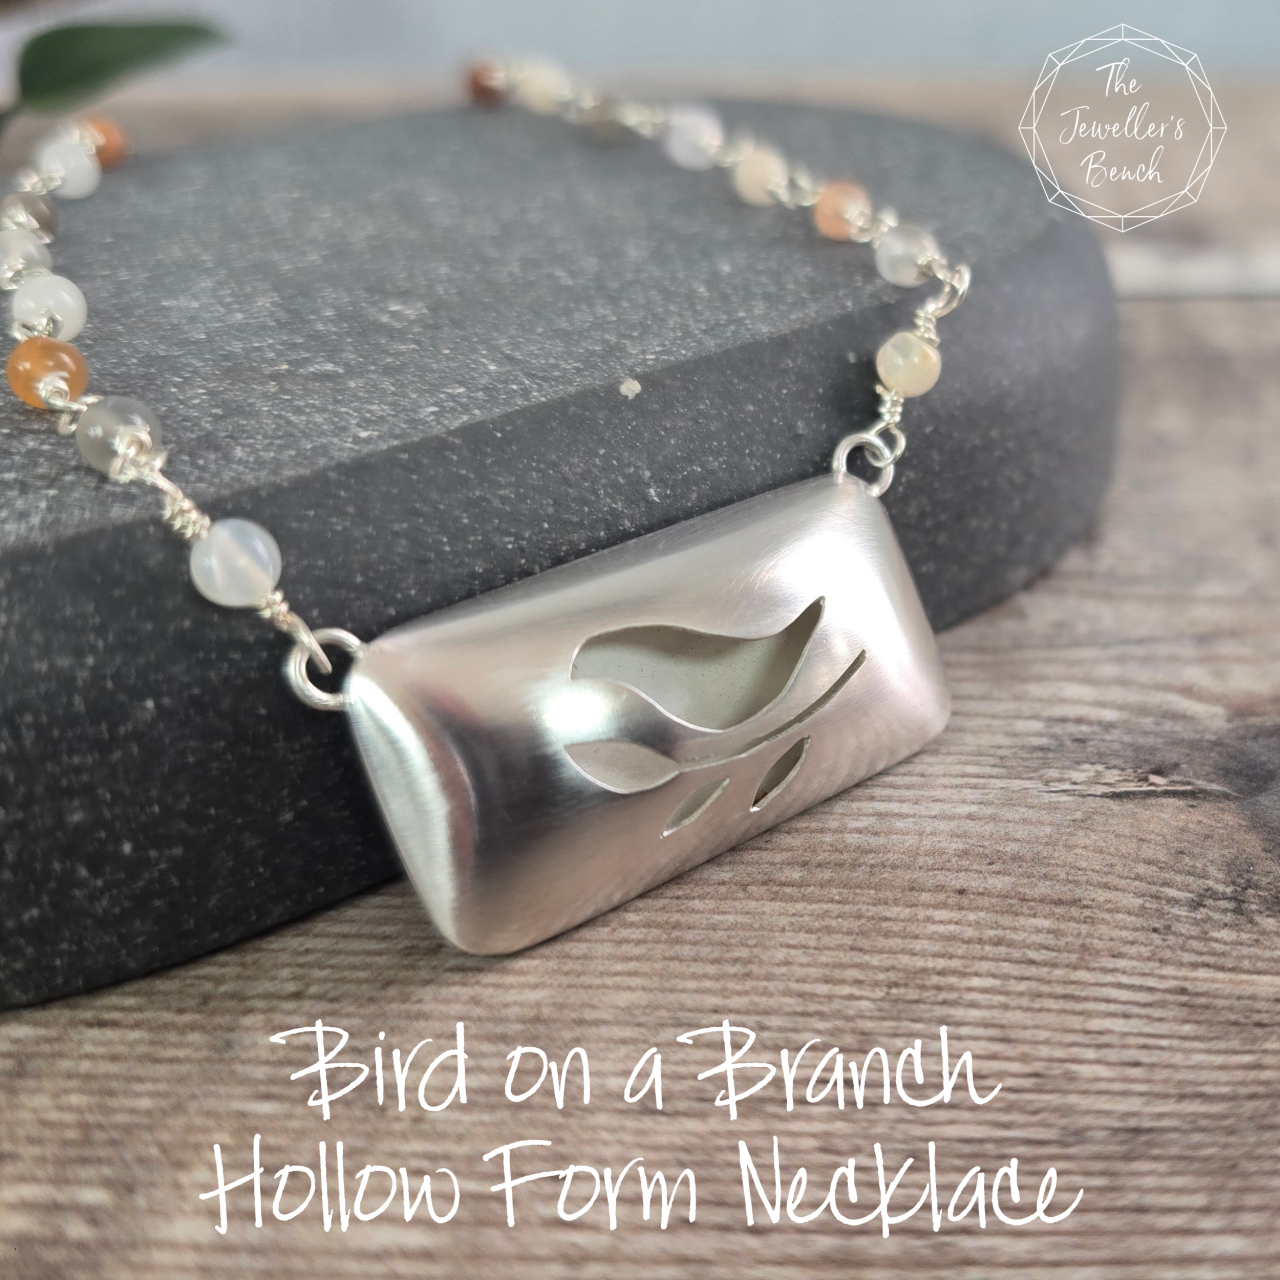
In this back-to-basics tutorial, I'll show you how to form a tidy wrapped loop step by step, so you can use the technique confidently in all sorts of future projects. This video is taken from the Bird on a Branch Hollow Form Necklace class - coming soon!
This is just one in a growing collection of free tutorials. You can enrol on each one individually or enrol on the whole bundle so that you don't miss out on new classes!
The Back to Basics - how to make wrapped loops tutorial is also part of The Jeweller's Bench membership. This is the best way of enjoying and learning from all the classes on The Jeweller's Bench, with more classes added each month. Find out more here
You will need:
Materials:
Your choice of beads, and wire to fit through the bead holes.
I recommend practicing in copper before moving on to silver.
Equipment: (all the jewellery making kit listed here can be used for many different projects)
Round nosed pliers
Flat nosed pliers
Nylon jaw pliers
Wire cutters
Course Curriculum

Joanne Tinley
Tutor and Founder of The Jeweller's Bench
The Jeweller's Bench is run by Joanne Tinley. She has been making her own jewellery for as long as she can remember and left her first career as a school teacher to set up business as a jewellery designer and tutor nearly 20 years ago. She is
self-taught and like many people started with wire and beads. Learning how to solder, however, opened up a whole new world of jewellery making, one that she is keen to share!

Reviews