-
Embossed Leaf Brooch - learn how to make your own brooch fittings
11 Lessons
Embossed Leaf Brooch
Learn how to make your own brooch fittings
About the Class
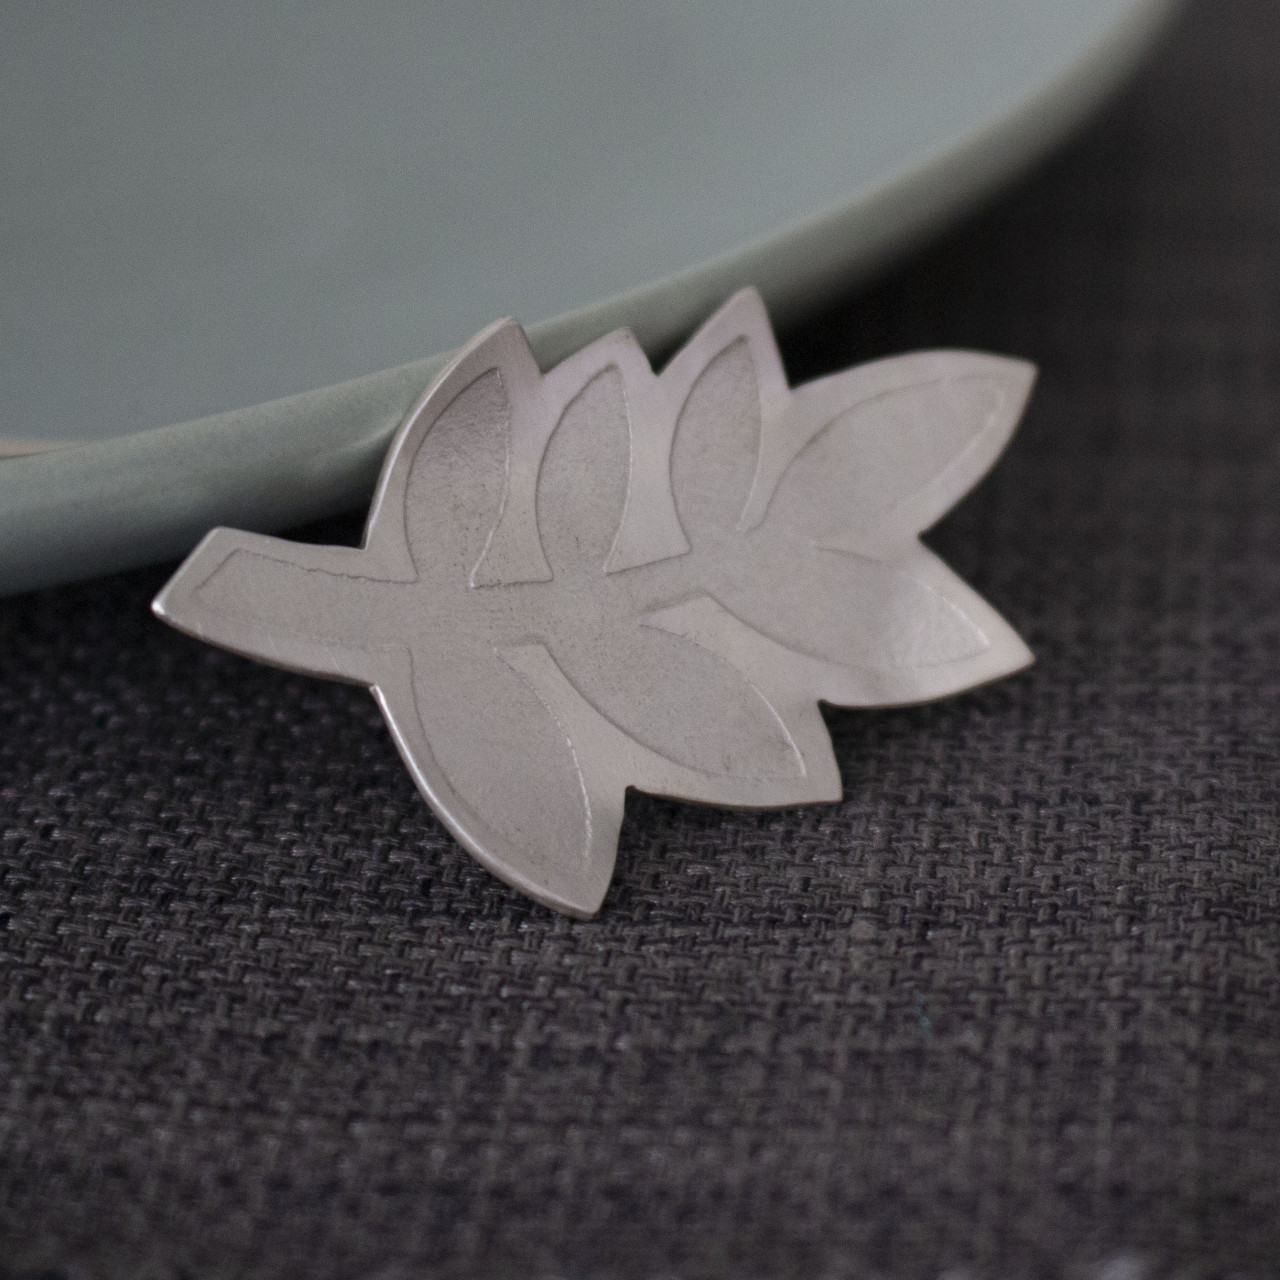
If you’ve watched the Embossed Leaf Necklace class, you may remember me saying that the leaf shape would also make a beautiful brooch. In this class, I’ll show you how to create the brooch fitting itself and how surprisingly achievable it is to make your own secure, professional-looking findings.
There are many different styles of brooch fittings, and experienced jewellers will often adapt them to suit the shape and design of a piece. The fitting I teach in this class uses tube to create a strong hinge and catch for a stainless steel brooch pin, and it’s a versatile design that can be used for many different styles of brooches.
Working with the small sections of tube can feel a little fiddly at first, but the techniques themselves are not difficult, and I’ll guide you through the process step by step. I also show you how I use a joint leveller to hold the tube while working, which makes the process much easier. The videos in this class focus on creating the brooch fittings rather than making the leaf itself, so if you’d like to recreate a brooch similar to mine, I’d recommend watching the Embossed Leaf Necklace class (shown below) first before returning to this one.
The equipment needed for the project is explained throughout the videos and included on a downloadable equipment list. I’ve kept the equipment requirements simple, and the tools used are useful for many other jewellery making projects too.
The Embossed Leaf Brooch class is part of the Jeweller's Bench Membership - click here for more details.
If you’d like extra support while working through the class, you’re very welcome to join us in The Jeweller’s Bench Café Facebook group, where you can ask questions, share your progress, and see what other students are making along the way.
You will need:
Materials:
* 1mm sterling silver sheet
* small pieces of sterling silver tube
* 0.8mm hard steel wire (available from dental suppliers such as www.kcsmith.co.uk)
Equipment: (all the jewellery making kit listed here can be used for many different projects)
* Soldering kit - see here for more details
* Watercolour paper
* Paper craft punch
* Rolling mill
* Sharpie
* Jeweller’s saw and saw blade
* Bench peg
* Needle files and emery paper
* Nylon jaw pliers, flat nose pliers and wire cutters
* Joint leveller
* Bench drill
* Pendant drill with silicon wheel (optional)
An explanation of all the tools and materials that you need is included in the videos, and a downloadable equipment and materials list is available with the class.
1 hour 1 min long, 10 lessons

Course Curriculum
"I've been buying brooch fittings, but I'll give making them a go now :-) Excellent class, with handy tips as always."
Dawn G.
"As always the steps in the process were all clearly explained and were easy to follow . If you would like to make brooch fittings this is the class for you. My little leaf brooch has already been admired and it looks great on the lapel of my black jacket. I had no difficulty getting the pin through the fabric."
Diana H.
"Now I don't have to buy brooch fittings! Thanks!"
Jo P.
Legal Disclaimer: Every effort has been made to show safe working practices and to discuss health and safety aspects of jewellery making, but in the end I cannot take responsibility for how the tutorial information is used and how safely you work. Take the effort to set up your work area safely right from the start!
All Rights Reserved. No part of this course may be reproduced or shared without express, written consent from the author.

Joanne Tinley
Tutor and Founder of The Jeweller's Bench
The Jeweller's Bench is run by Joanne Tinley. She has been making her own jewellery for as long as she can remember and left her first career as a school teacher to set up business as a jewellery designer and tutor 15 years ago. She is
self-taught and like many people started with wire and beads. Learning how to solder, however, opened up a whole new world of jewellery making, one that she is keen to share!