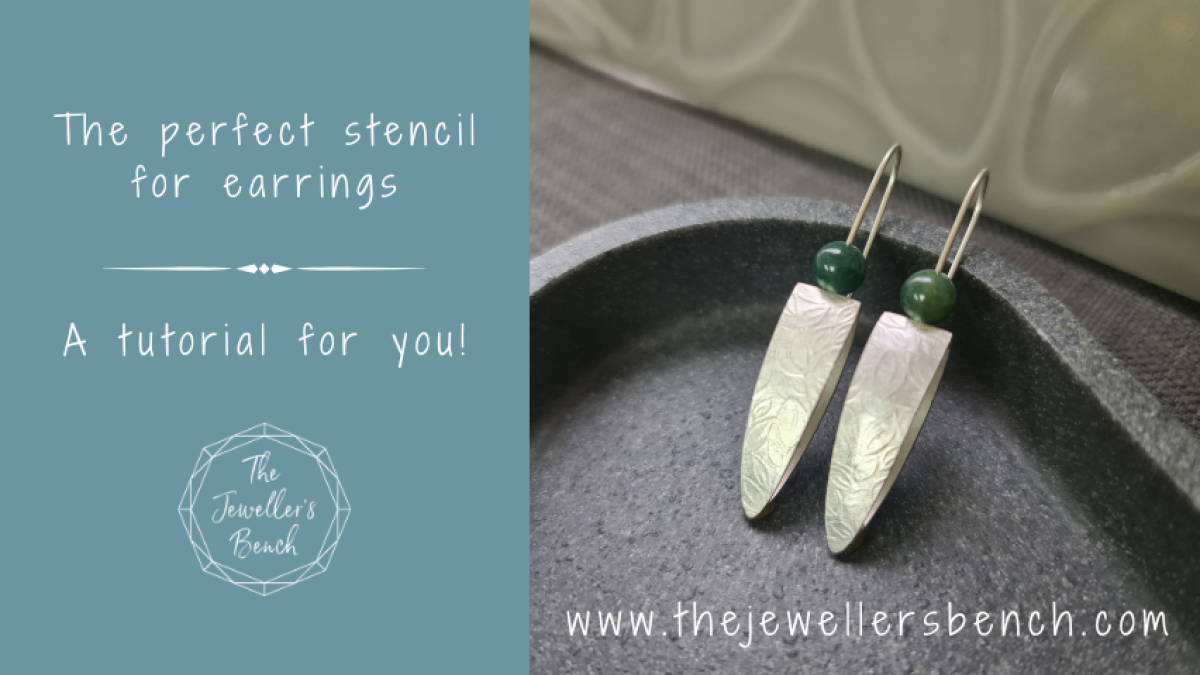
The perfect stencil for earrings - a tutorial for you!
 Joanne Tinley
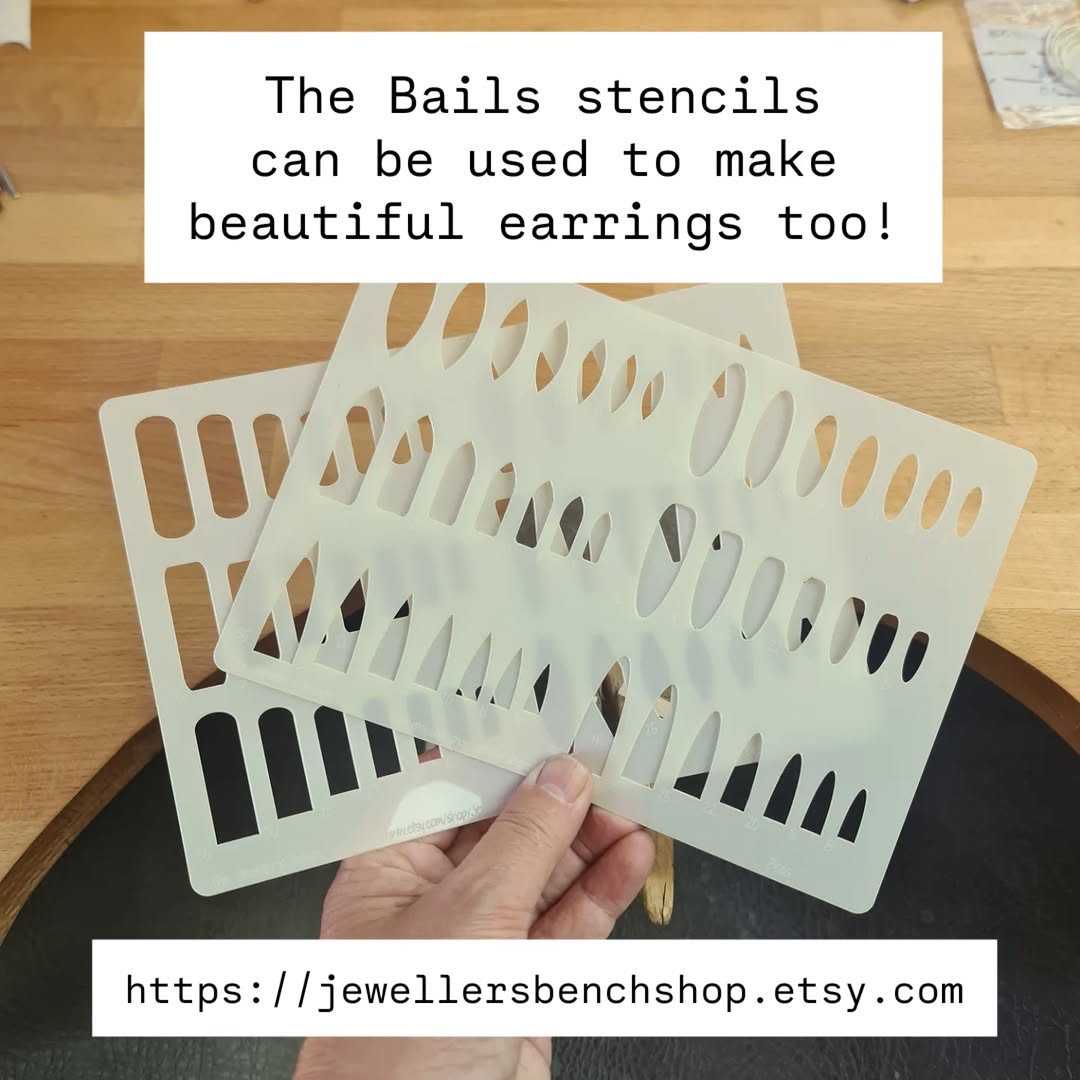
Use the Bails stencils to create beautiful earrings in this free tutorial
The Bails stencils can be used to make beautiful earrings.... so here's just one possible idea (with a few variations!)
You will need:
Materials:
- Sterling silver large enough for 4 of your chosen shape. A thickness of 0.6mm-0.7mm is ideal
- 0.8mm (20 gauge) wire for the earwires. I used two 5.5cm lengths
- A rolling mill texture sheet (I used the Watercolour Leaves 2 Medium texture). Alternatively, texture your silver with a hammer.
- Optional: stone or halfdrilled pearl for the bottom of the earring, plus the materials to set the stone/pearl in.
Equipment:
- Soldering Kit
- Jeweller's saw and bench peg
- Flat file and emery paper
- Bails 1 or Bails 2 stencil (depending on the shape you want!) and sharpie
- Nylon jaw pliers, flat nosed pliers, wire cutters
- Planishing (rounded) hammer and bench block
- Doming block and wooden punch
- Rolling Mill (unless you choose a hammered
And here's how to do it!
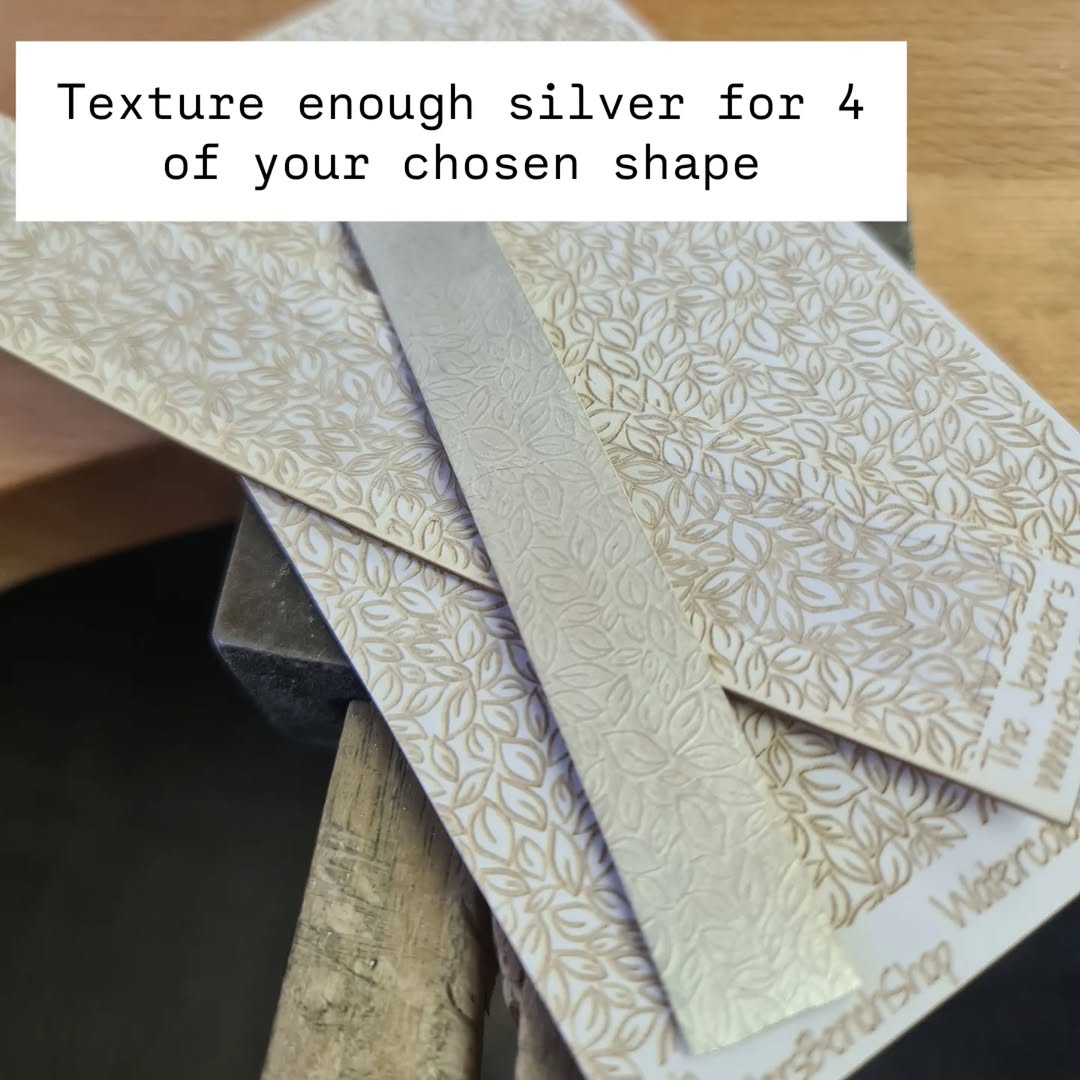 | 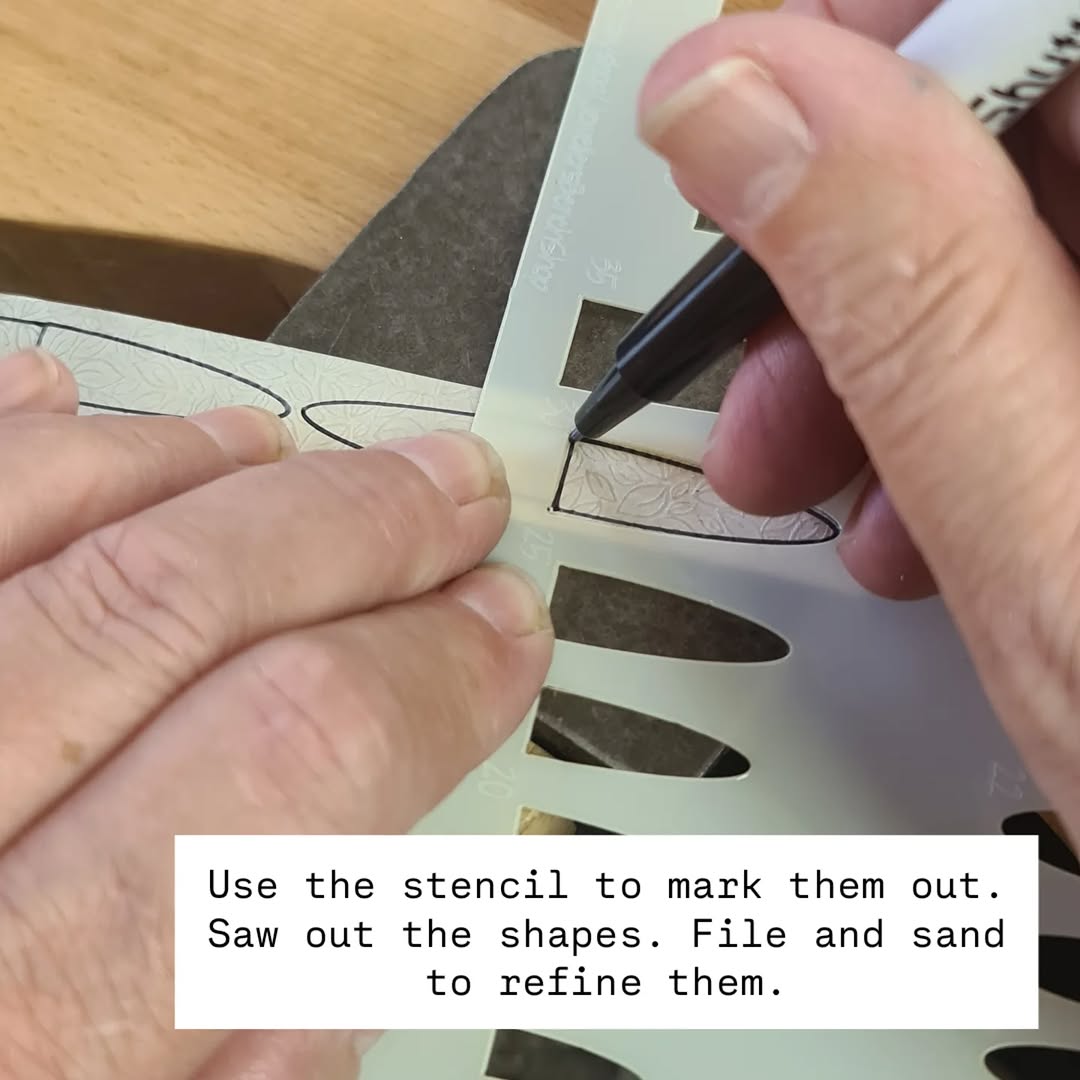 |  |
1. Anneal the silver and texture it with the texture sheet and rolling mill. | 2. Choose a shape from the Bails
stencil and mark four of them on the silver sheet. Saw each shape out. File and sand the edges to refine the shapes
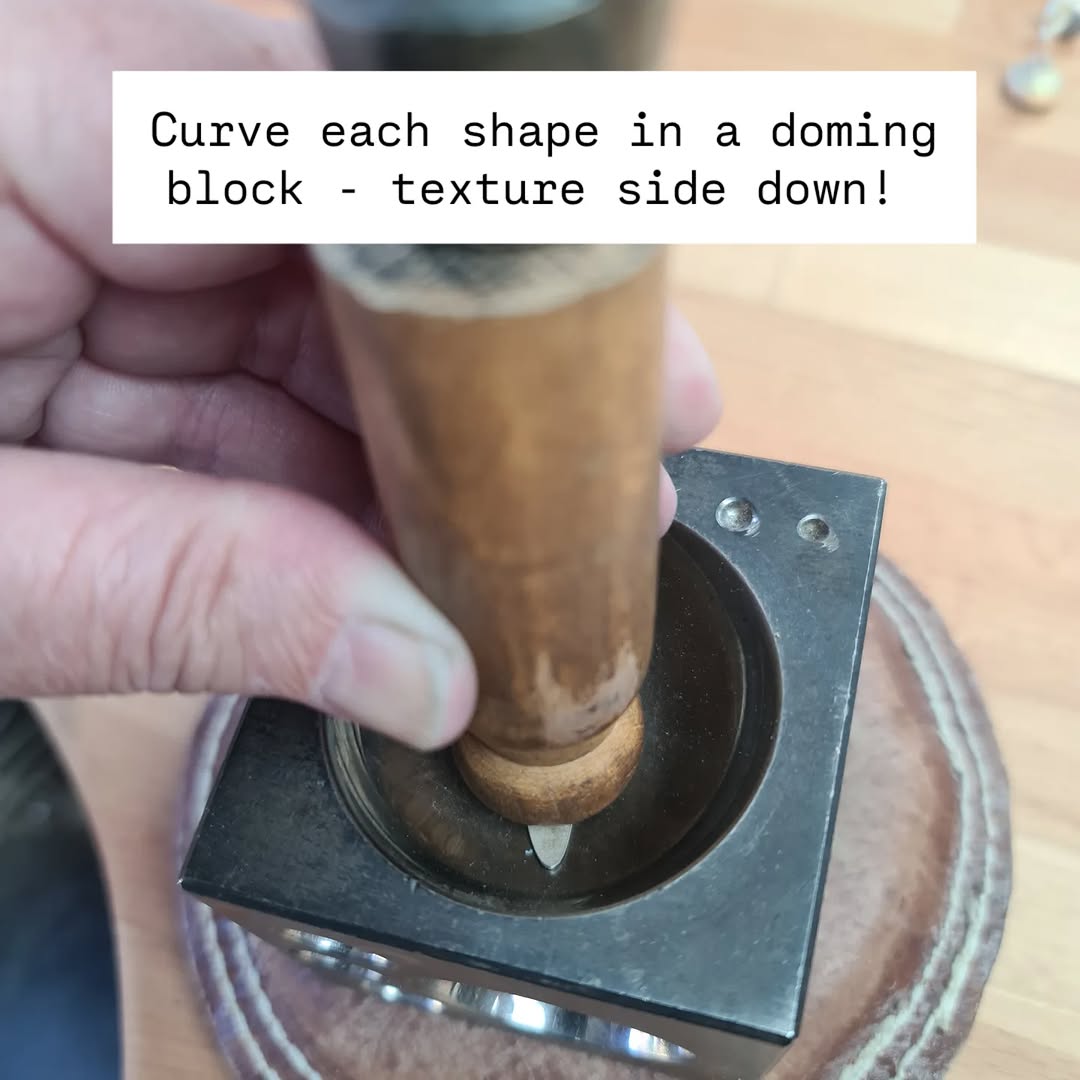
and make them lovely and smooth. | 3. Add a curve to each shape with
the texture on the outside of the curve. I used the largest dish on my doming block, but shaped nylon pliers or even bending the silver around a
suitable curve will do the trick.
Use a wooden punch with the doming block to protect the texture. |
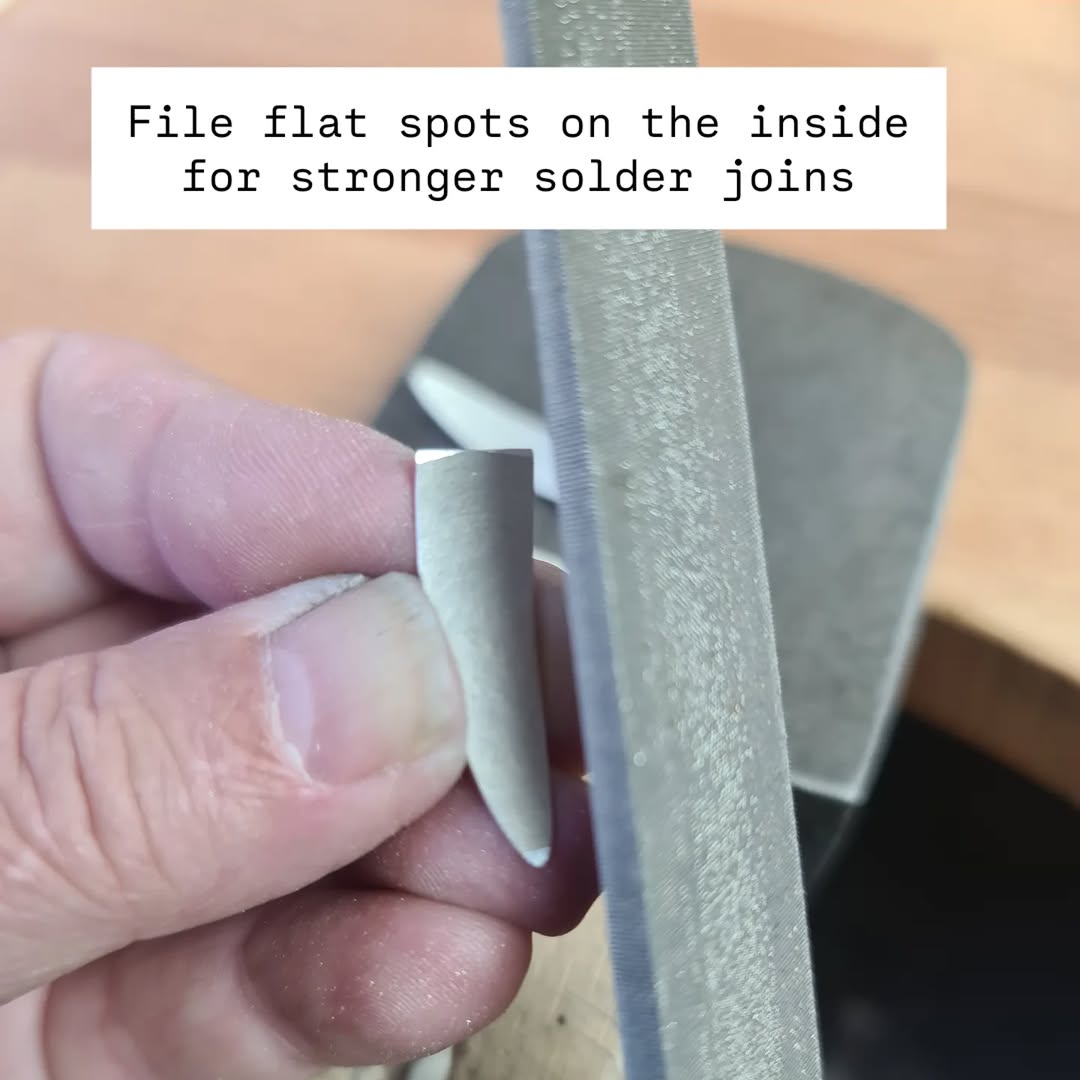 |  |  |
4. File flat across the back of each
silver shape. This will create small flat areas at the edges of the shapes.
These are the areas that will form the
solder join, and making them wider
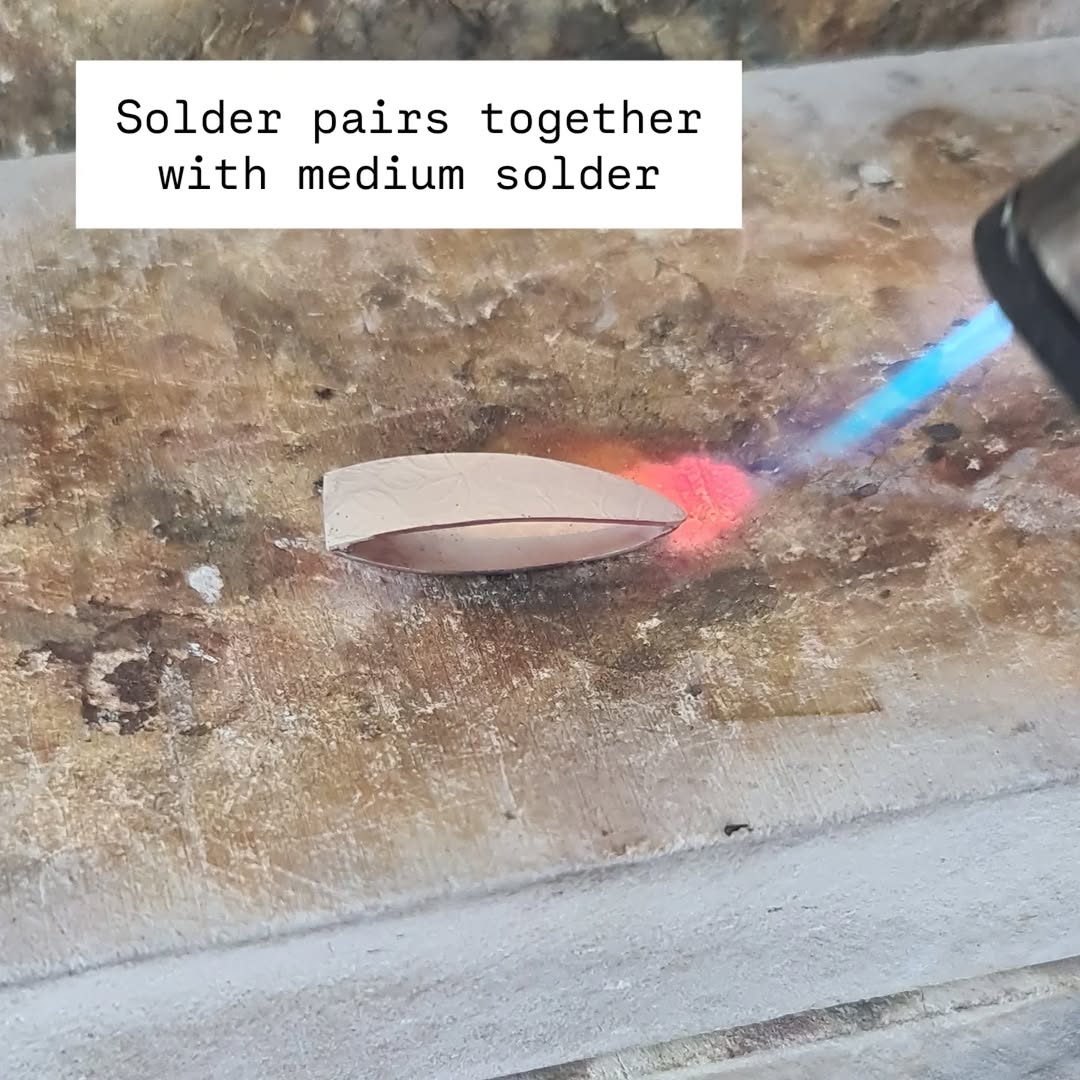
makes the joins stronger. | 5. Apply medium solder just inside
each solder join on one shape. I prefer solder paste for this job as
it's tackiness helps both silver and solder stay in place until the solder flows! Add a second shape on top. Sit the pair
on a solder brick, supporting with pennies
or similar if needed. Solder the pair
together. Repeat with the second pair
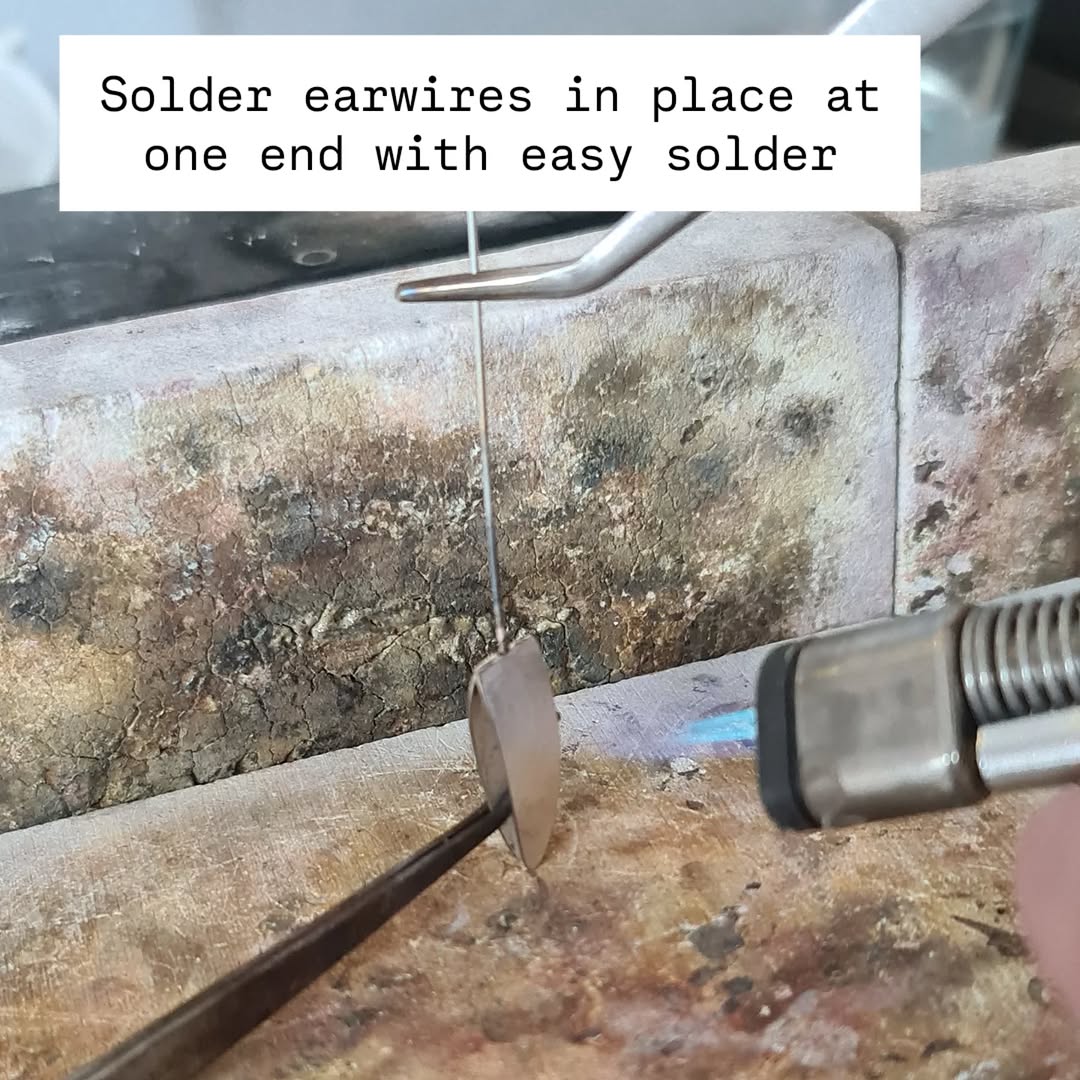
of shapes. Quench and pickle the shapes. | 6. Use a file or small ball burr to
create a small divot in the middle of one end of each of the newly soldered shapes. This creates seats for the earwires, making those solder joins stronger. Cut a suitable length of 0.8mm wire and
use easy solder to solder one end
in the divot created above. Repeat with the second earring. |
7. At this stage you can shape the earwire, polish your new earrings and wear them out to meet a friend for coffee - or you can get more creative! |
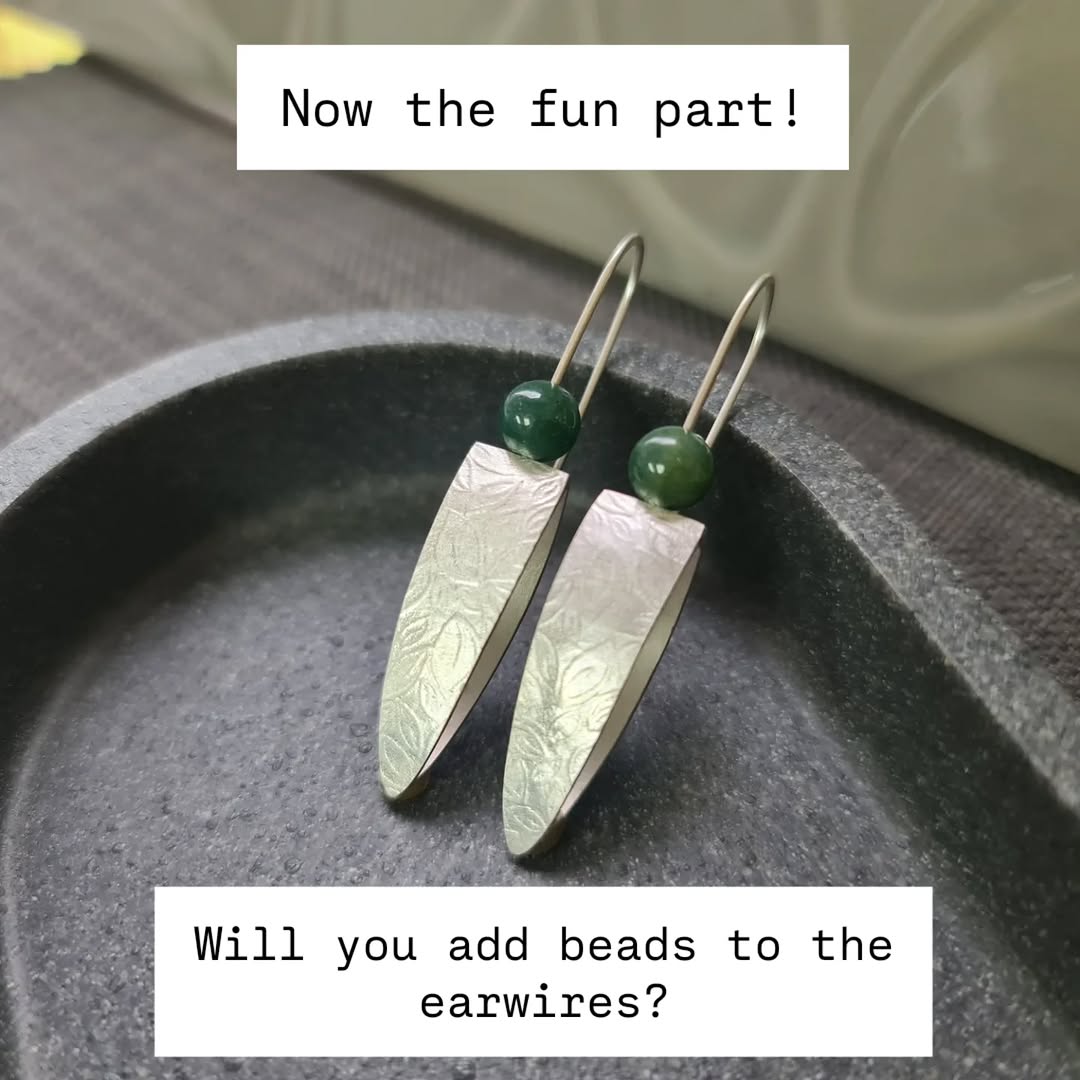 |  |  |
How about threading a pretty bead on
the earwire (before you bend it)
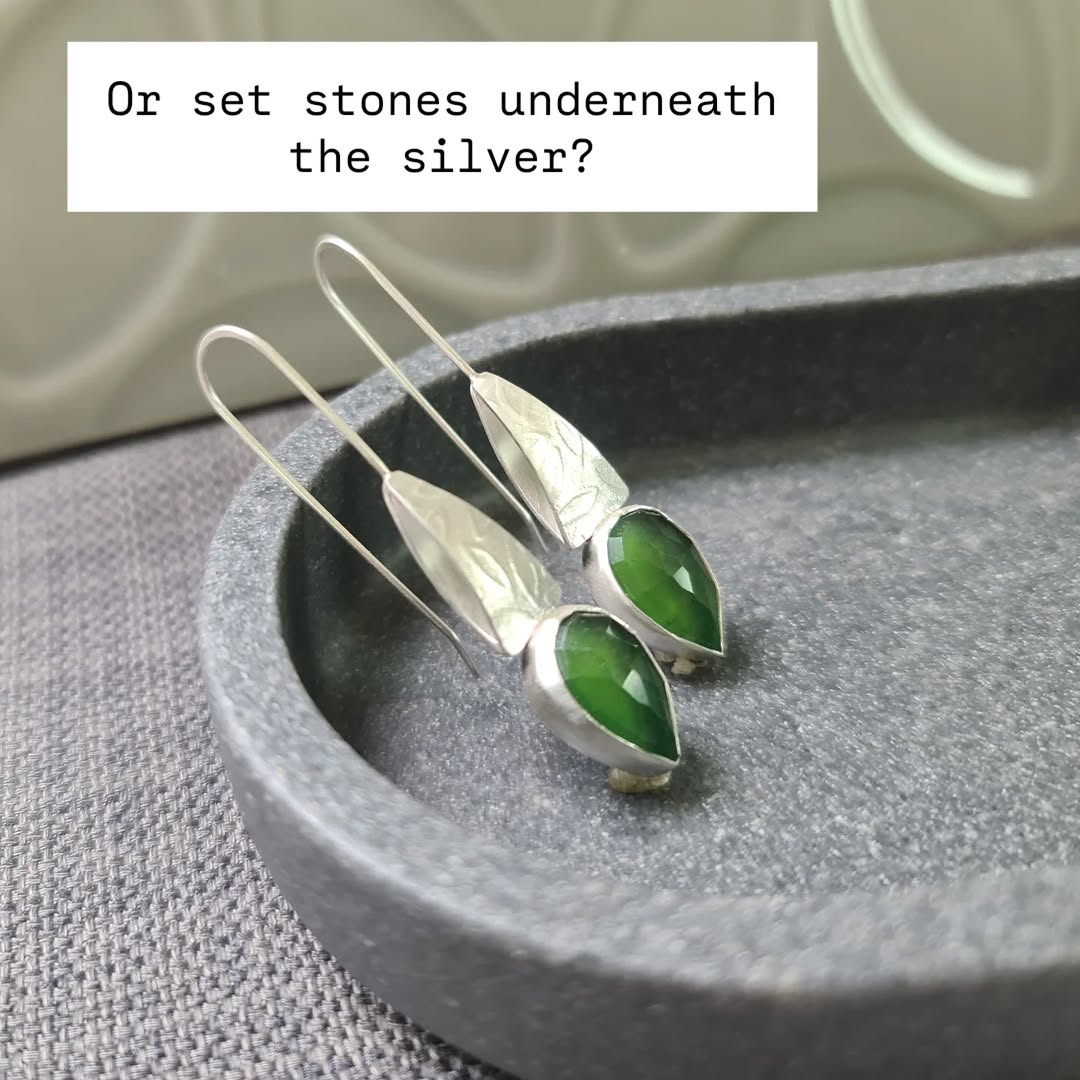
so that it sits on the silver shape? | Or perhaps add a tube set stone
or a bezel setting
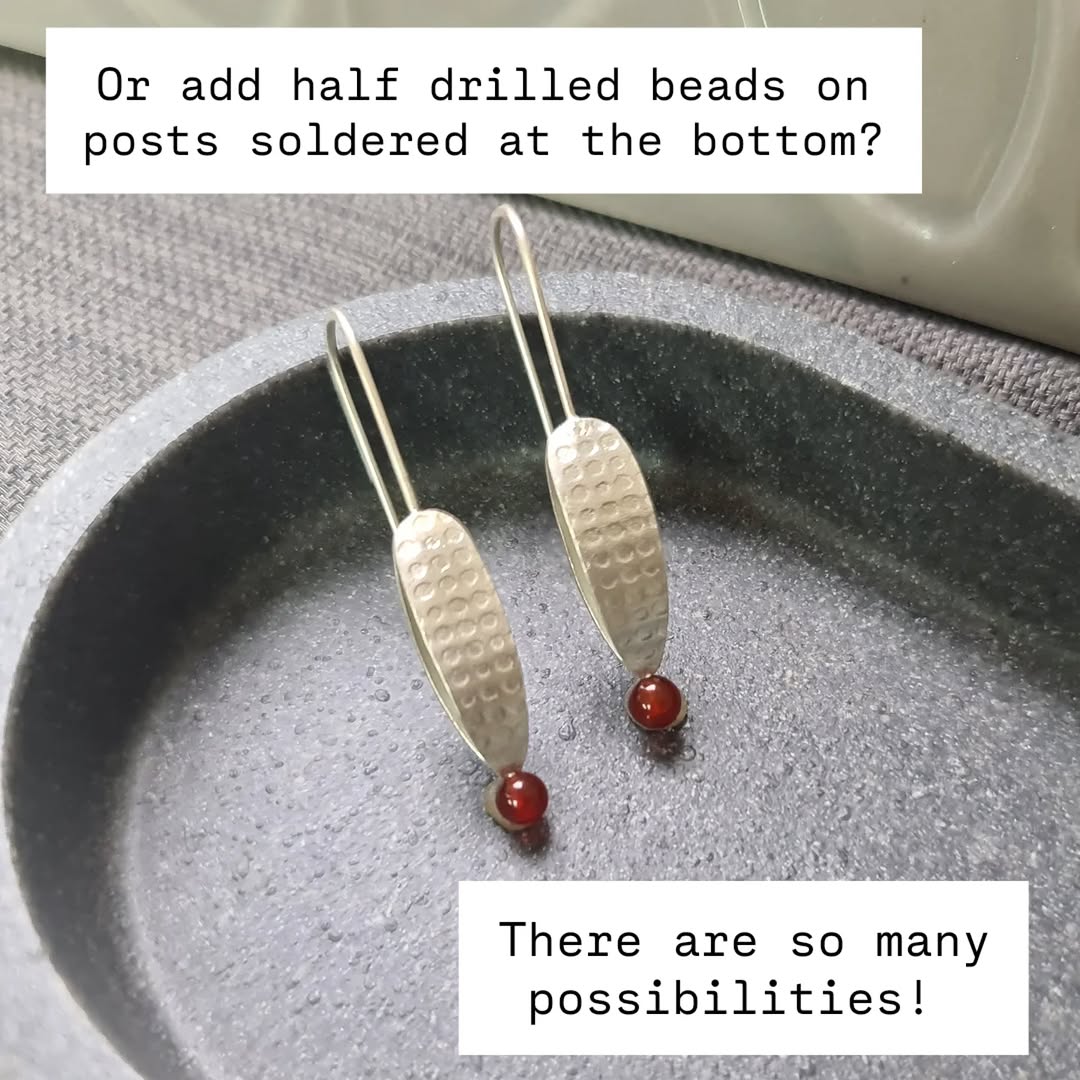
either above or below the silver? | Or maybe solder a post for a half-drilled pearl
or bead beneath the earring? |
If you're looking for more earrings inspiration
have a look at these classes...
 | 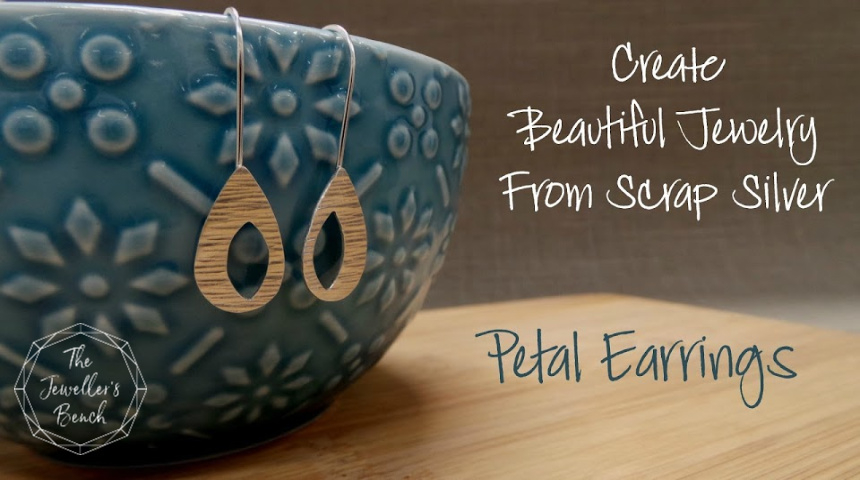 | 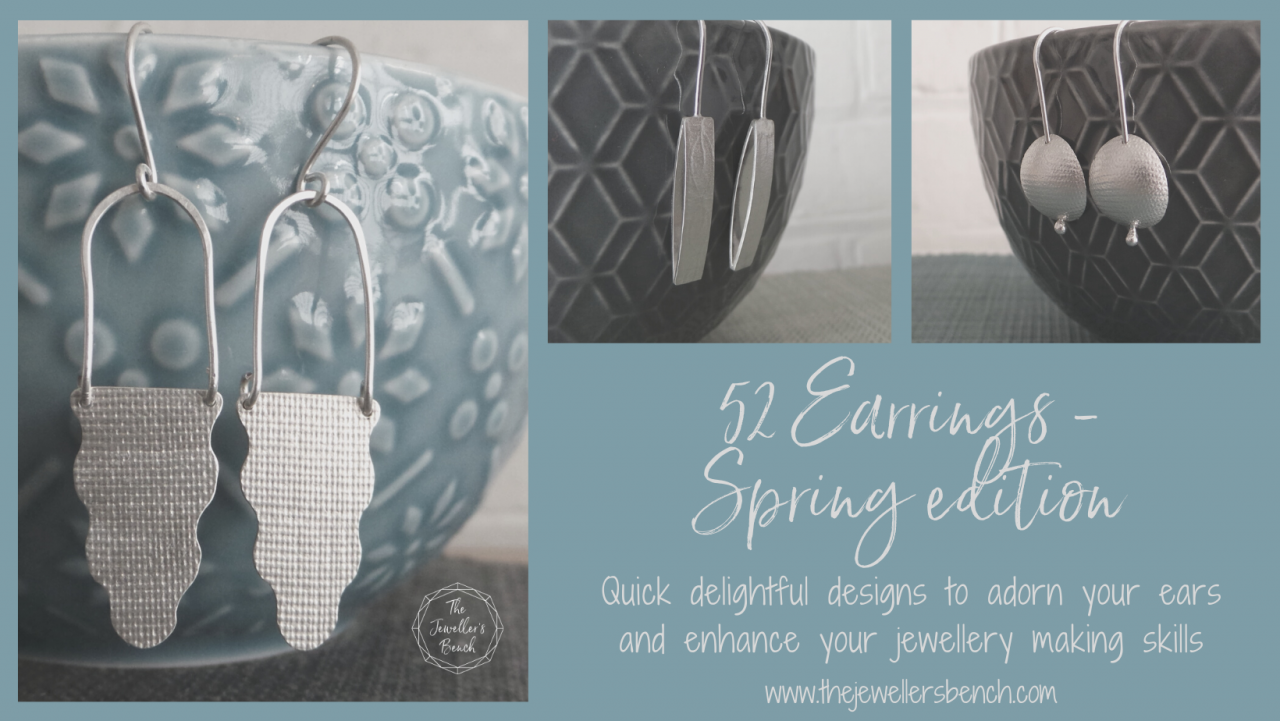 |
Dotty Box Earrings | Petal Earrings | Spring Edition of the 52 earrings project |
Learn how to make hollow boxes -
they're great for pendants too! | A quick project that uses silver left over from other projects. | The 52 earrings project resulted in 52 earring designs in one year. Enrol in just the Spring Edition, or go for the full year here. |
Categories: : earrings tutorial, jewellery tutorial, tool talk

Joanne Tinley
Tutor and Founder of The Jeweller's Bench
The Jeweller's Bench is run by Joanne Tinley. She has been making her own jewellery for as long as she can remember and left her first career as a school teacher to set up business as a jewellery designer and tutor nearly 20 years ago. She is
self-taught and like many people started with wire and beads. Learning how to solder, however, opened up a whole new world of jewellery making, one that she is keen to share!
