Back to Basics - how to make wrapped loops
 Joanne Tinley
Learn how to link beads together with wrapped loops - perfect for necklaces and bracelets
Wrapped loops are perfect for linking beads together for necklaces and bracelets, but it can take a little practice to get them beautifully neat. Follow this tutorial and you'll soon be wrapping away!
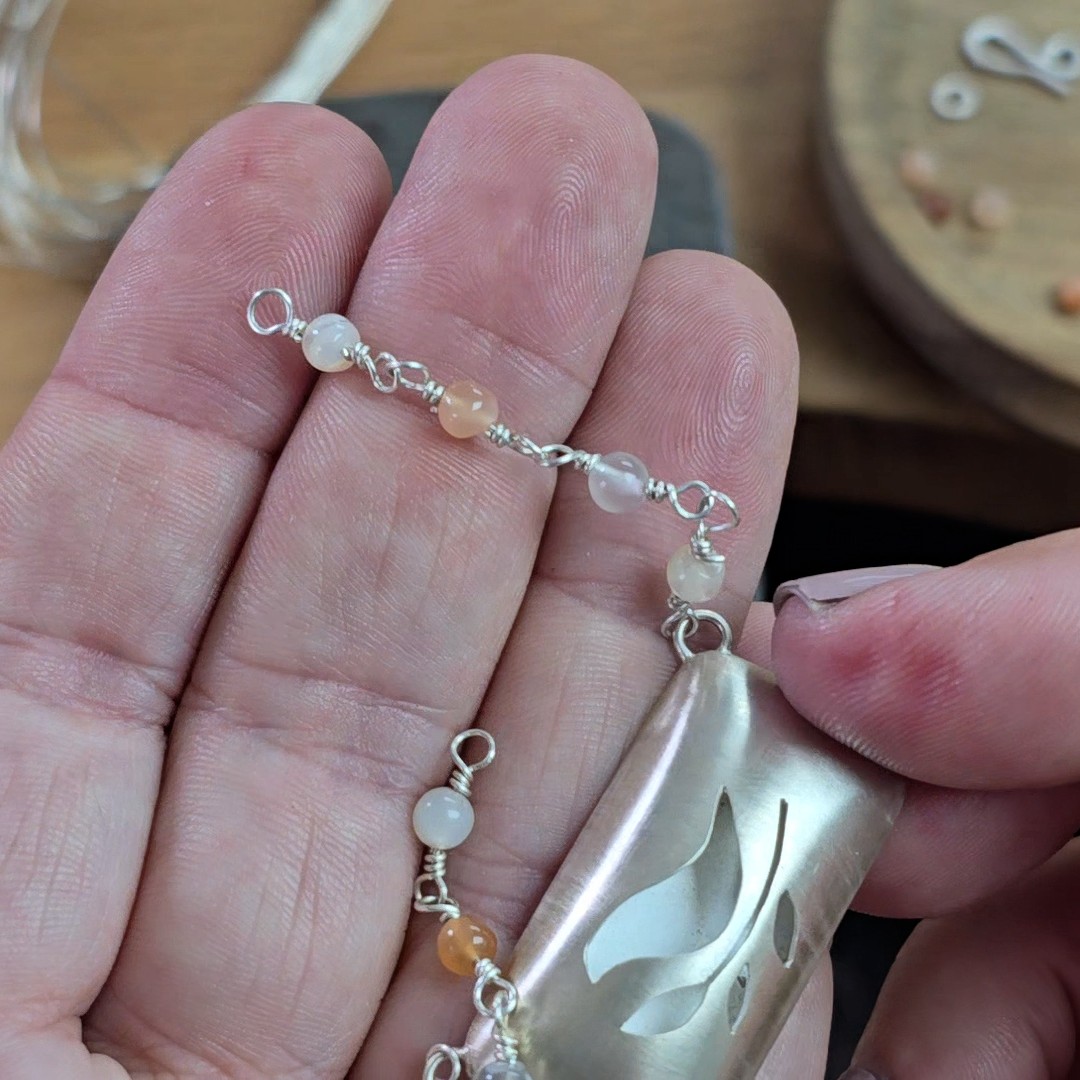
You will need:
- a selection of beads
- a long length of wire of a suitable gauge to pass through the beads (practice in copper first!)
- round nosed pliers, nylon jaw pliers, flat nosed pliers and wire cutter
And here's how to wrap those loops!
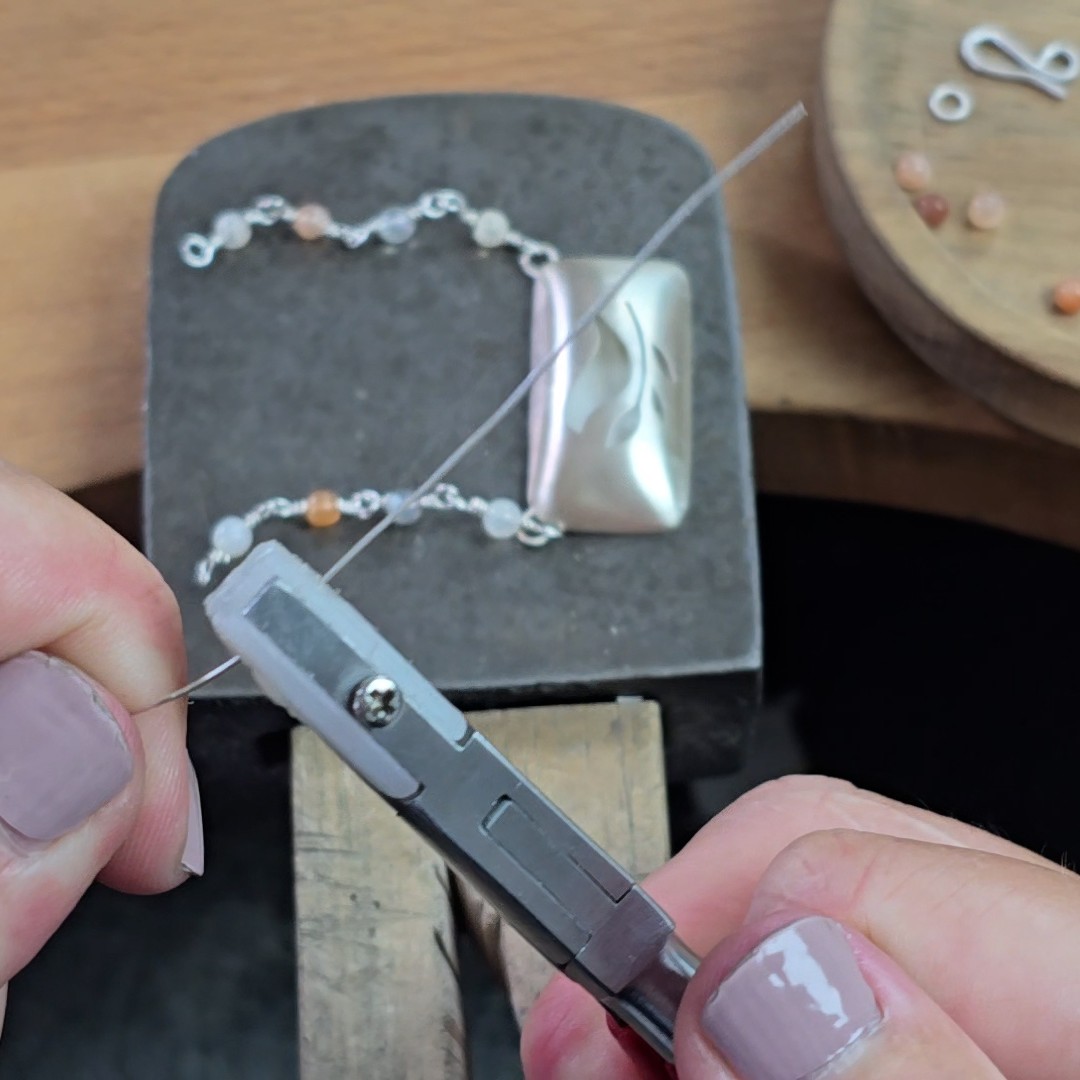 | 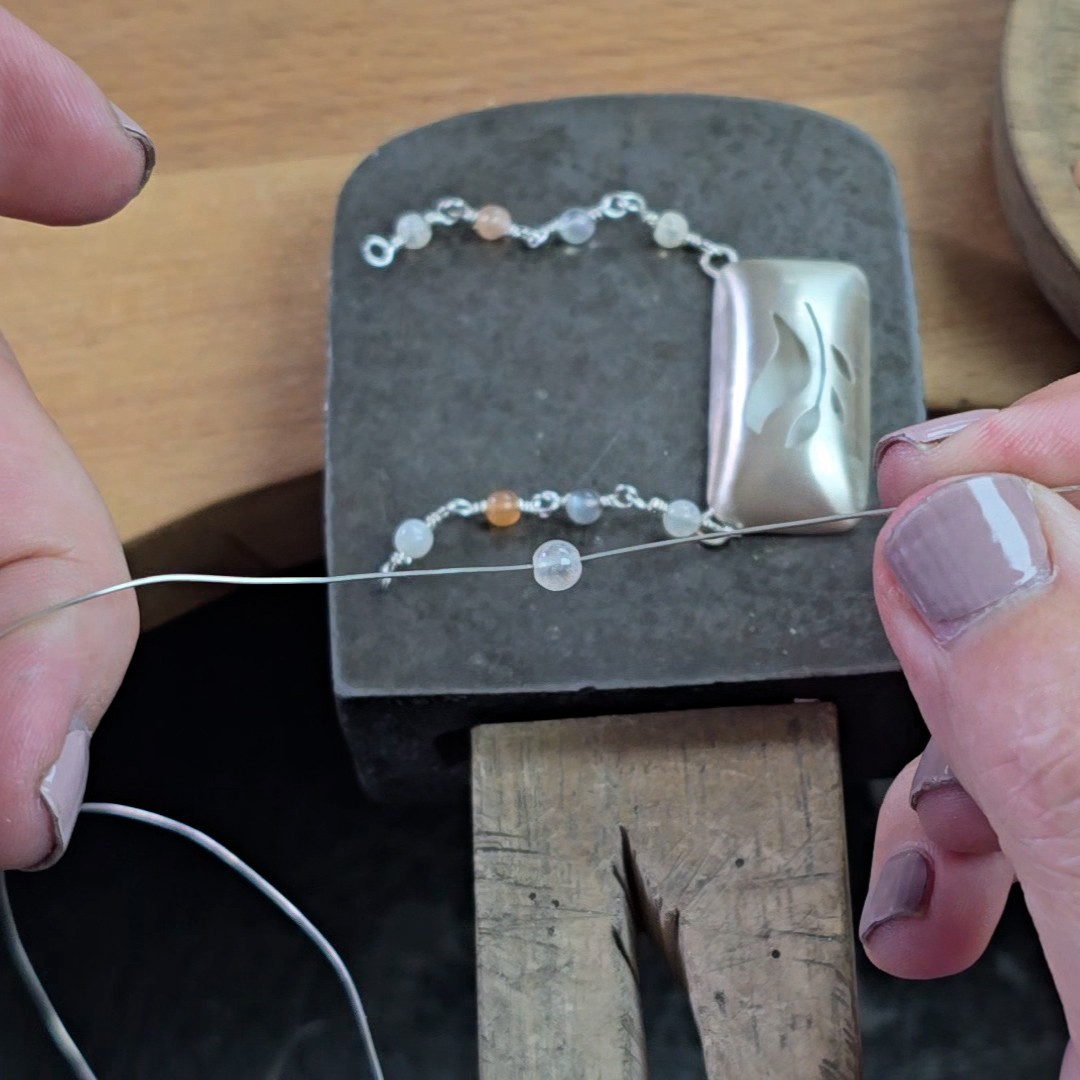 | 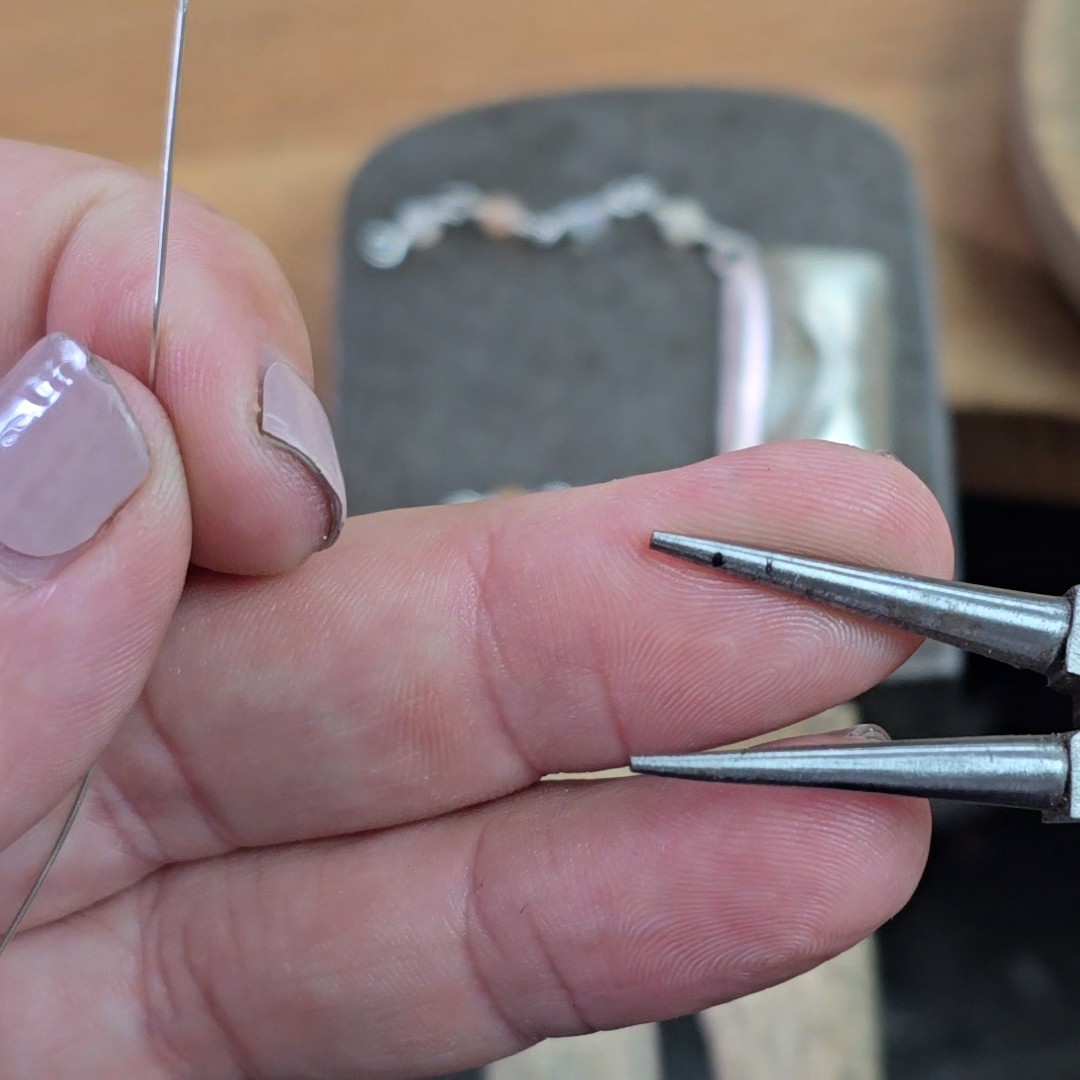 |
1. Pull the first 8cm or so through nylon jaw pliers to make sure that it is straight. I prefer to work with a long piece of wire (in this case the whole coil!) and cut after forming each section. I waste less wire this way. | 2. Thread your first bead on to the wire. If you're working from the coil it won't fall off! You can, of course, add more than one bead between the loops. | 3. To help get consistently sized loops add a sharpie mark on to your round nosed pliers at the size of loop you want. Then make sure you hold your wire at this point for each loop.
|
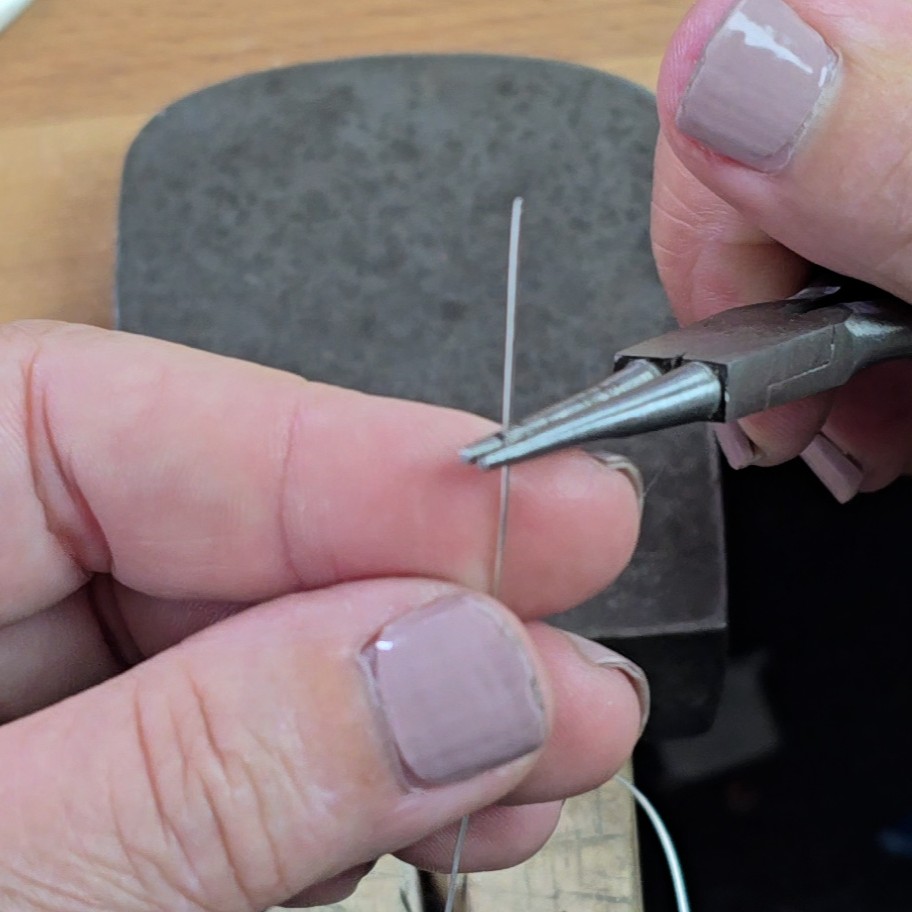 | 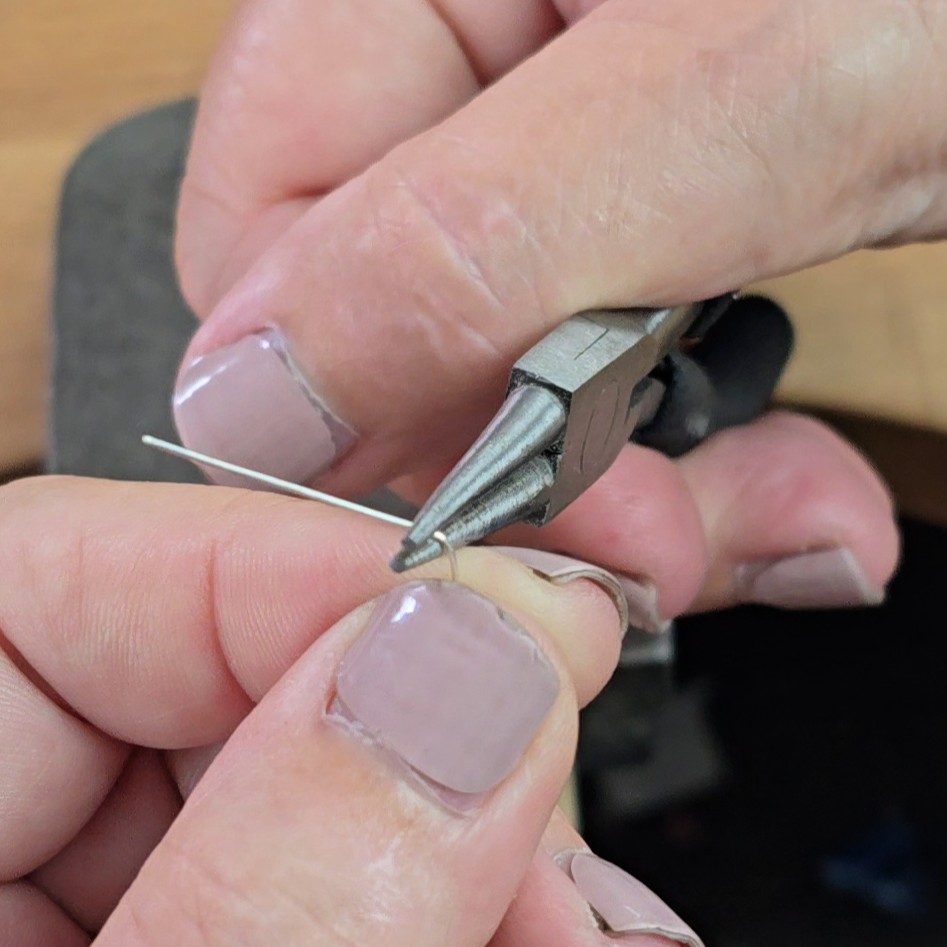 | 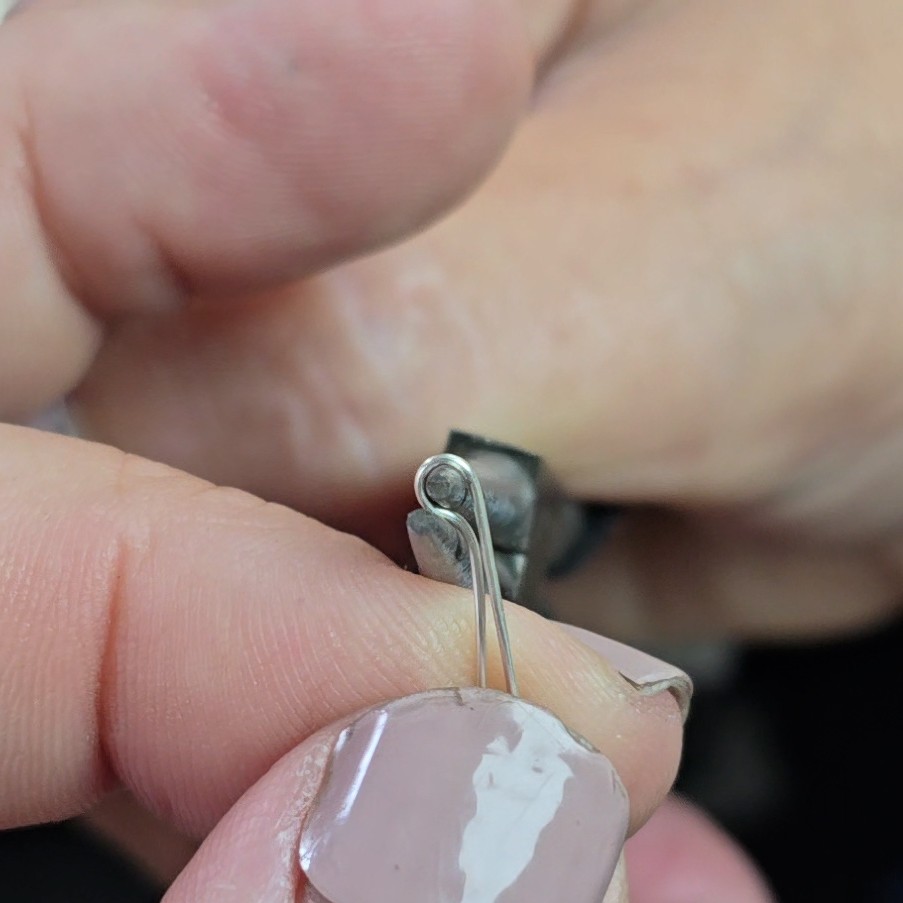 |
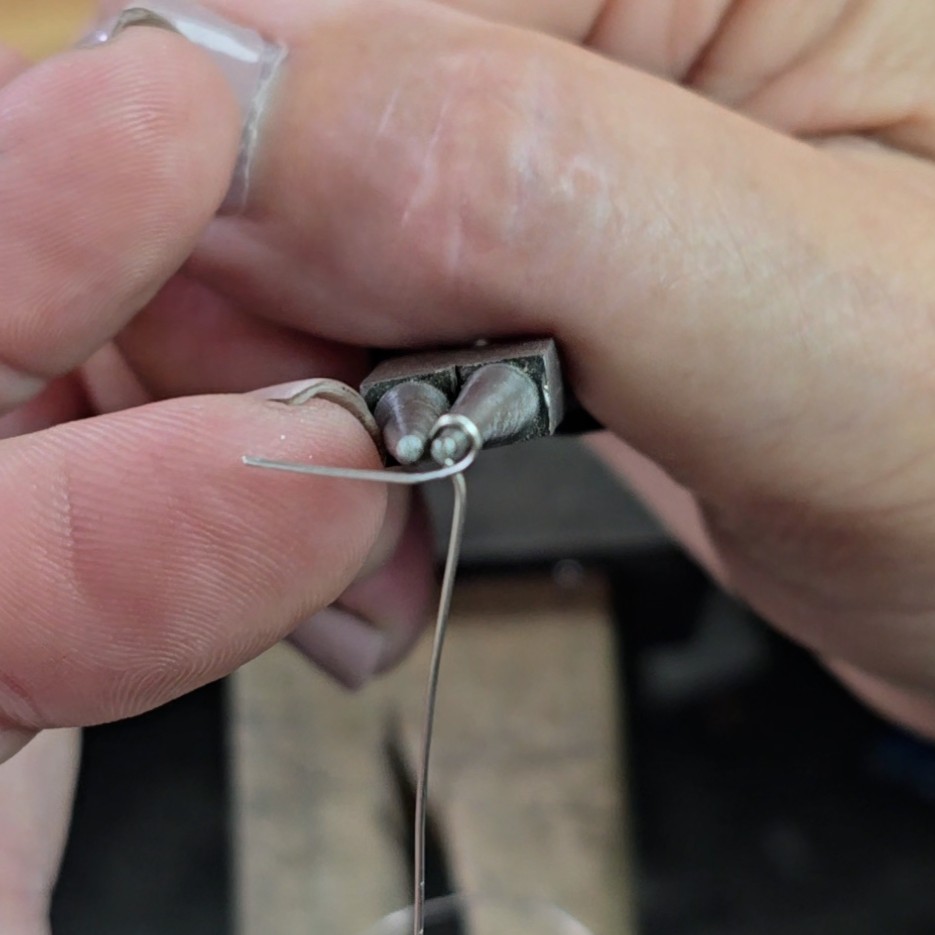
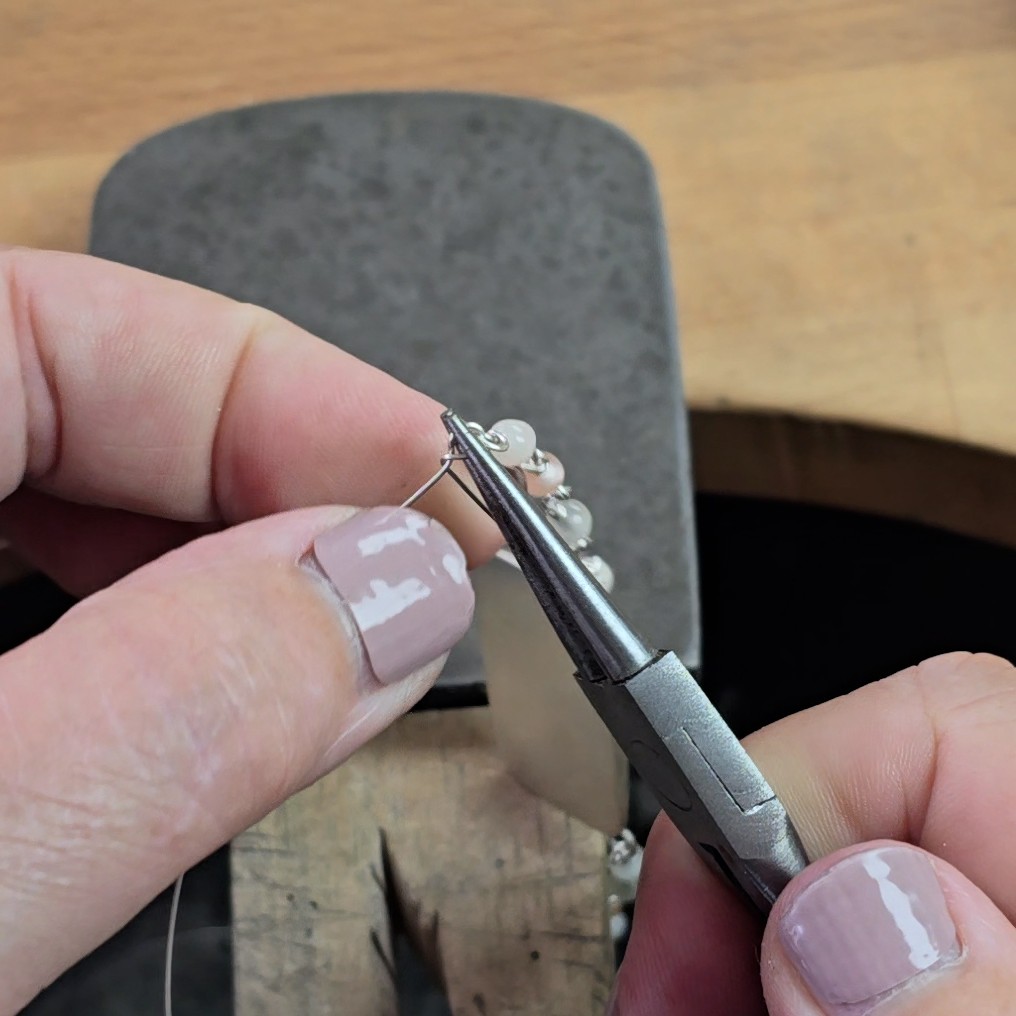
4. Hold the wire at the sharpie make with approximately 2cm of wire sticking above the pliers. The actual amount you need above the pliers will vary according to the size of loop and number of wraps you want. Practice with copper to become confident with this, and only then move on to silver. | 5. Use the pliers to bend the wire over to a right angle. I call this shorter section of wire the tail, and the longer section below the pliers then stem. | 6. And then use your finger and thumb to pull the stem tightly over the pliers and down the other side so both tail and stem are next to each other. |
 |  | 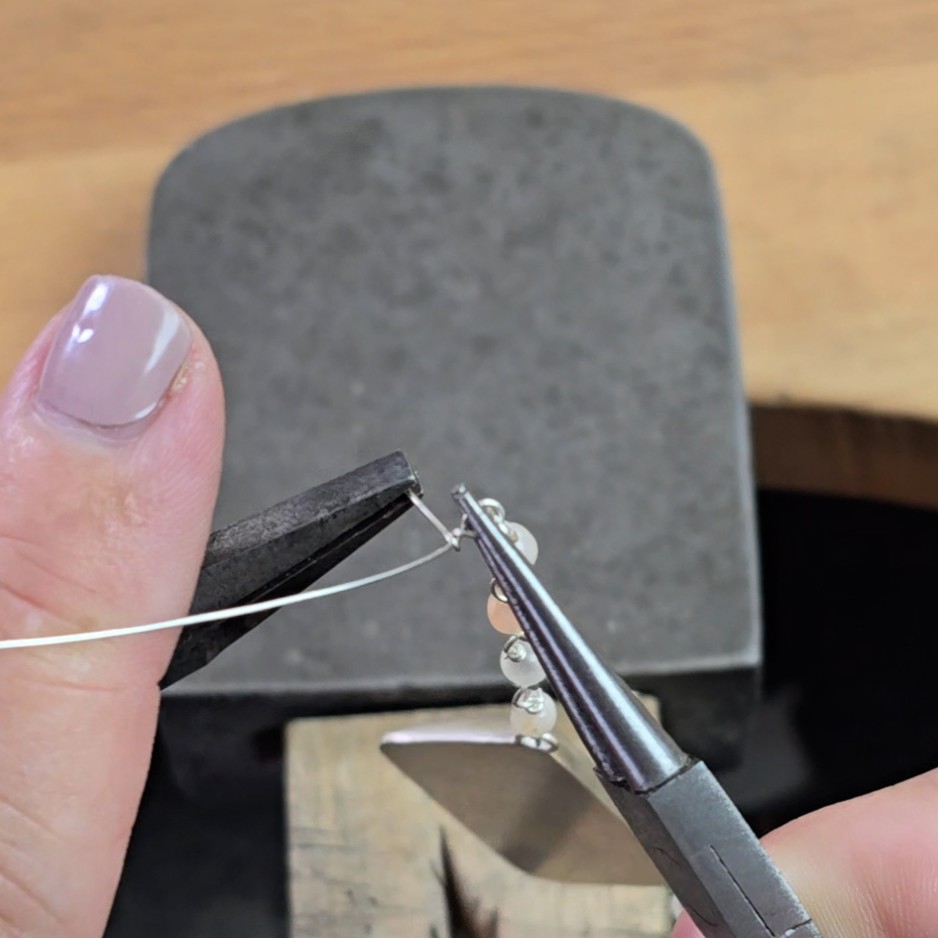 |
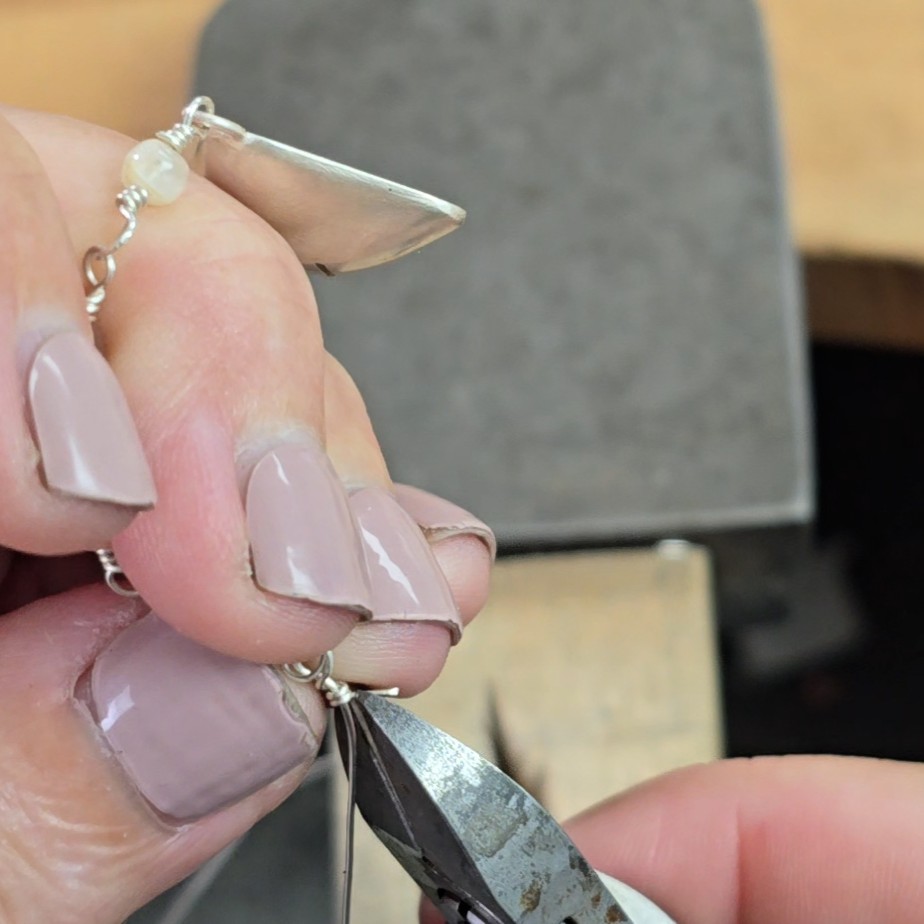
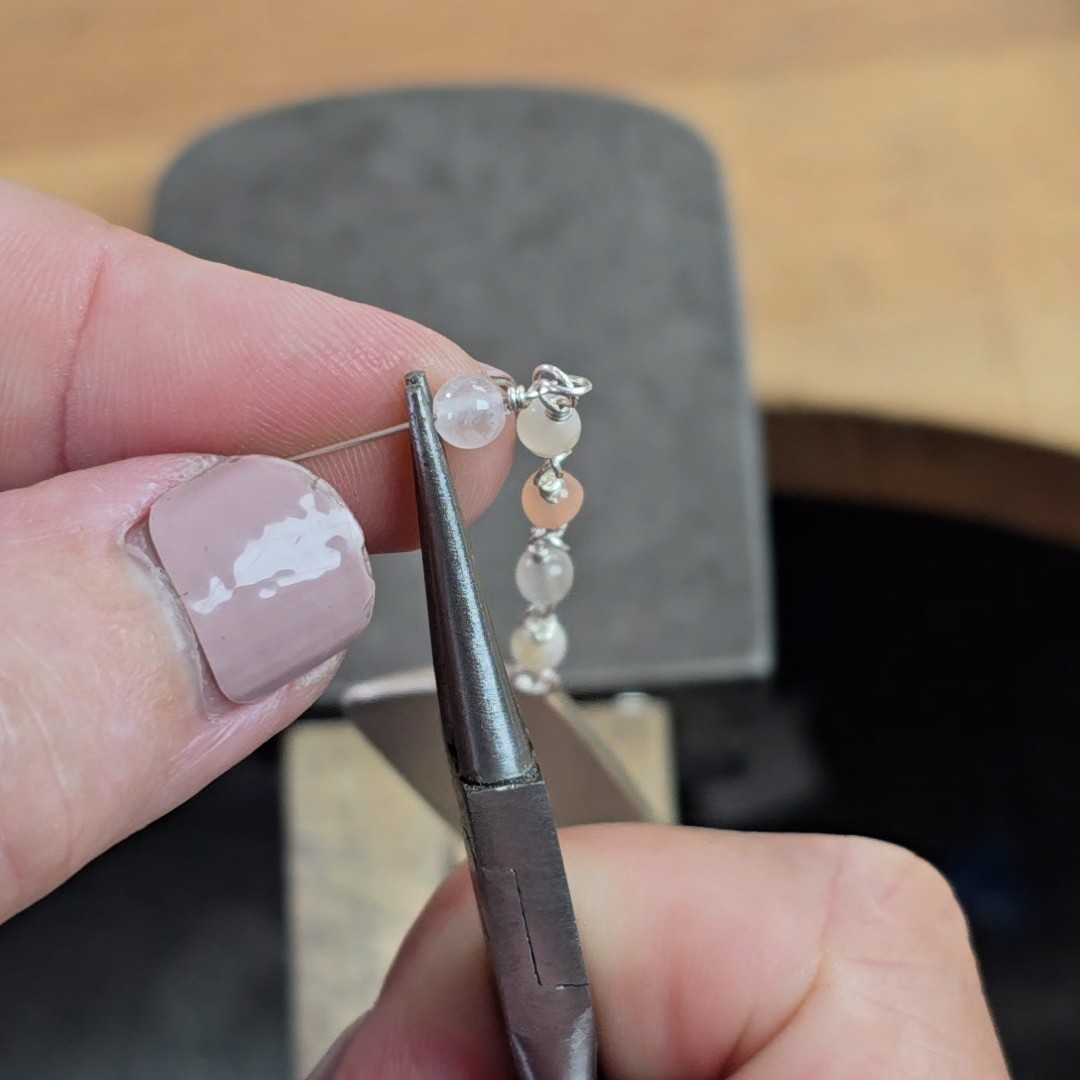
| 7. Move the pliers round slightly (but keep at that sharpie mark!) so that you can finish pulling the tail all around the nose of the pliers. You will end with the tail crossing over the stem as above. | 8. At this point you will have to thread on the item (pendant, clasp, previous wrapped loop) you want this new wrapped loop to attach to. Hold the loop steady with pliers and then start to wrap the tail around the stem. | 9. Once I've start the first half wrap I change to a pair of flat nosed pliers so that I can get a tighter grip on the short tail. This allows me to create nice tight and neat wraps. I did two and a half wraps on my beaded sections. |
 |  | 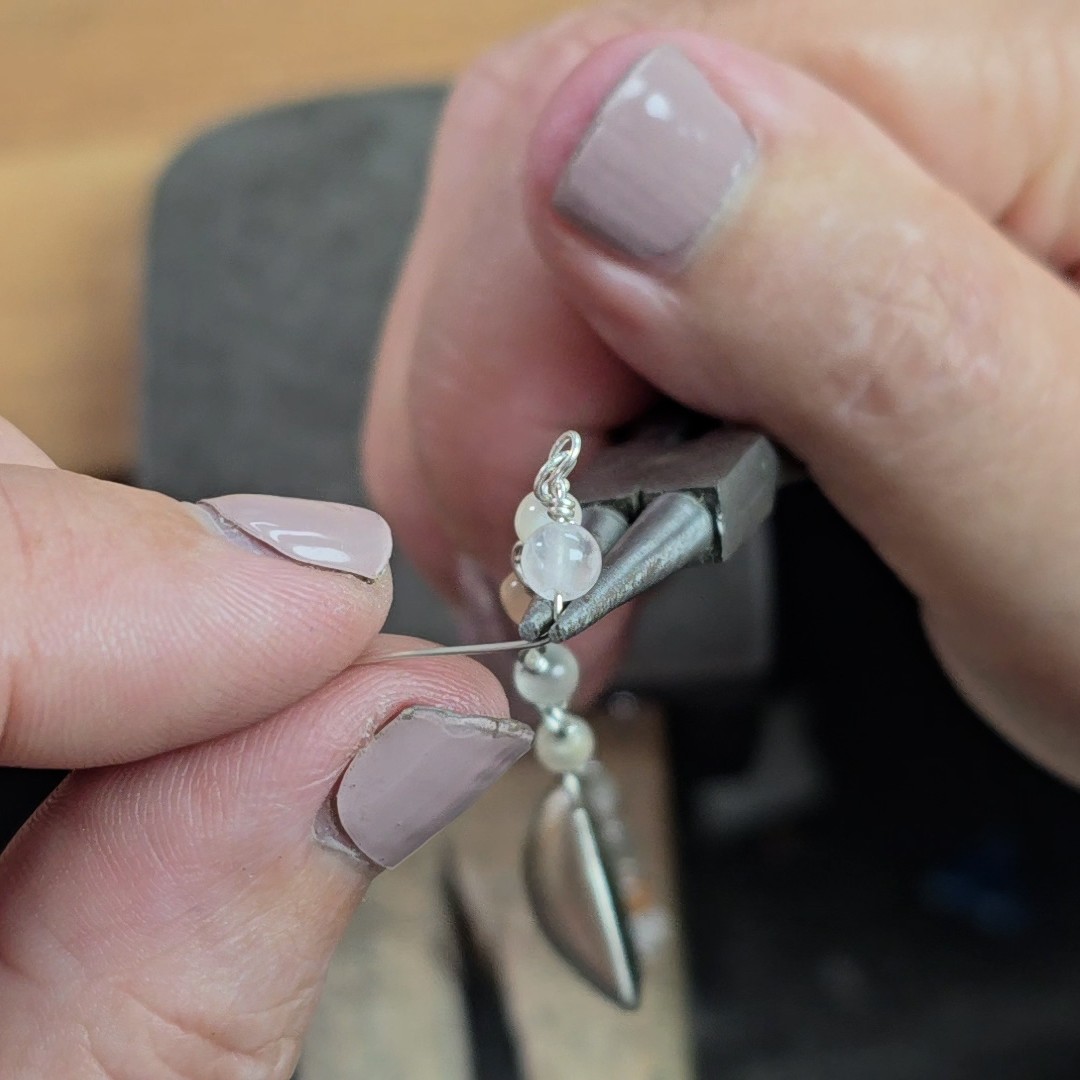 |
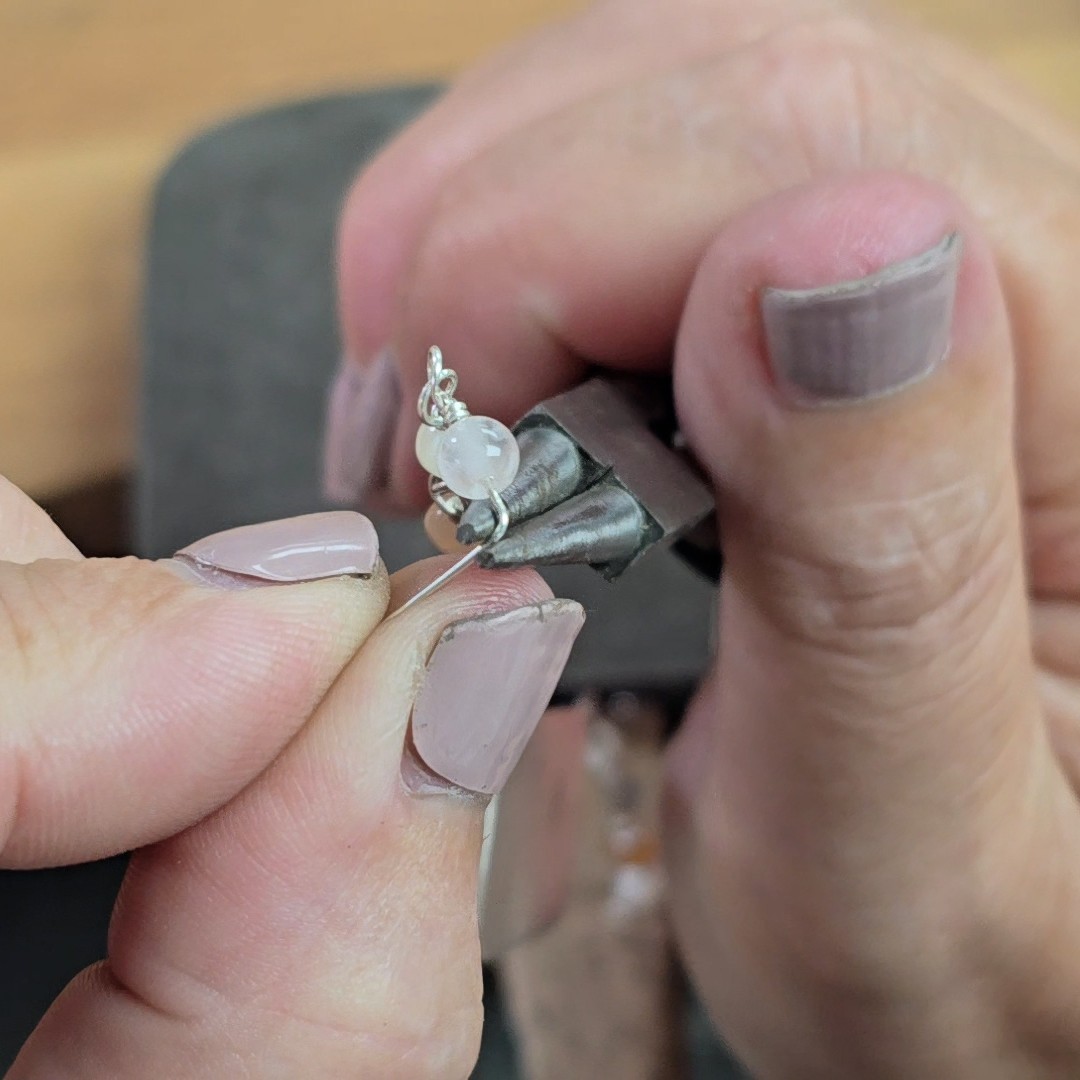
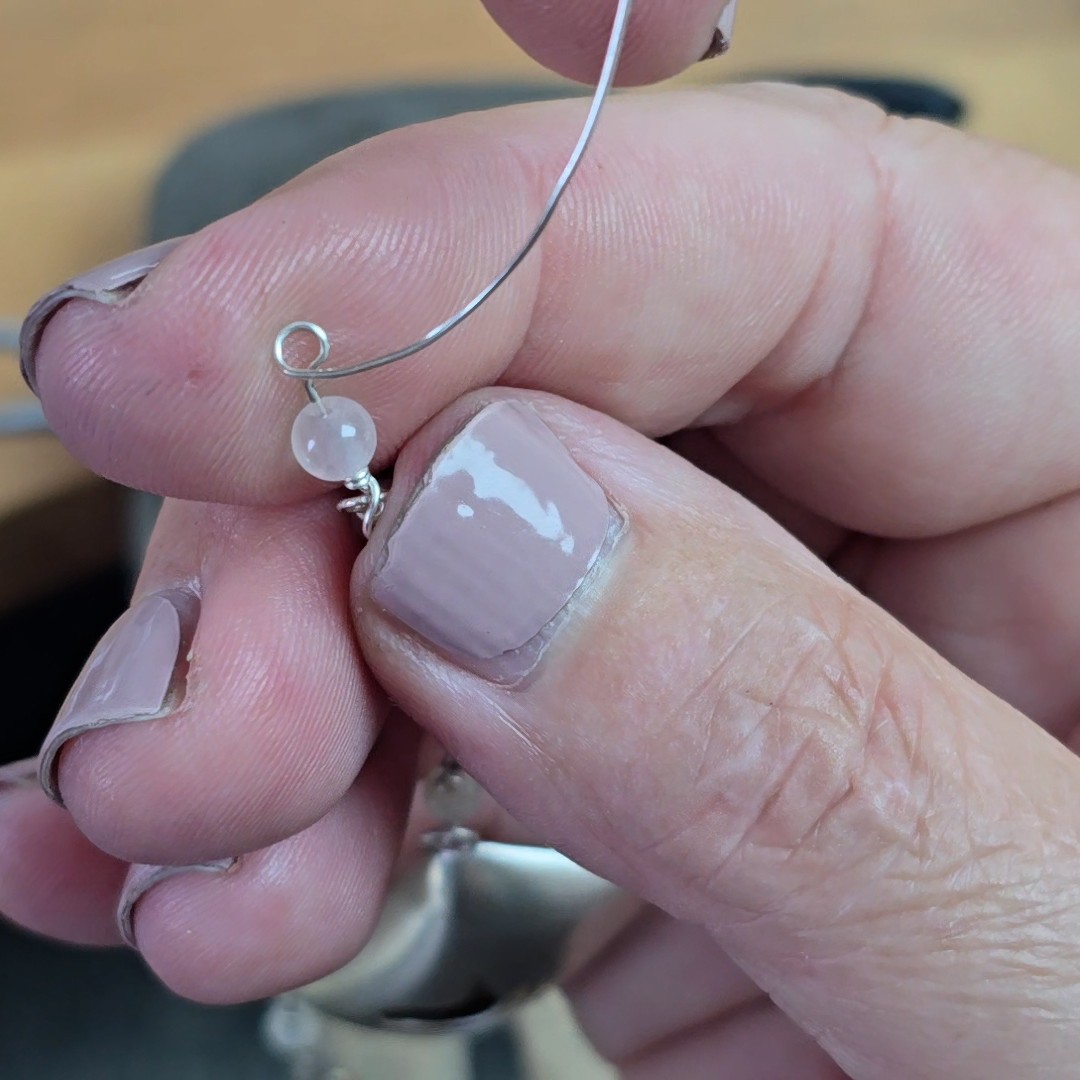
| 10. Carefully snip off the tiny piece of excess wire. | 11. Bring up the bead you previously threaded on the wire so that it is next to your first wrapped loop. Hold the round nosed pliers next to the bead as shown, taking up the same amount of space as the wraps on the other side. | 12. Pull the tail over to a right angle to start your closing wrapped loop. |
 | 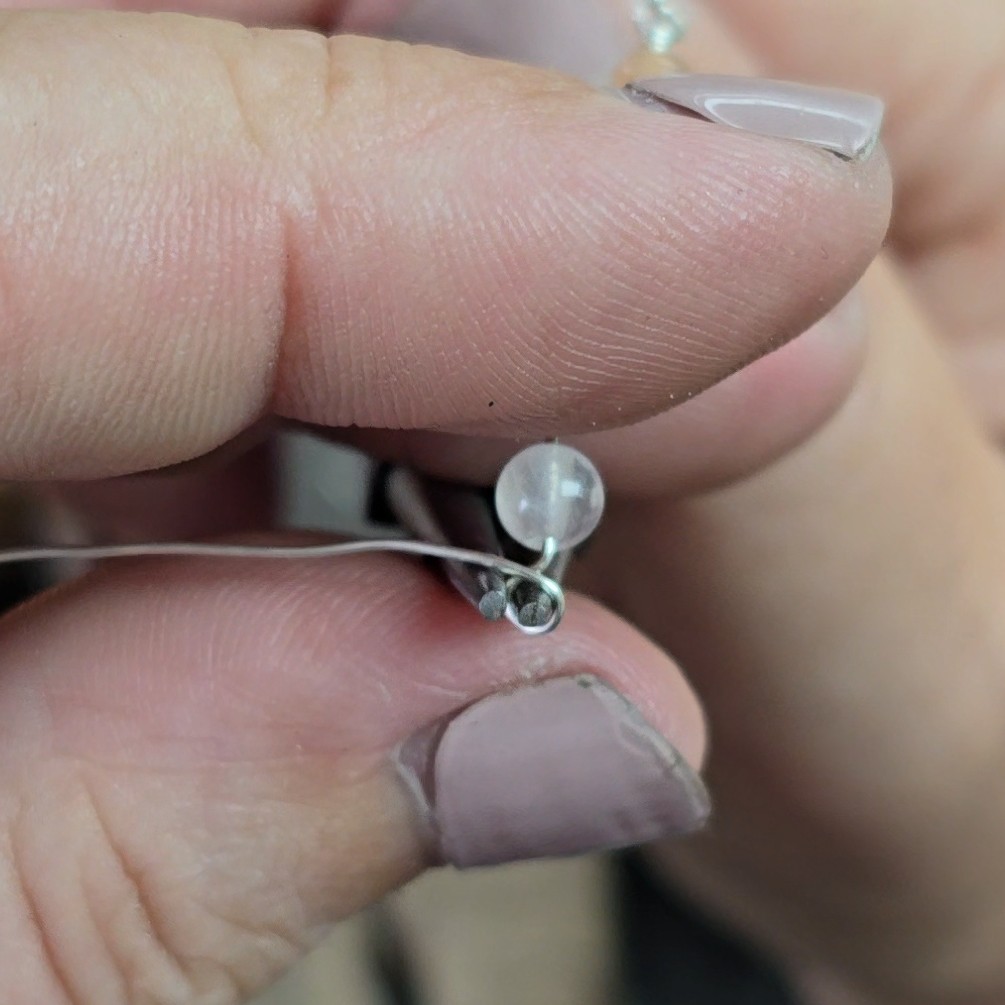 |  |
| 13.Move the pliers if necessary to make sure that the wire is held at the sharpie mark. | 14. Pull the tail up, over and around the pliers as before. | 15. Again, the wire should cross back over itself |
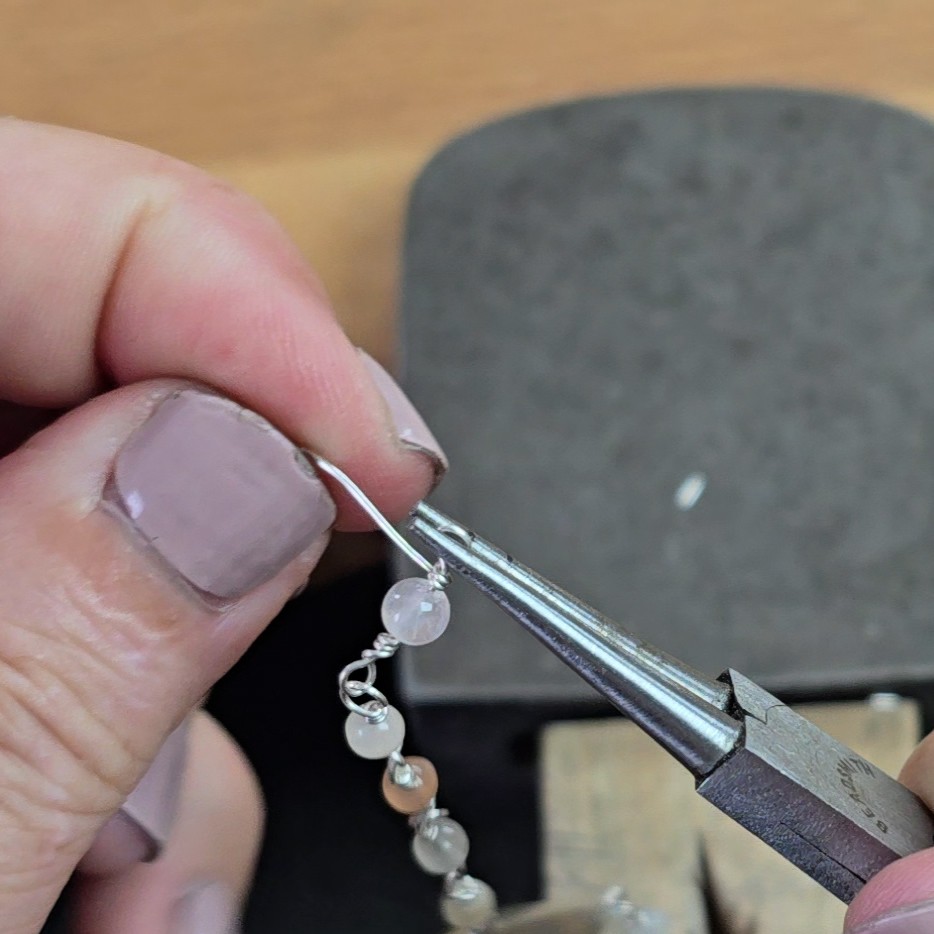 | 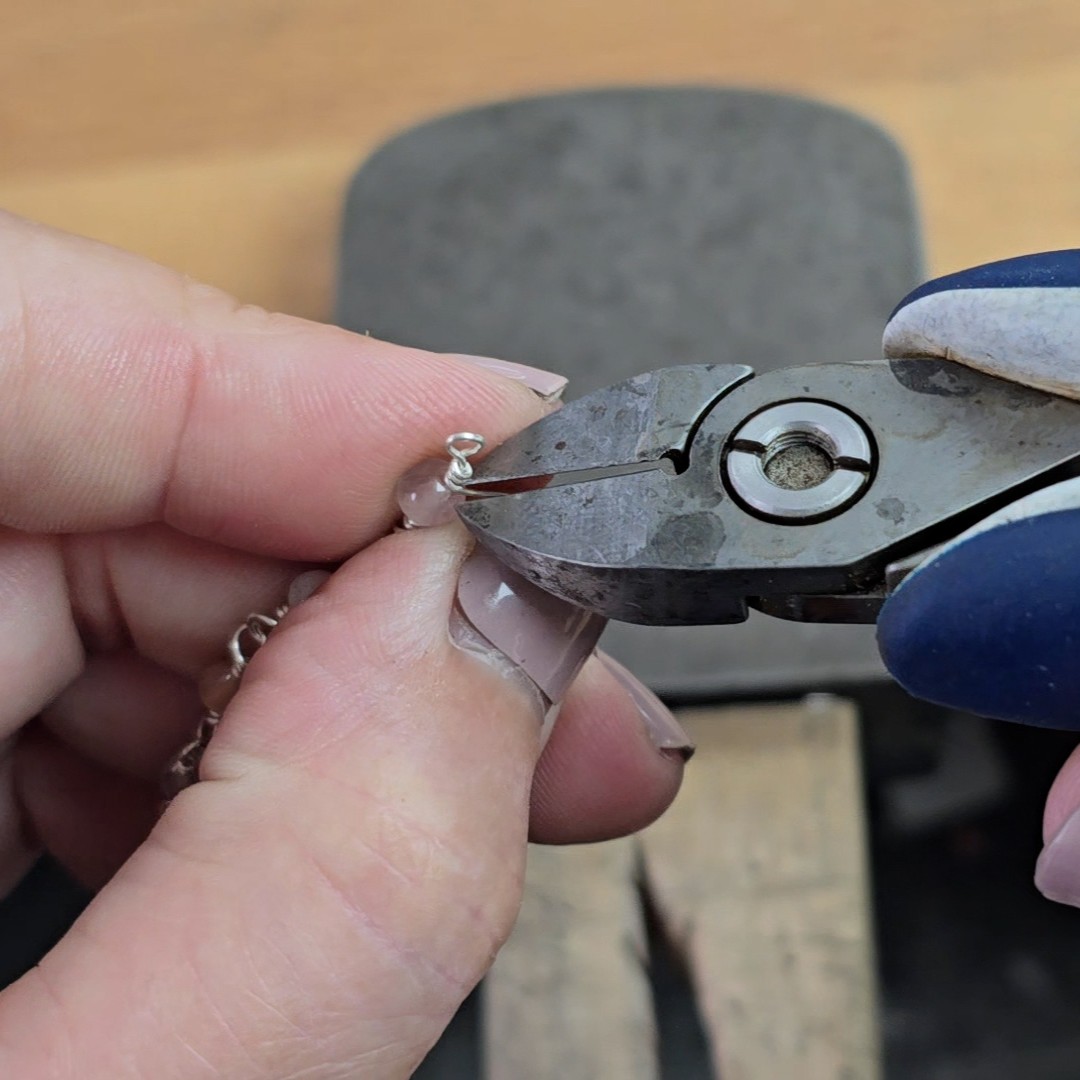 | 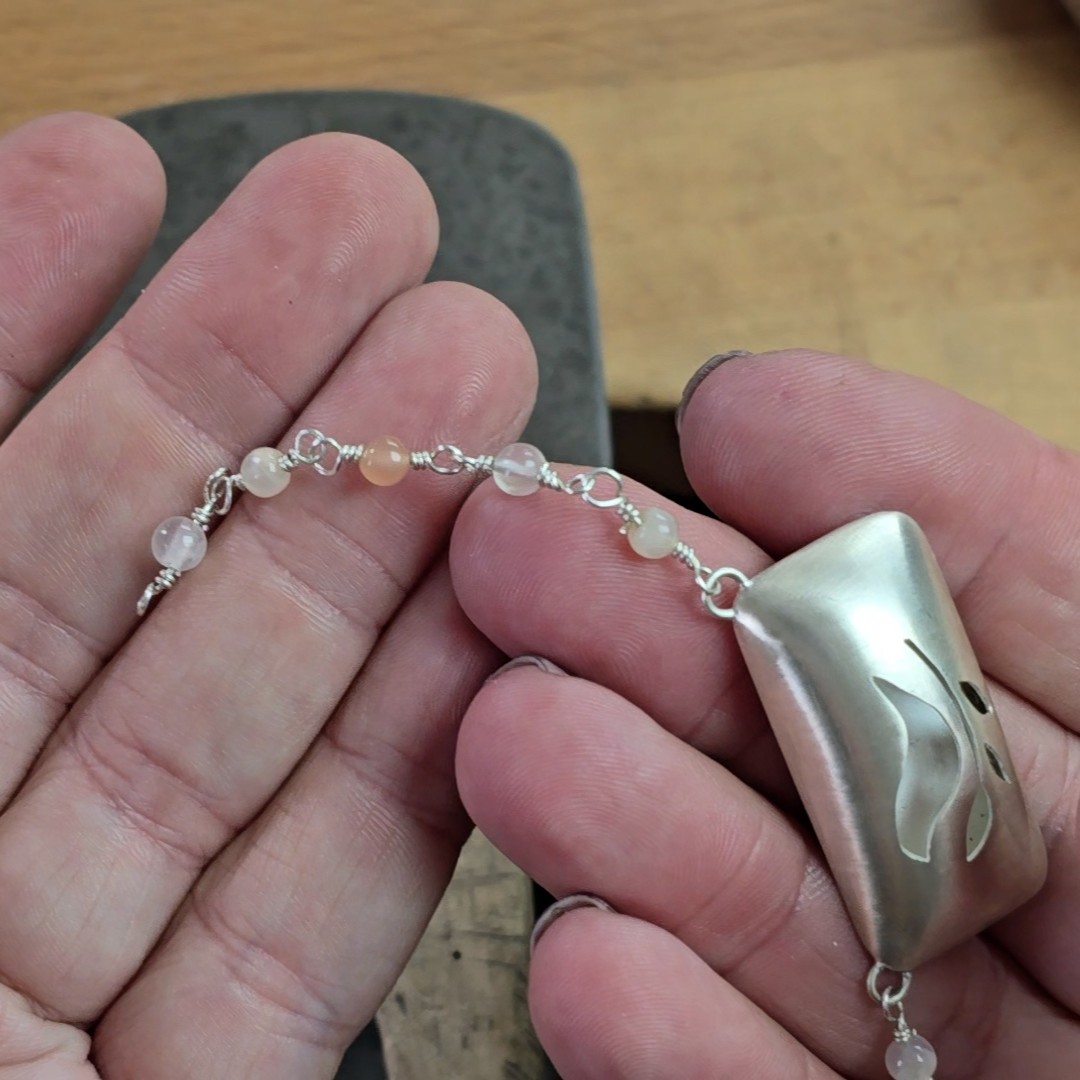 |
| 16. As before, hold the loop steady with pliers and wrap the tail neatly around the stem. If you're working with a long length of wire as I do, you will probably be able to get a tight enough grip with just finger and thumb. | 17. As before, trim off the excess wire. | 18. And then keep going for as long as your design needs! The trick really is to practice with copper and take your time until those wraps become beautifully neat. |
This tutorial is also available as a video, and as part of the Bird on a Branch hollow form necklace class
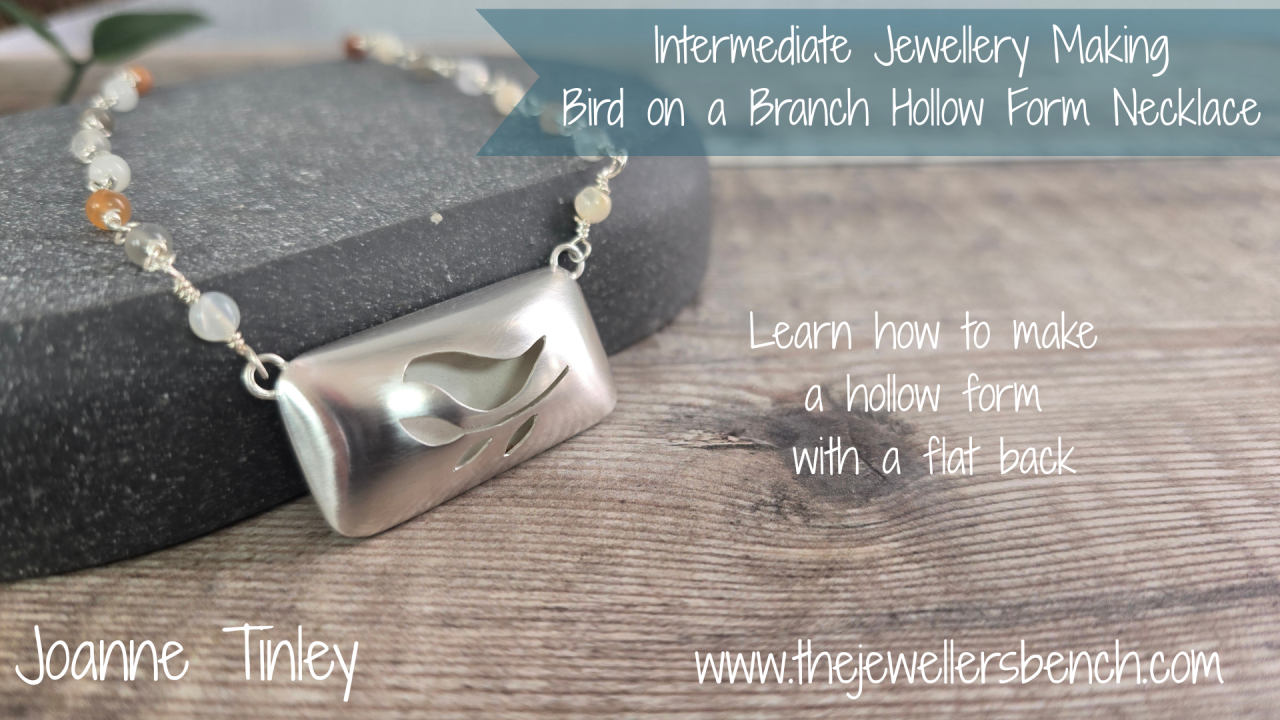 | 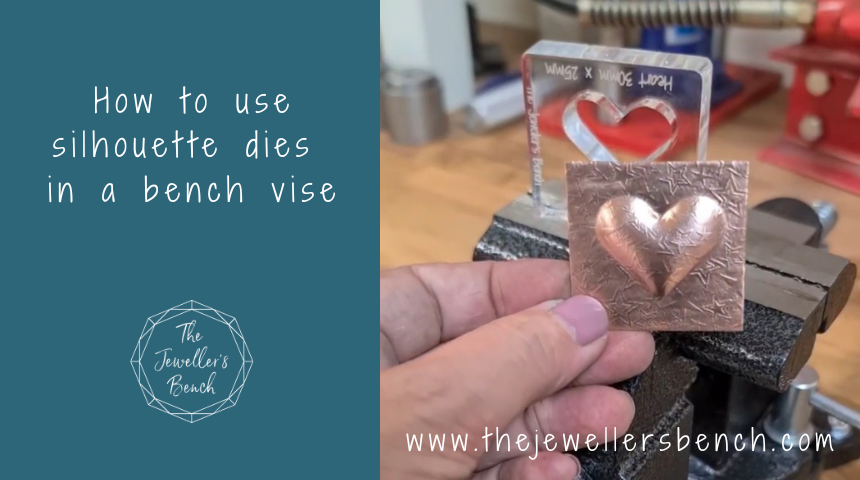 |  |
Bird on a Branch Hollow Form Necklace | How to use silhouette dies in a bench vise | Hollow Forms and Beads |
Learn how to make a flat-backed hollow form,
pierce a design from the front and
complete it with a beaded necklace. | Love the look of hollow beads but don't have a hydraulic press?
Learn how to use your bench vise instead! |
Learn four fantastic methods for making
beautiful hollow pendants, beads and more
|
Categories: : back to basics, jewellery making tips, jewellery tutorial

Joanne Tinley
Tutor and Founder of The Jeweller's Bench
The Jeweller's Bench is run by Joanne Tinley. She has been making her own jewellery for as long as she can remember and left her first career as a school teacher to set up business as a jewellery designer and tutor nearly 20 years ago. She is
self-taught and like many people started with wire and beads. Learning how to solder, however, opened up a whole new world of jewellery making, one that she is keen to share!