-
Ocean Blue Ring
13 Lessons
Ocean Blue Ring
including tips for setting oversized stones
About the Class
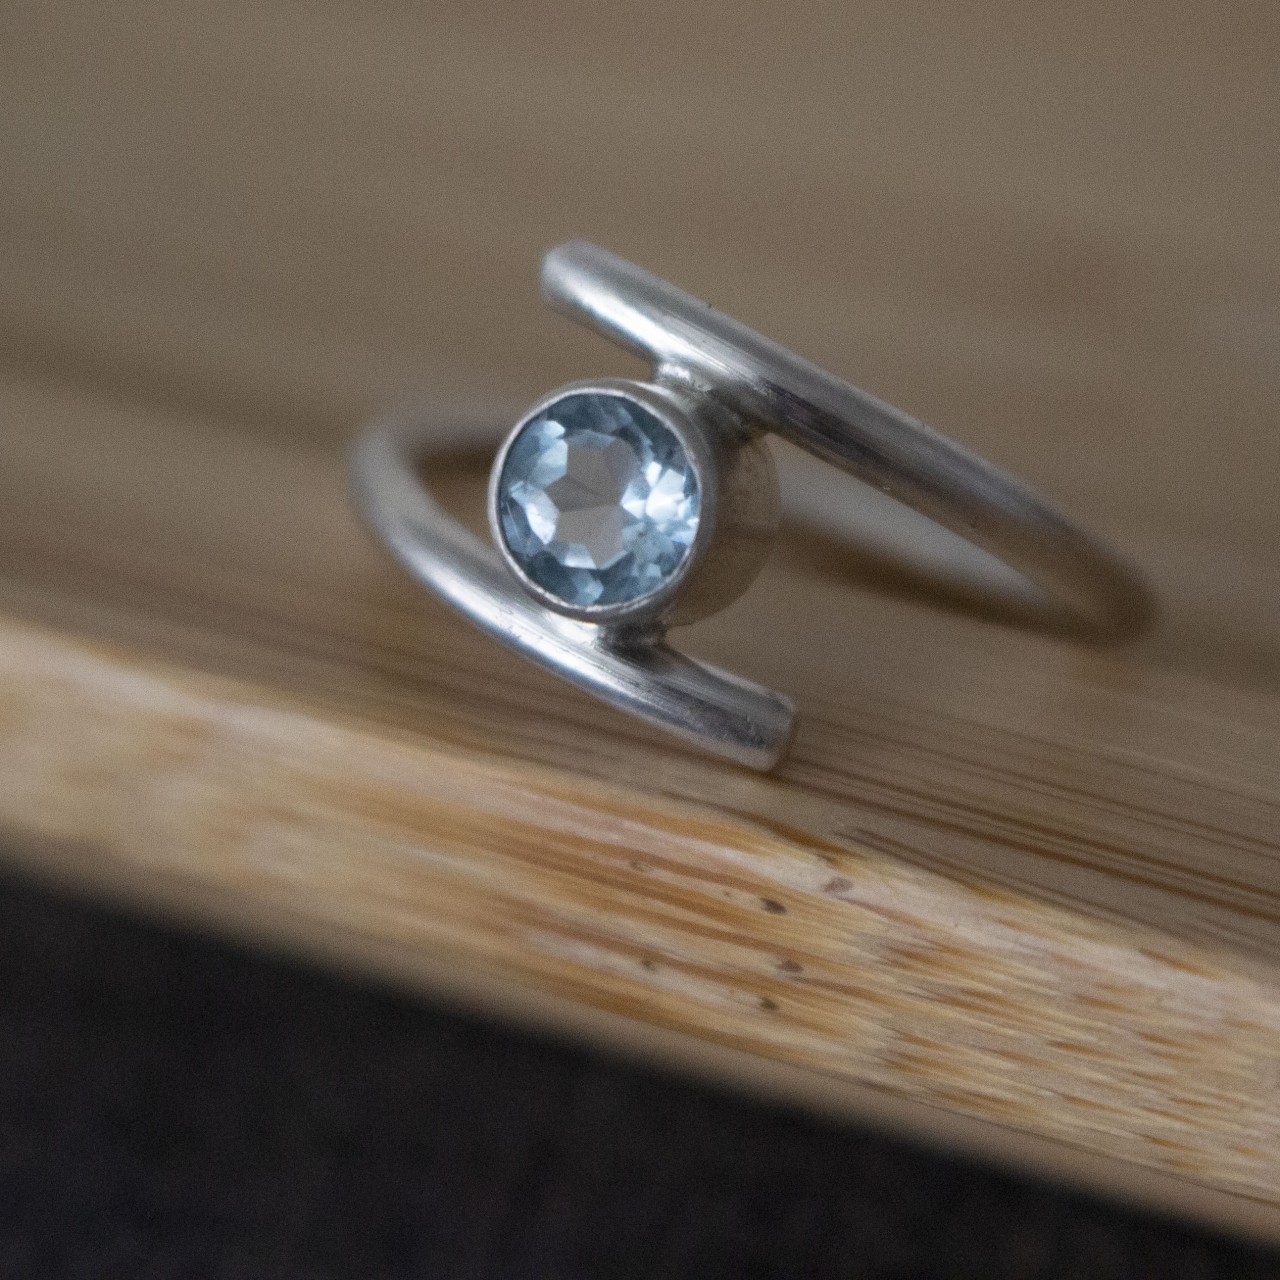
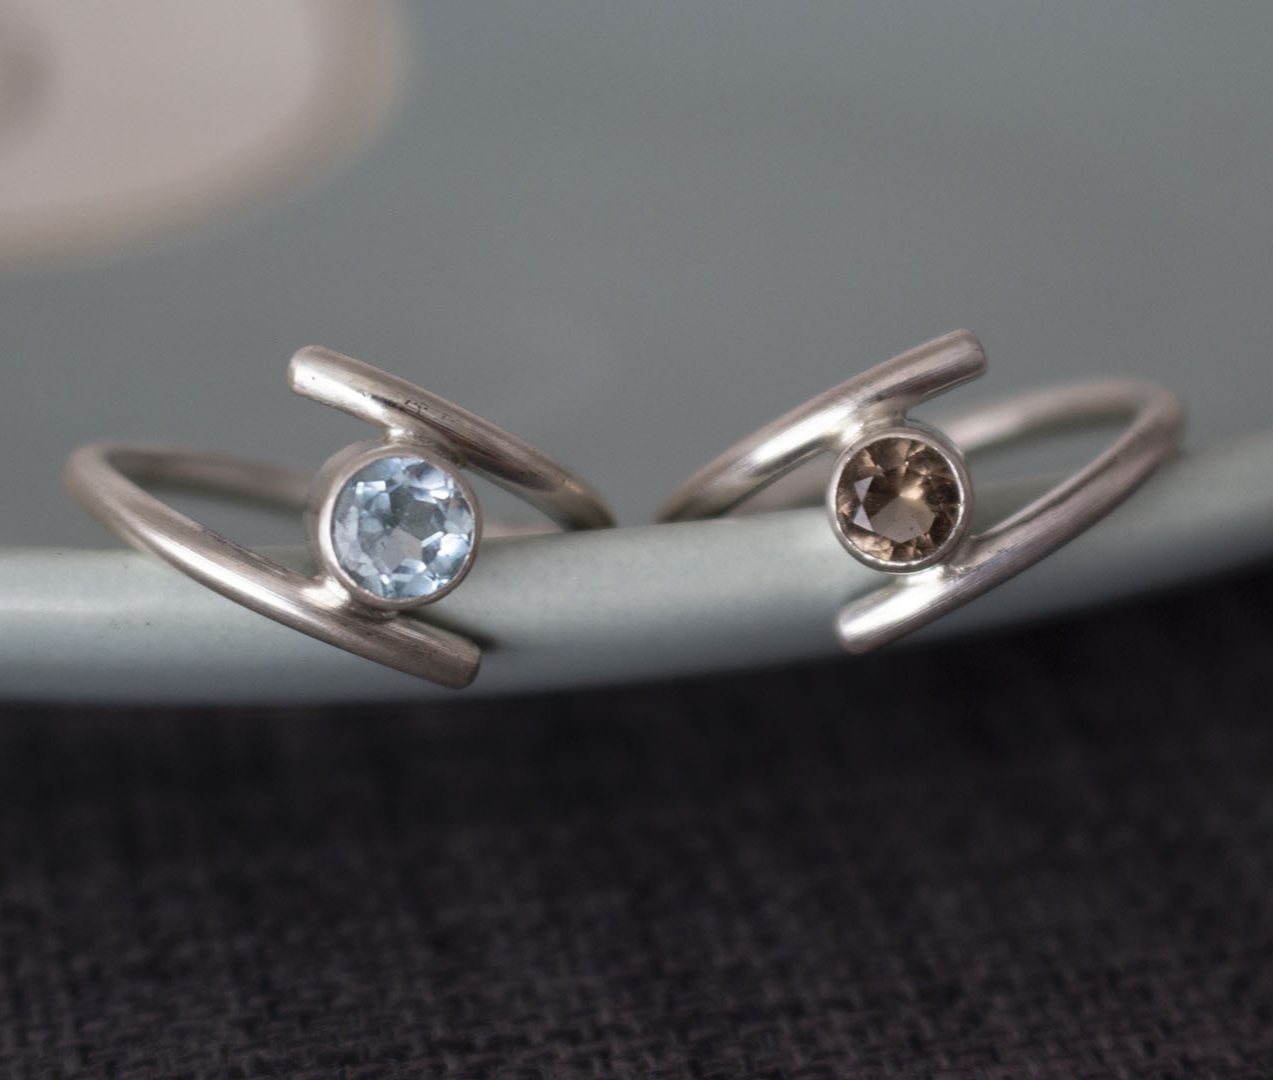
The Ocean Blue Ring class builds on the techniques taught in the Tube Set Ring class, using tube setting to create an elegant bypass ring with the stone suspended between two flowing ends of the ring shank.
This class is a lovely next step if you’d like to become more confident with tube setting while also learning
how small changes in design can create a completely different look and feel.
As always, I like to include plenty of troubleshooting advice in my classes because jewellery making doesn’t always go perfectly first time. For this project, I’ve deliberately chosen a stone that doesn’t match the exact size of burrs I have available, so I can show you practical ways to work around the problem. Ideally your burr should match the size of your stone, but understanding how to adapt when things aren’t quite perfect is an important jewellery making skill in itself.
If you haven’t already completed the Tube Set Ring class, I would recommend starting there first, as it covers the core technical information about stones, tube sizes, and burrs that will help this project feel much easier and more enjoyable!
Both the Tube Set Ring class and the Ocean Blue Ring class are included in the Jeweller's Bench Membership - click here for more details.
If you need any extra help as you work your way through the classes do join us over on The Jeweller's Bench Café group over on Facebook - the perfect place to ask for advice and to show off what you've been making.
You will need:
Materials:
* 2mm sterling silver round wire or suitable alternative
* 4mm- 6mm round faceted stone
* Sterling silver tube to fit your stone - the class download will help you find the best fit
Equipment: (all the jewellery making kit listed here can be used for many different projects)
* Soldering kit - see here for more details
* Ring sizers
* Ring mandrel (also called a triblet)
* Nylon hammer
* Sharpie
* Jeweller’s saw and saw blade
* Bench peg
* Files
* Pendant drill
* Silicon disk
* Masking tape
* Engineer’s square
* Burrs
* Callipers
* Knitting needle or long piece of wire to fit into tube
* Wax block
* Joint leveller
* Ring clamp
* Burnisher
* Bezel pusher
* Pin vice
An explanation of all the tools and materials that you need is included in the videos, and a downloadable equipment and materials list is available with the class.
1 hour 46 minutes long, 12 lessons
Course Curriculum
"Amazing! Thanks so much!"
Nathalie B.
"Such a lovely ring! I really enjoyed this project. I hadn't realised before why rings like this have to twist a certain way round, so thanks for that tip too!"
Sara R.
"Another great class, with a really useful tip about enlarging the seat drilled into your tube (wish I'd seen this earlier!)"
Dawn G.
Legal Disclaimer: Every effort has been made to show safe working practices and to discuss health and safety aspects of jewellery making, but in the end I cannot take responsibility for how the tutorial information is used and how safely you work. Take the effort to set up your work area safely right from the start!
All Rights Reserved. No part of this course may be reproduced or shared without express, written consent from the author.

Joanne Tinley
Tutor and Founder of The Jeweller's Bench
The Jeweller's Bench is run by Joanne Tinley. She has been making her own jewellery for as long as she can remember and left her first career as a school teacher to set up business as a jewellery designer and tutor nearly 20 years ago. She is
self-taught and like many people started with wire and beads. Learning how to solder, however, opened up a whole new world of jewellery making, one that she is keen to share!

Reviews