Dancing Pearls Earrings Tutorial
 Joanne Tinley
A modern twist on the classic pearl earrings
A modern twist on the classic pearl earrings this project will teach you how to set half-drilled pearls to create a beautiful pair of earrings with silver discs dancing above them!
The project is a great way of using up small pieces of silver and is very easy to adapt to suit your own style.
You will need:
Materials:
1. Sterling silver sheet between 0.5mm and 0.7mm thick. I used 0.55mm thick sheet, enough to cut 10 9.5mm diameter discs.
2. 0.8mm (20 gauge) sterling silver round wire for the earwires. I used two 10cm lengths.
3. A pair of half-drilled pearls. Mine are 6.5mm peacock grey.
Equipment:
Soldering Kit (for annealing the discs before shaping)
Disc cutter, old hammer, leather cushion
Drill and 0.9mm drill bit
Nylon jaw pliers, 2 pairs of flat nosed pliers, round nosed pliers, wire cutters
Planishing (rounded) hammer and steel bench block
Fine sharpie, ruler, circle template (optional)
Flat needle file, small mandrel or pen barrel
2-part epoxy, plus something to mix it on and mix it with
 | 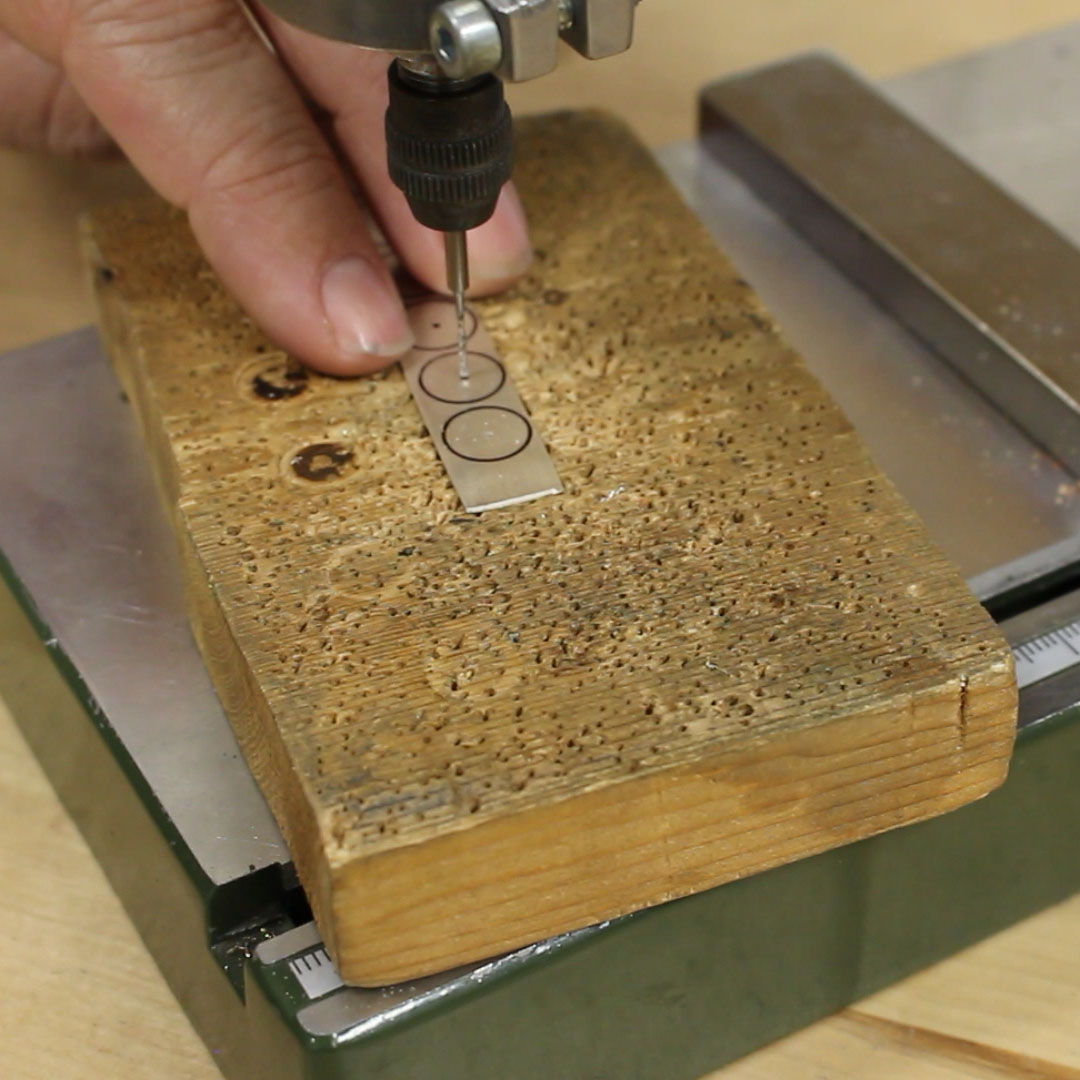 |
1. Use the circle template to draw ten 9.5mm diameter circles on the silver, leaving a little bit of a safety margin around them. If you don't have a disc cutter, draw around the circle template instead. 2. Draw a dot in the centre of each circle as a guide for drilling. | 3. Drill a 0.9mm hole through the centre of each drawn circle, using the sharpie dot as a guide. Drilling the holes first and cutting the discs second is much easier!
|
 |  |
4. Line up the first circle under your disc cutter, using the drawn circle and the drilled hole to help you.
| 5. Use the old hammer to hit the punch through and cut the disc.
Repeat with the other 9 discs. |
 |  |
6. Anneal the discs as they will now be too hard to shape easily.
If you need help with annealing then click here for a blog post or here for a quick video tutorial! | 7. Hold the two pairs of flat nosed pliers across a disc as shown. Twist both pairs of pliers downwards at the same time, putting a curve in the disc. Repeat with the other 9 discs. 8. Polish the discs, either in a tumbler or with a polishing cloth. |
 |  |
9. Cut two 10cm lengths of 0.8mm round wire. Place one of the pearls on the end of one of the wires. 0.8mm wire is usually a good fit for half-drilled pearls but if your hole is a little too small then you can carefully twist a 0.8mm drill bit inside the hole - do be gentle though! Mark just below the pearl with a sharpie, and repeat with the second pearl and wire. Be careful not to mix up the pearls from now on as they may have different depths holes. | 10. The wire that will go inside the pearl must be roughed up a little so that the glue and hold the wire and pearl securely together. An easy way to do this is to hold the wire in a pair of wire cutters and twist the wire round to form a groove. The wire cutters must be firm enough to create a groove but not cut all the way through, so maybe practice first!
Create about three grooves at the end of each piece of wire. |
 |  |
11. Mix up a little of the two-part epoxy according to the manufacturer's instructions and working in a well ventilated area. 12. Apply a little epoxy to the prepared end of each piece of wire, push it into the matched up pearl and leave to set, again according to the manufacturer's instructions. | 13. Once the epoxy has set thread five discs onto each wire so that they settle above the pearls. Thread the first disc on curve down, the next curve up and so on so that they don't sit in a clump. 14. Use the sharpie and ruler to mark a point on each wire approximately 15mm to 18mm above the pearl. This is the point at which the wire will be looped into a twist. |
 |  |
15. To prevent the discs from slipping off the earwires and to create extra interest I wrapped the wire around a pair of round nosed pliers. Mark the pliers with the sharpie to make sure you use them at the same point to create loops of the same size. | 16. Shape each earwire around a sharpie or small mandrel. |
 |  |
17. I also like to hammer the front of the U shape a little as this adds strength to the earwires. | 18. File the ends of the wires to make sure that they are smooth, and use flat nosed pliers to "flick" the ends out for that classic earwires look. |

One beautiful pair of earrings! Experiment with different thicknesses of sheet and different numbers of loops above the dancing discs to create a different look.
If you're looking for more earrings inspiration
have a look at these classes...
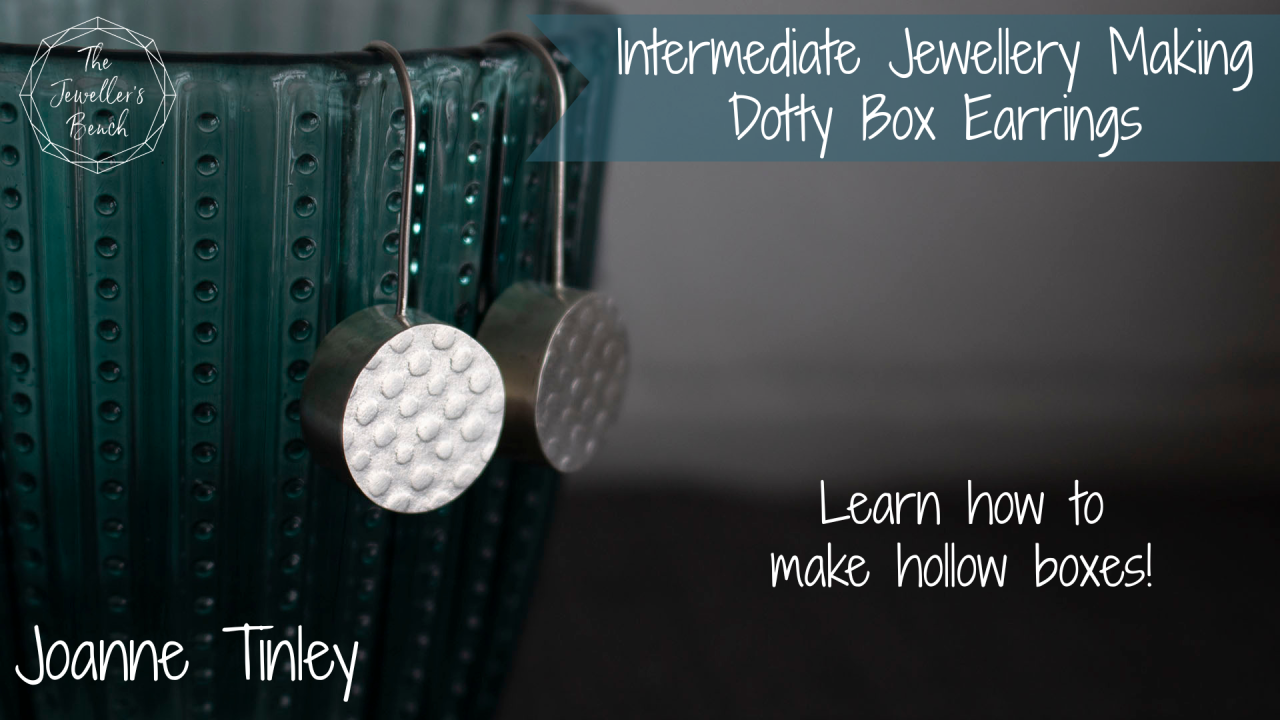 | 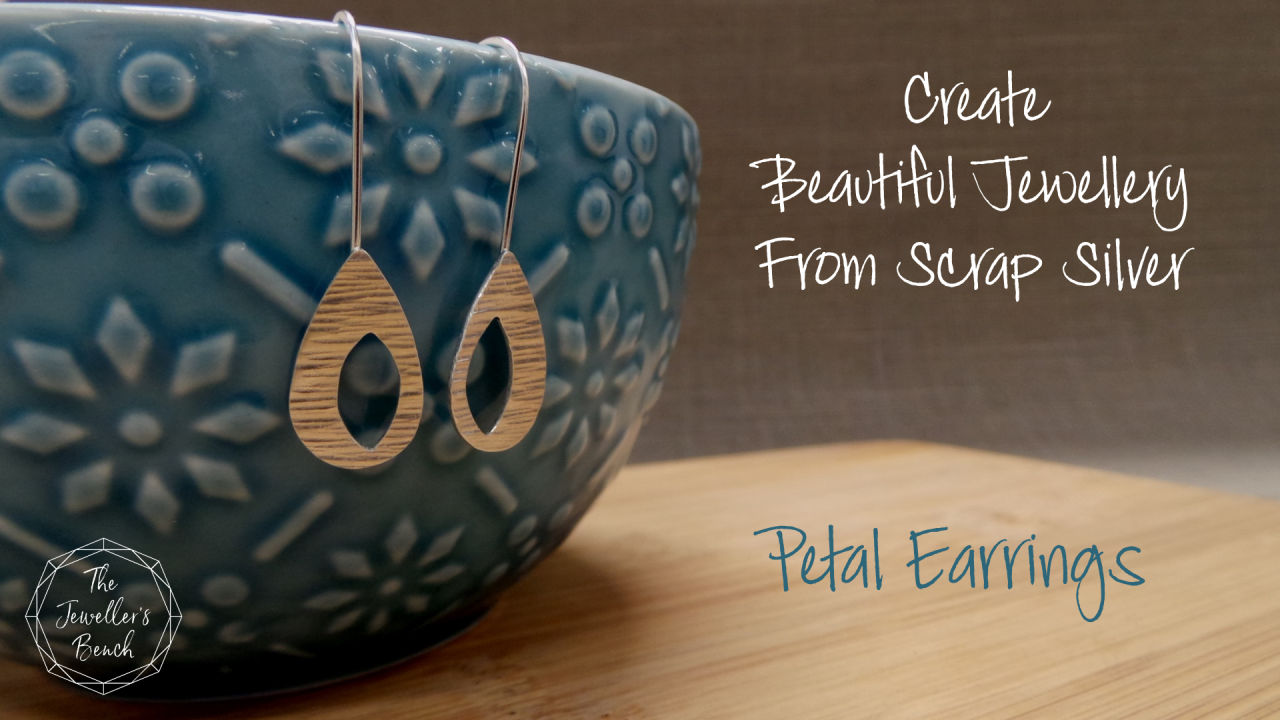 |  |
Dotty Box Earrings | Petal Earrings | Spring Edition of the 52 earrings project |
Learn how to make hollow boxes -
they're great for pendants too! | A quick project that uses silver left over from other projects. | The 52 earrings project resulted in 52 earring designs in one year. Enrol in just the Spring Edition, or go for the full year here. |
Categories: : earrings tutorial, jewellery tutorial

Joanne Tinley
Tutor and Founder of The Jeweller's Bench
The Jeweller's Bench is run by Joanne Tinley. She has been making her own jewellery for as long as she can remember and left her first career as a school teacher to set up business as a jewellery designer and tutor nearly 20 years ago. She is
self-taught and like many people started with wire and beads. Learning how to solder, however, opened up a whole new world of jewellery making, one that she is keen to share!
